Mosaic
This is one of my rare software-only projects. The published form is actually an Instagram filter you can try for yourself!
Most of my programs can’t be experienced this way; to make a stable, fast live video effect that can run on any smartphone you need to use shader code. It’s difficult but rewarding to learn — you have to “invert” your point of view from an omniscient CPU to an anonymous, lost GPU thread that can only poke at its own surroundings. The most basic shapes and patterns are made in a completely different way than you would make them with a tool like Processing.
The Challenge
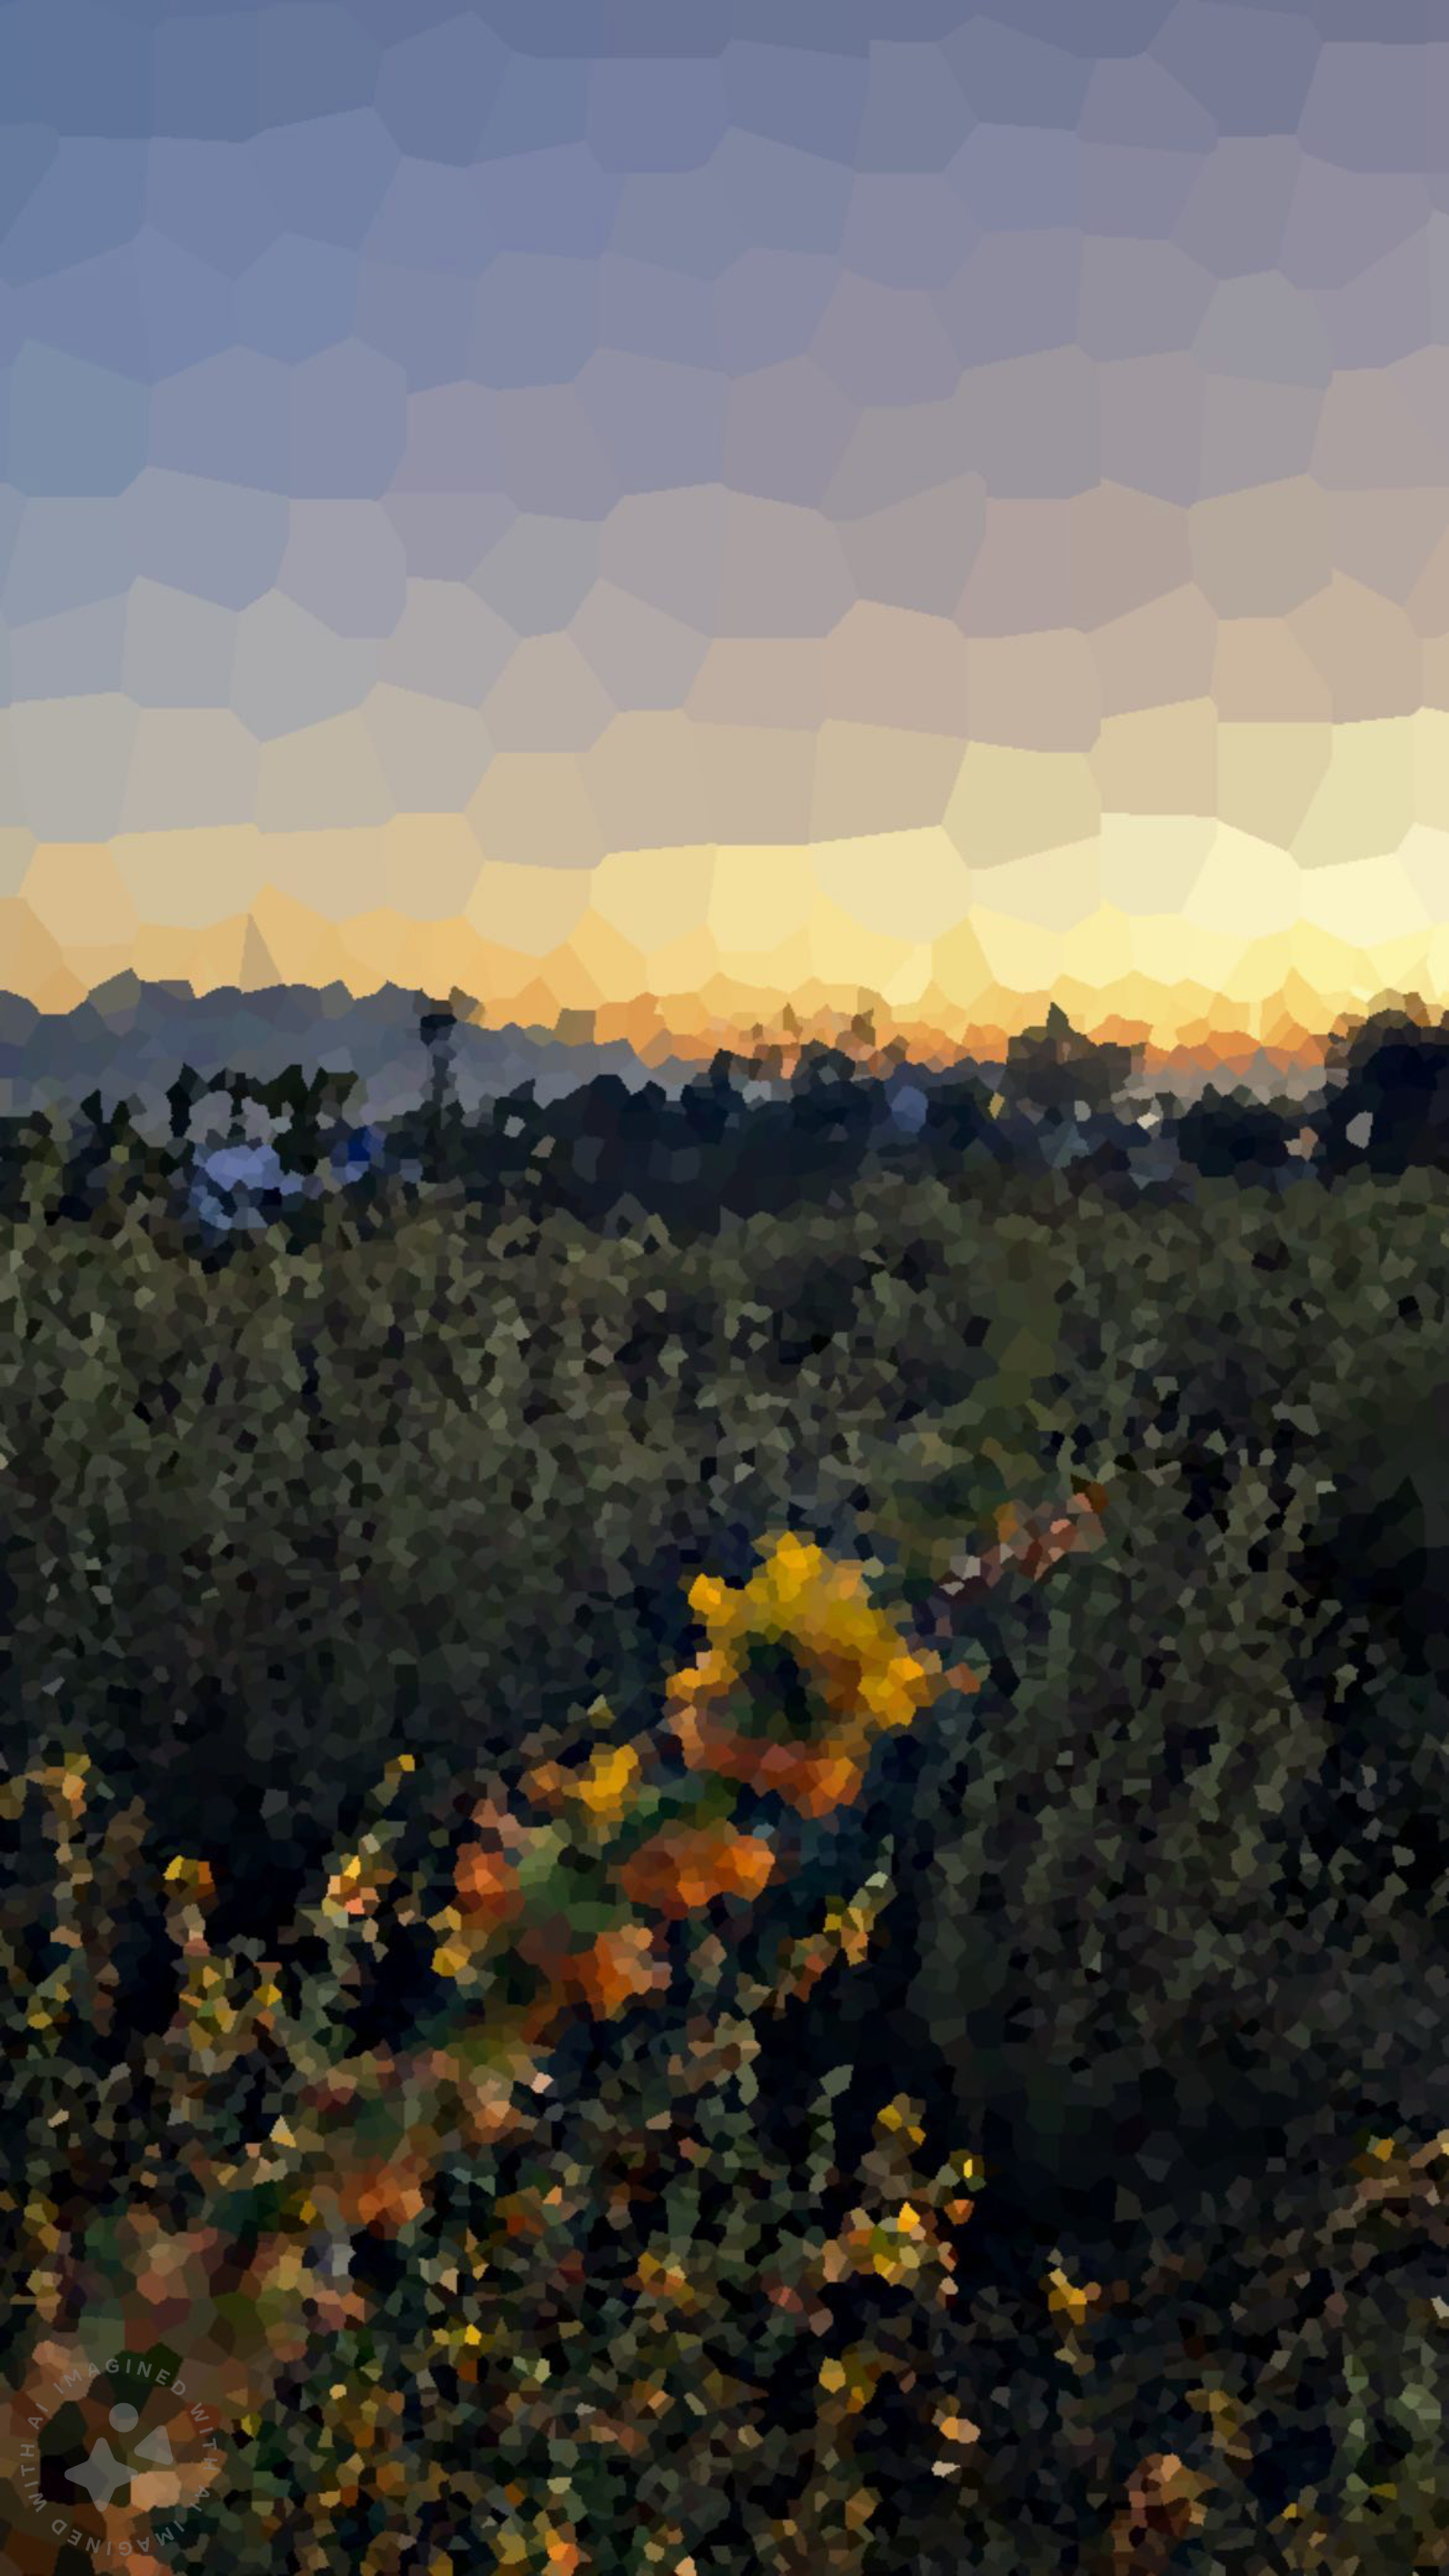
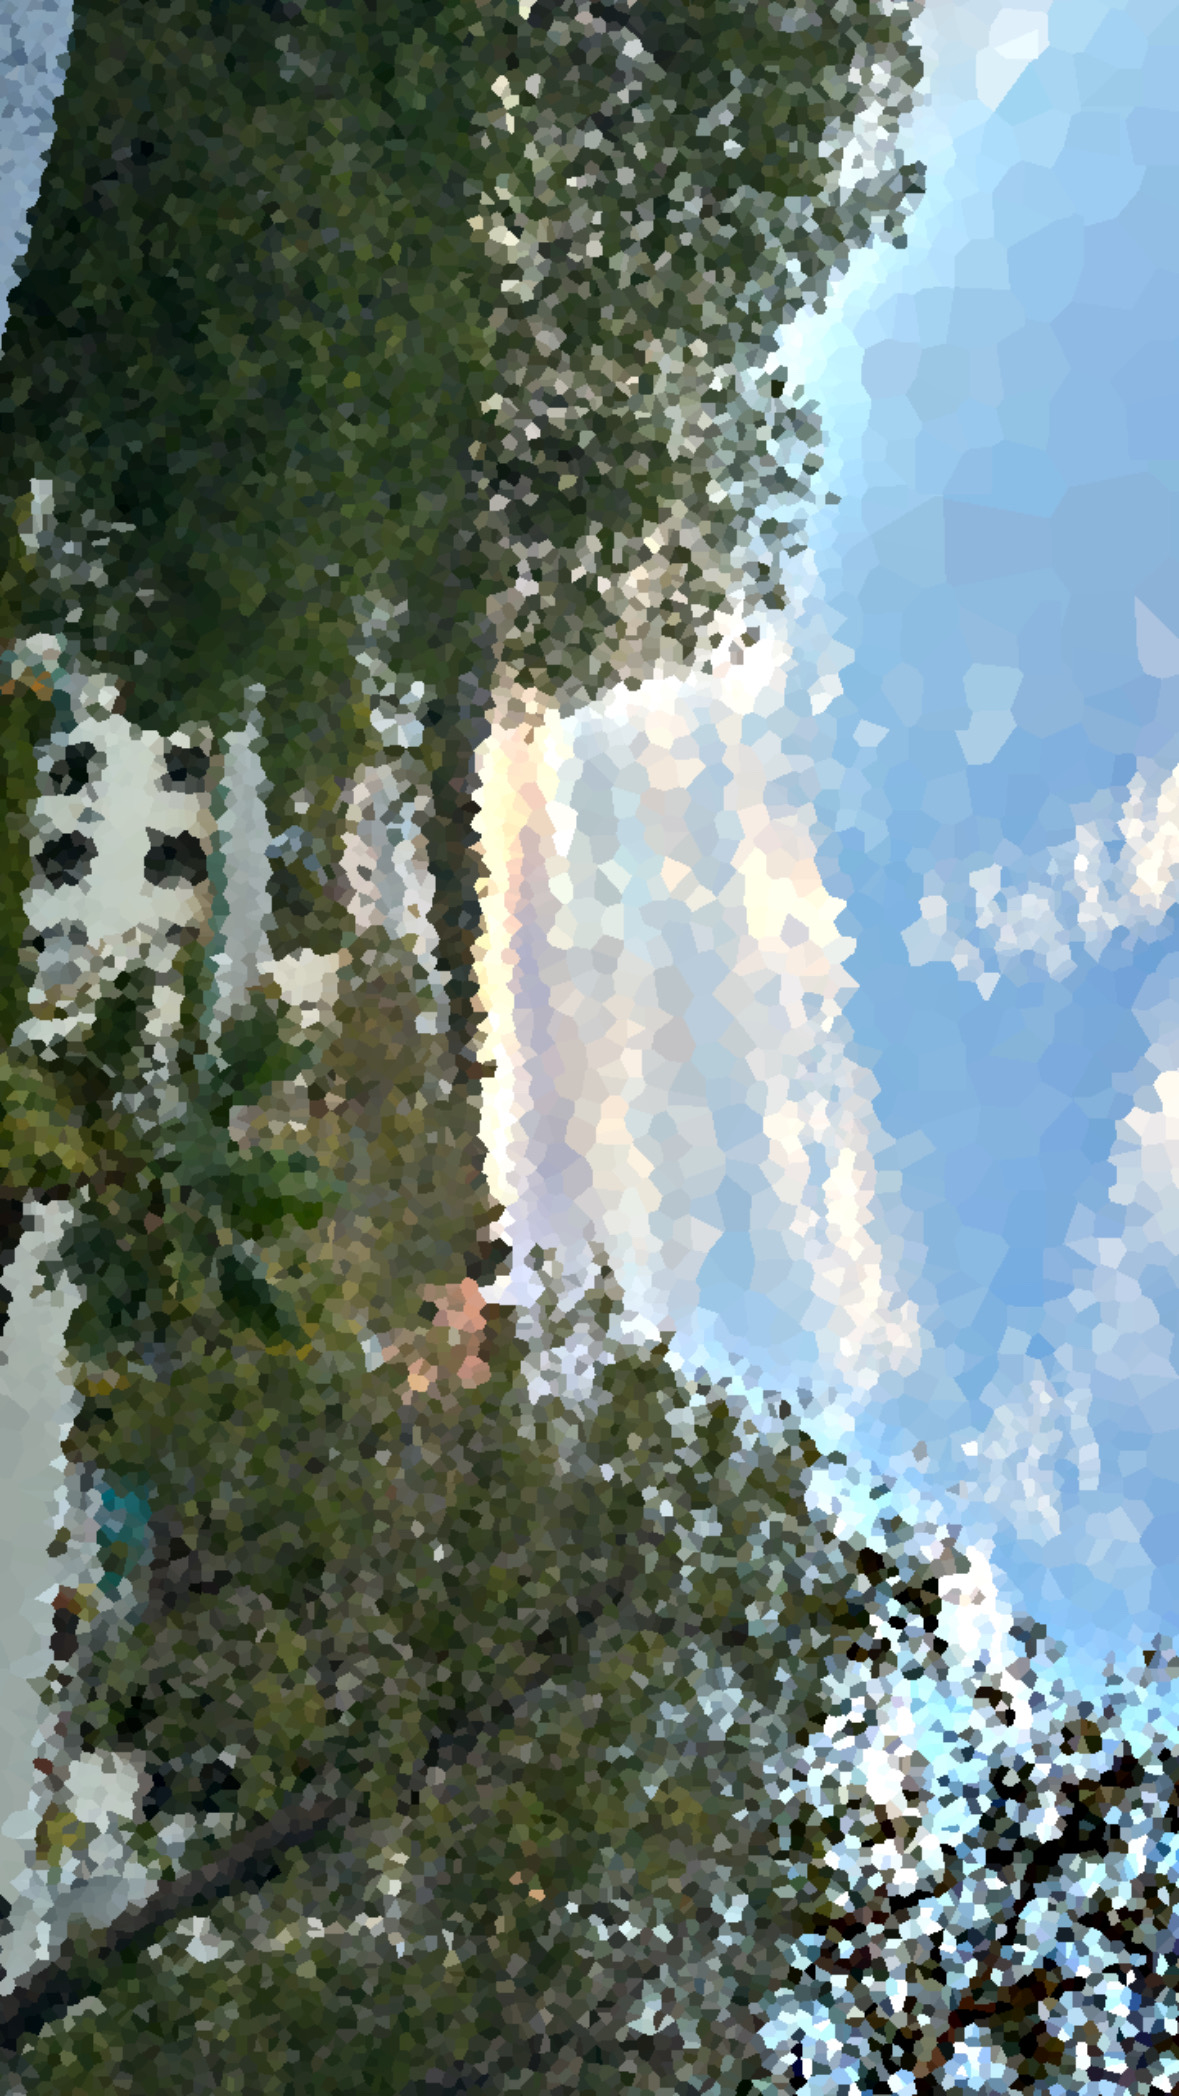
I wanted to challenge myself by creating an impressionistic, painterly style. This is very easy to do using traditional CPU code — I even did it in MATLAB! It’s a major challenge in shader code for the same reason it’s so easy everywhere else — Impressionism lends itself to stochastic processes, procedural layering of brushstrokes to gradually build up an image. You can’t do that with real-time graphics, so you have to fake it.
As this project stands, it looks like a mosaic of colored tiles. I can’t think of a painter that painted like this, and it still feels very “content-unaware”. The one way in which it is content-aware is the interesting and difficult part of this project.
Voronoi
The Book of Shaders has a great page on cellular noise, and drawing large Voronoi diagrams in GLSL. Instead of evaluating all the points, which becomes computationally expensive very quickly, their code subdivides the domain into a grid and only evaluates within the nine grid squares surrounding each texture coordinate.
What it’s evaluating are the points that each square generates. While this pattern looks fairly random, if you look closely you can see that each grid square has exactly one point making an elliptical orbit around its center:
It’s relatively easy to make a colored Voronoi diagram from here: just sample the camera input at each point, then paint its cell that color. This looks kind of cool, but I think we can do something cooler. I want to depopulate areas of low detail so they have bigger cells. This feels closer to something a painter would do.
Awareness
A detail map is easy enough to make with edge detection kernels. I might use Difference of Gaussians later, but a simple blurred edge map works just fine. From there I started with quadtree compression:
This program starts with the smallest tile size and builds up. Depending on what level of detail is under each tile, it can either color itself uniquely or join the larger tile it is a part of. I like this backwards approach over the more typical subdividing, because it allows for a cleaner separation of high- and low-detail areas instead of splitting up regions unnecessarily.
To make the Voronoi diagram, I have each uniquely colored tile generate a point. But correctly finding the closest point to each pixel isn’t that easy; if the pixel is in a larger tile, its closest point can be in a smaller non-adjacent tile that is difficult to find without a broad search. I thought it would suffice to look at the eight surrounding small tiles like in the regular Voronoi algorithm, find what larger tile each one belongs to, if any, and then check the point generated by that one.
It turned out that I had to check 80 tiles in a 9x9 square, a little over the size of the largest tiles, in order to completely avoid errors. This was a bit disappointing; I hoped the quadtree would be an efficient solution but it seems that bruteforcing is still necessary, and the quadtree only serves to allocate the points. With that in mind, I started thinking of simpler ways to allocate them. I also wanted something that looked more organic — the square grid is distorted but you can still kind of tell it’s there, especially when compared to a Voronoi diagram that’s been relaxed via Lloyd’s Algorithm.
Dithering
I tried applying an approach based on dithering, with each square randomly picking a threshold and activating its point if the detail map passes the threshold at that point. This turned out not to produce the uniformity I needed; in low-detail areas the dots would clump up rather than being scattered evenly. Random dithering dates back to at least 1951, and I can see why it wasn’t widely adopted.
Ordered dithering with a matrix looks better, but it does just make a grid pattern again. I tried adding a twist: rotating the matrices to break up repetition. Keeping the even distribution requires the matrices and their rotations to be designed with intention.