Light Mirror
The Concept
My first software projects were webcam filters — interactive sketches that invite the viewer to interact with them. This was already a well-traveled path, with artists like Danny Rozin and Breakfast Studio using depth-sensing cameras to extract a simple silhouette of the user in all lighting conditions.
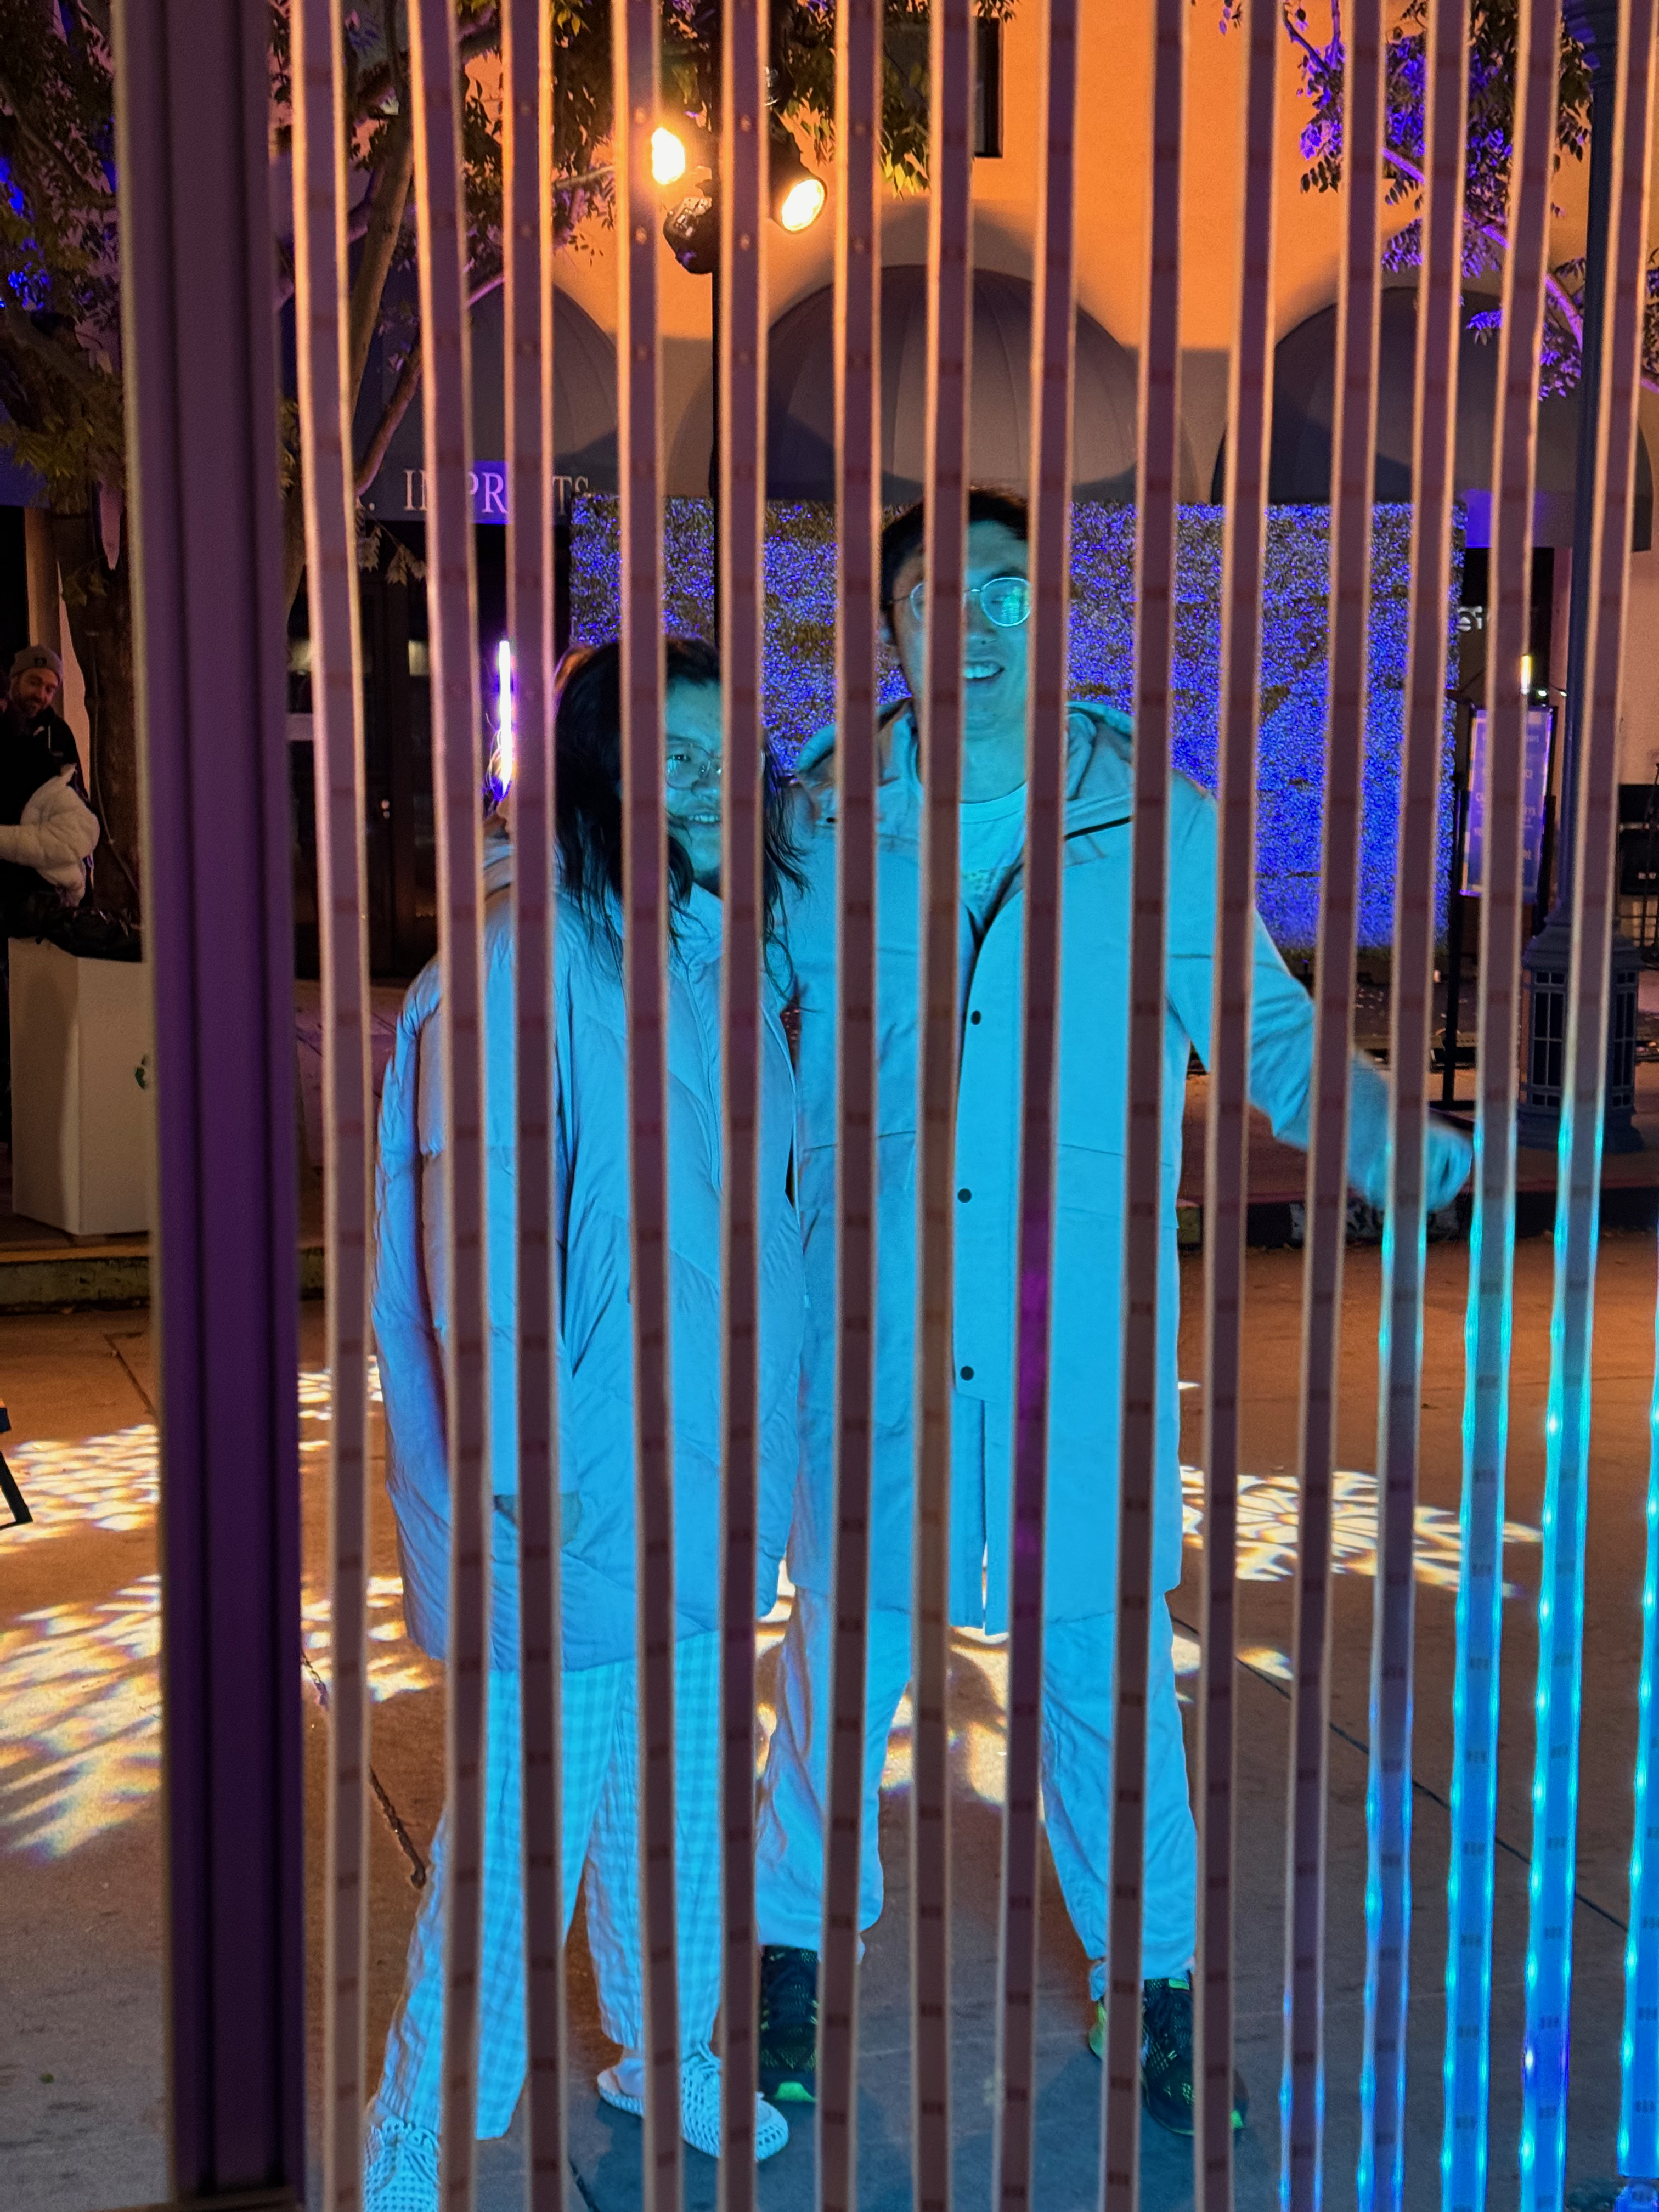
These kinds of installations are quite popular, but I saw potential for one that brings the audience even closer by creating a 1-to-1 image — as in, you can hold your hand right up to the piece and see its silhouette right on the other side of the imaginary glass, as if it were a shadow cast by the setting sun.
The Tech
The sensor of choice is an Xbox Kinect sensor. The Kinect v2 is massively over-engineered for its original purpose as an Xbox accessory. It’s equipped with a time-of-flight depth sensing camera, where the Kinect v1 and most other sensors such as Intel RealSense cameras use stereoscopic cameras or dot projectors to gather data.
The working principle of this sensor is that the speed of light is used to measure distance. A blaster next to the camera sends out pulses of infared light, and the camera can measure, for each pixel, how long it took for the pulse to be reflected back. Thus each pixel creates a point in 3D space, and the camera’s entire view generates a point cloud.
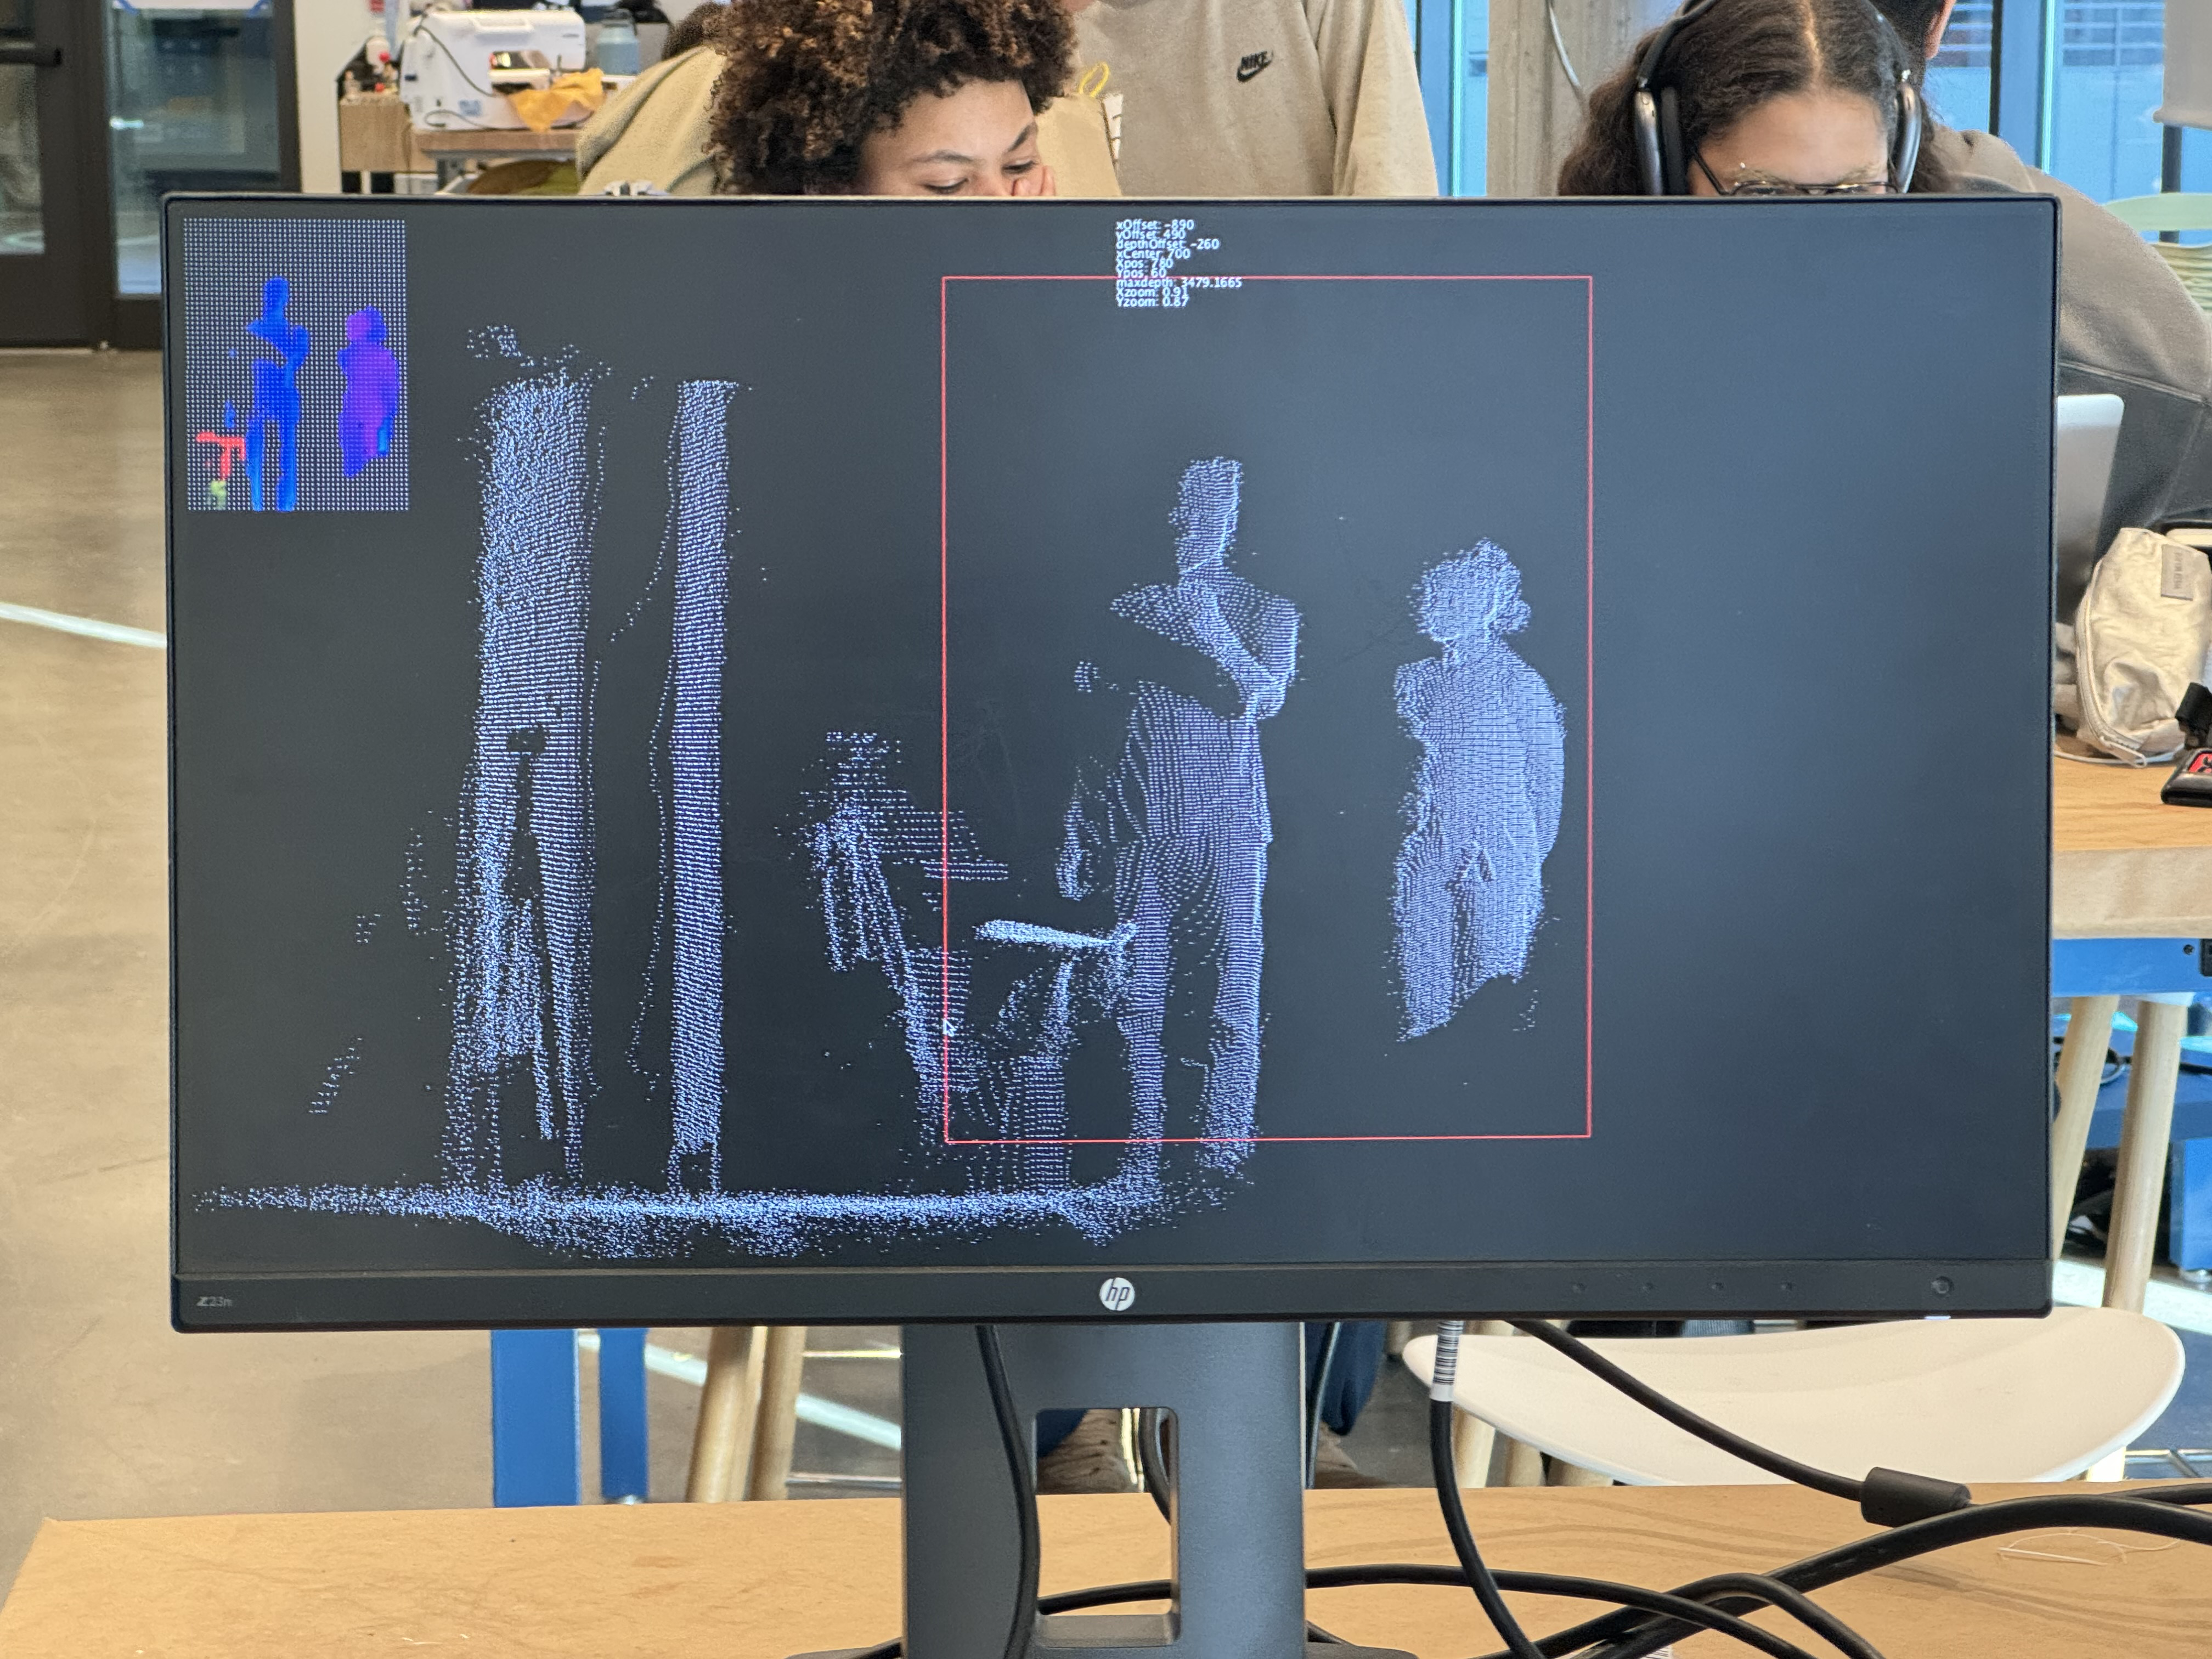
Each point is given as a vector, and has to be put through a series of transformations to get the point cloud aligned with the physical position of the display. The sensors are turned exactly 45 degrees inwards, so you need to multiply each vector with a rotation matrix. Then they have to be scaled in two directions because you’re not supposed to be doing this, so why would they make the point cloud not distorted? Then you have to move in the x and y directions until you’re facing your own silhouette. With the point cloud aligned to the physical position of the display, I removed the z-component to orthographically project it onto a 2D surface. Add some styling and you have this:
The Display
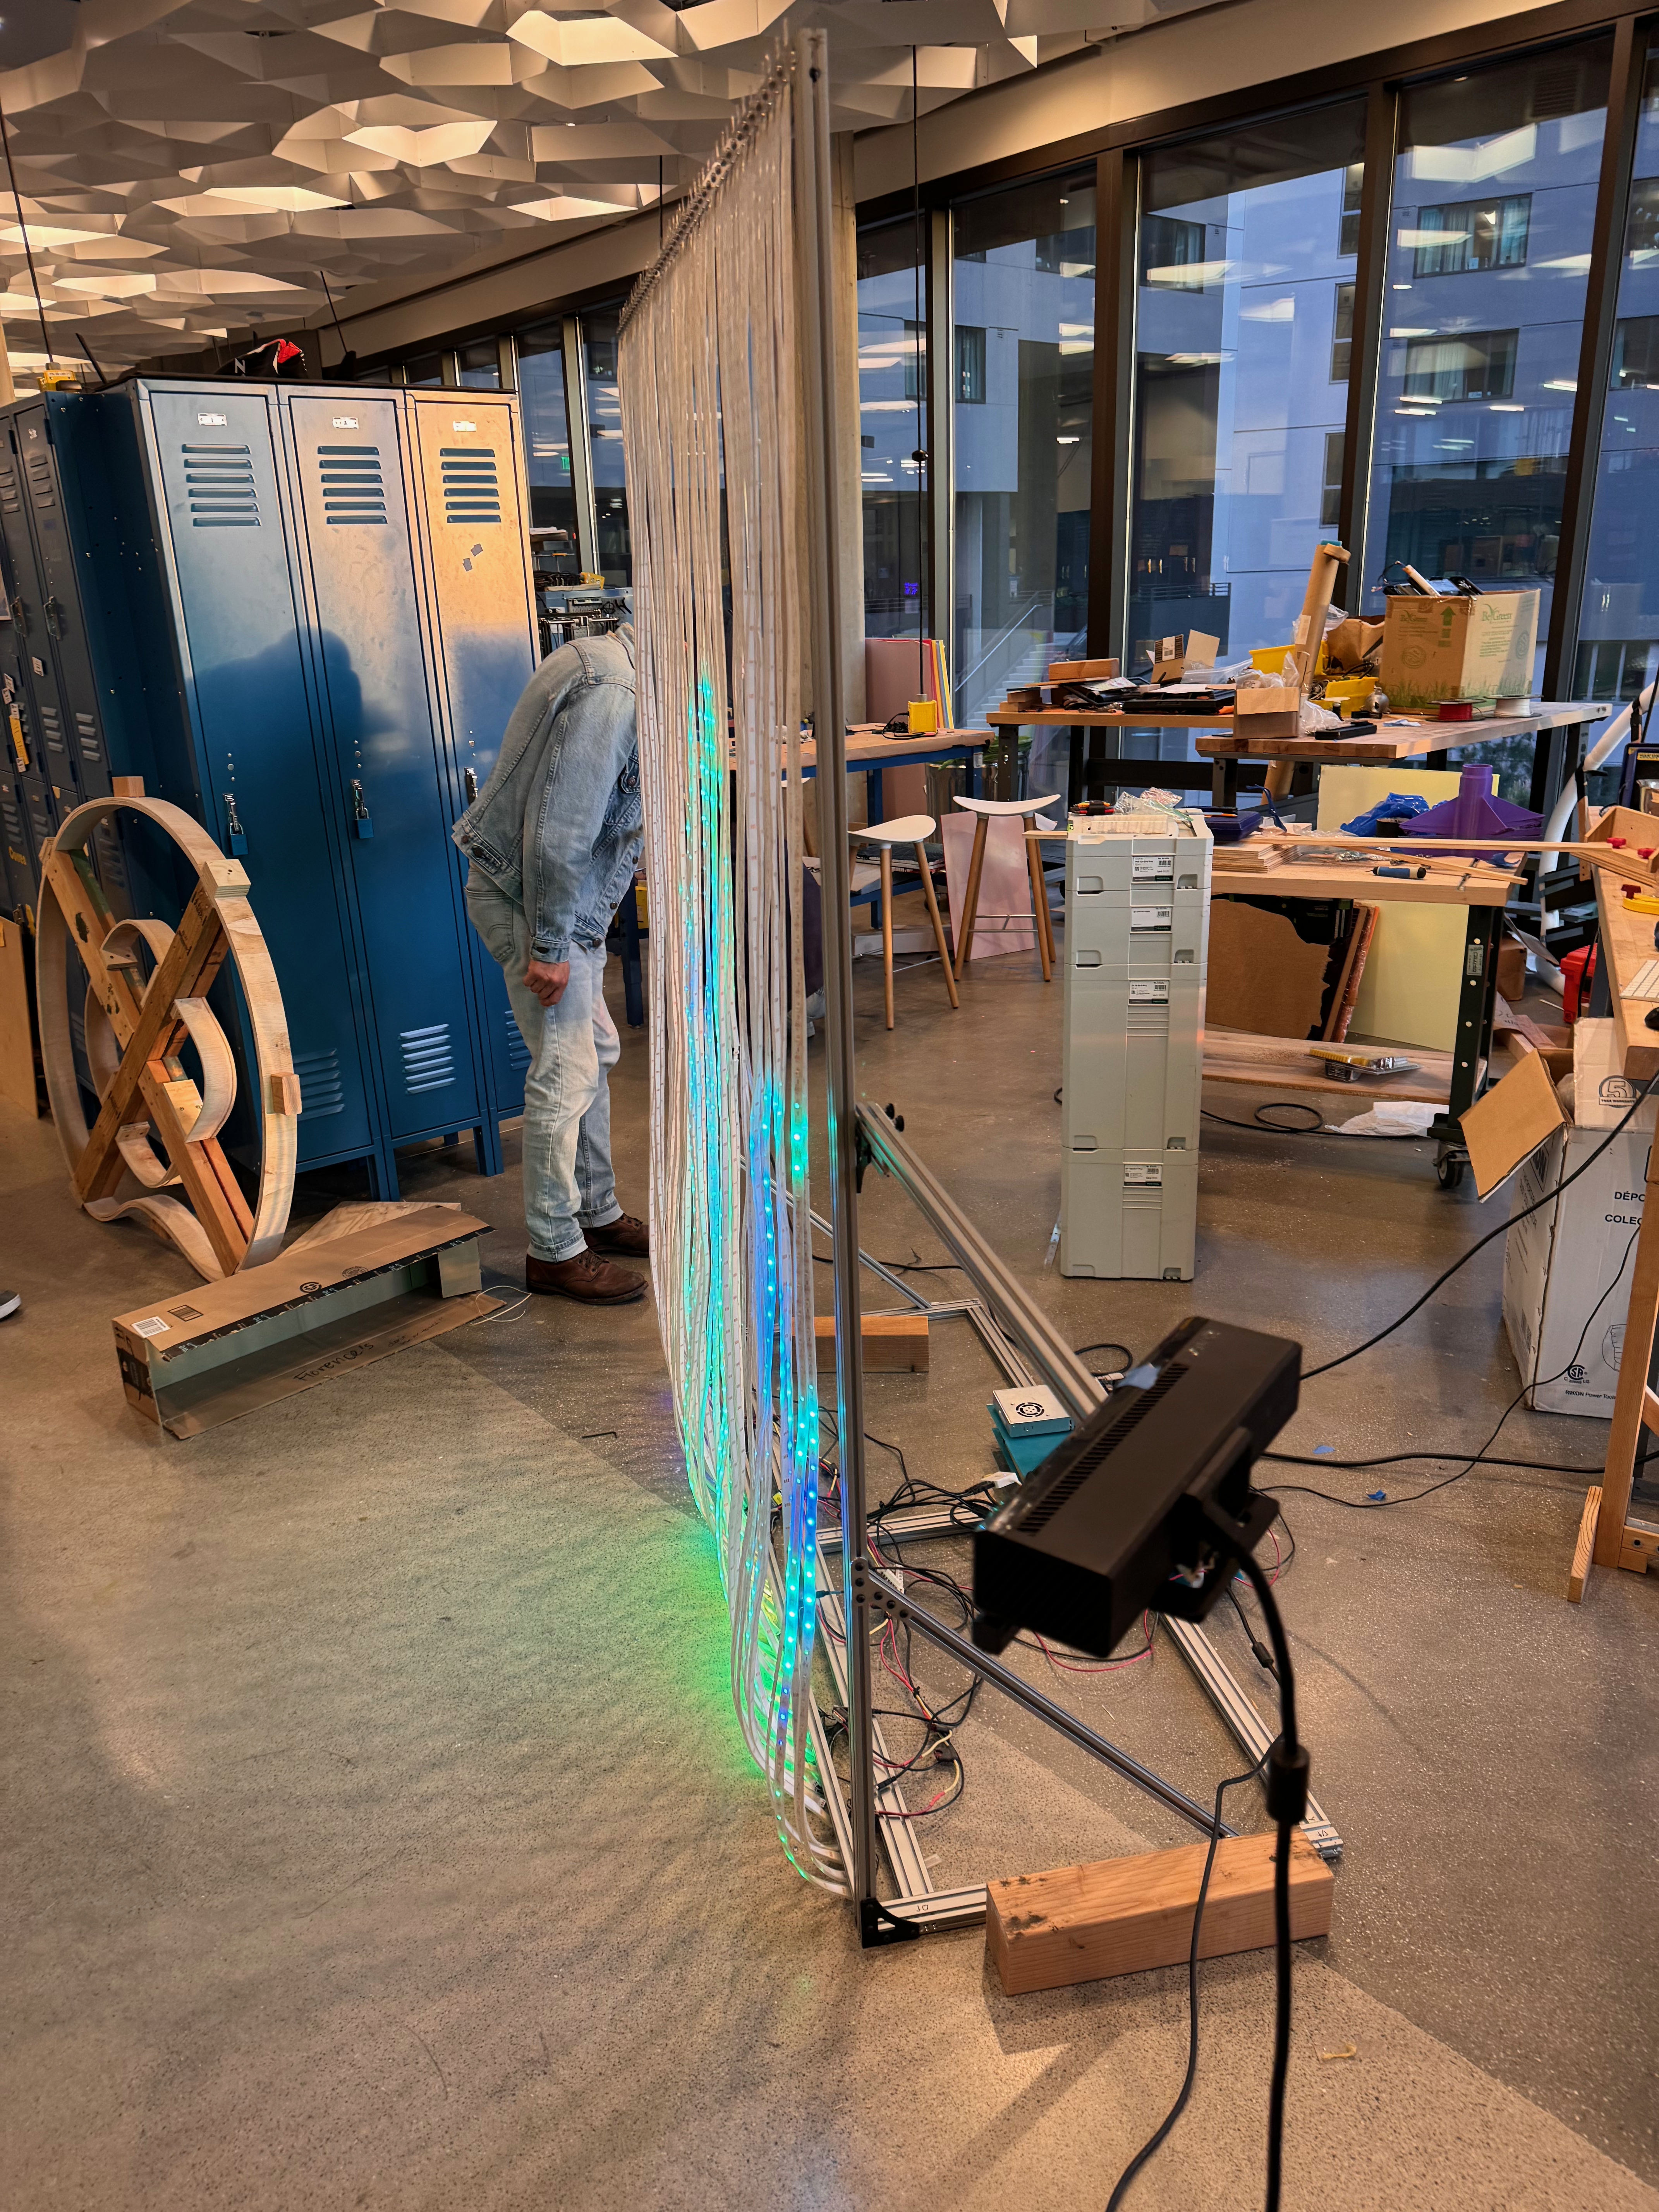
The projector was a necessity — I wanted to make a real display of course, but building one large enough was out of my budget. The project was shelved until I transfered to UCLA and started hanging out at the Makerspace. I noticed that they had a lot of NeoPixel strips — about 100 meters, worth a few thousand dollars. I asked some version of “can I use basically all of these to make this project?”, and was asked some version of “what else do you need?”.
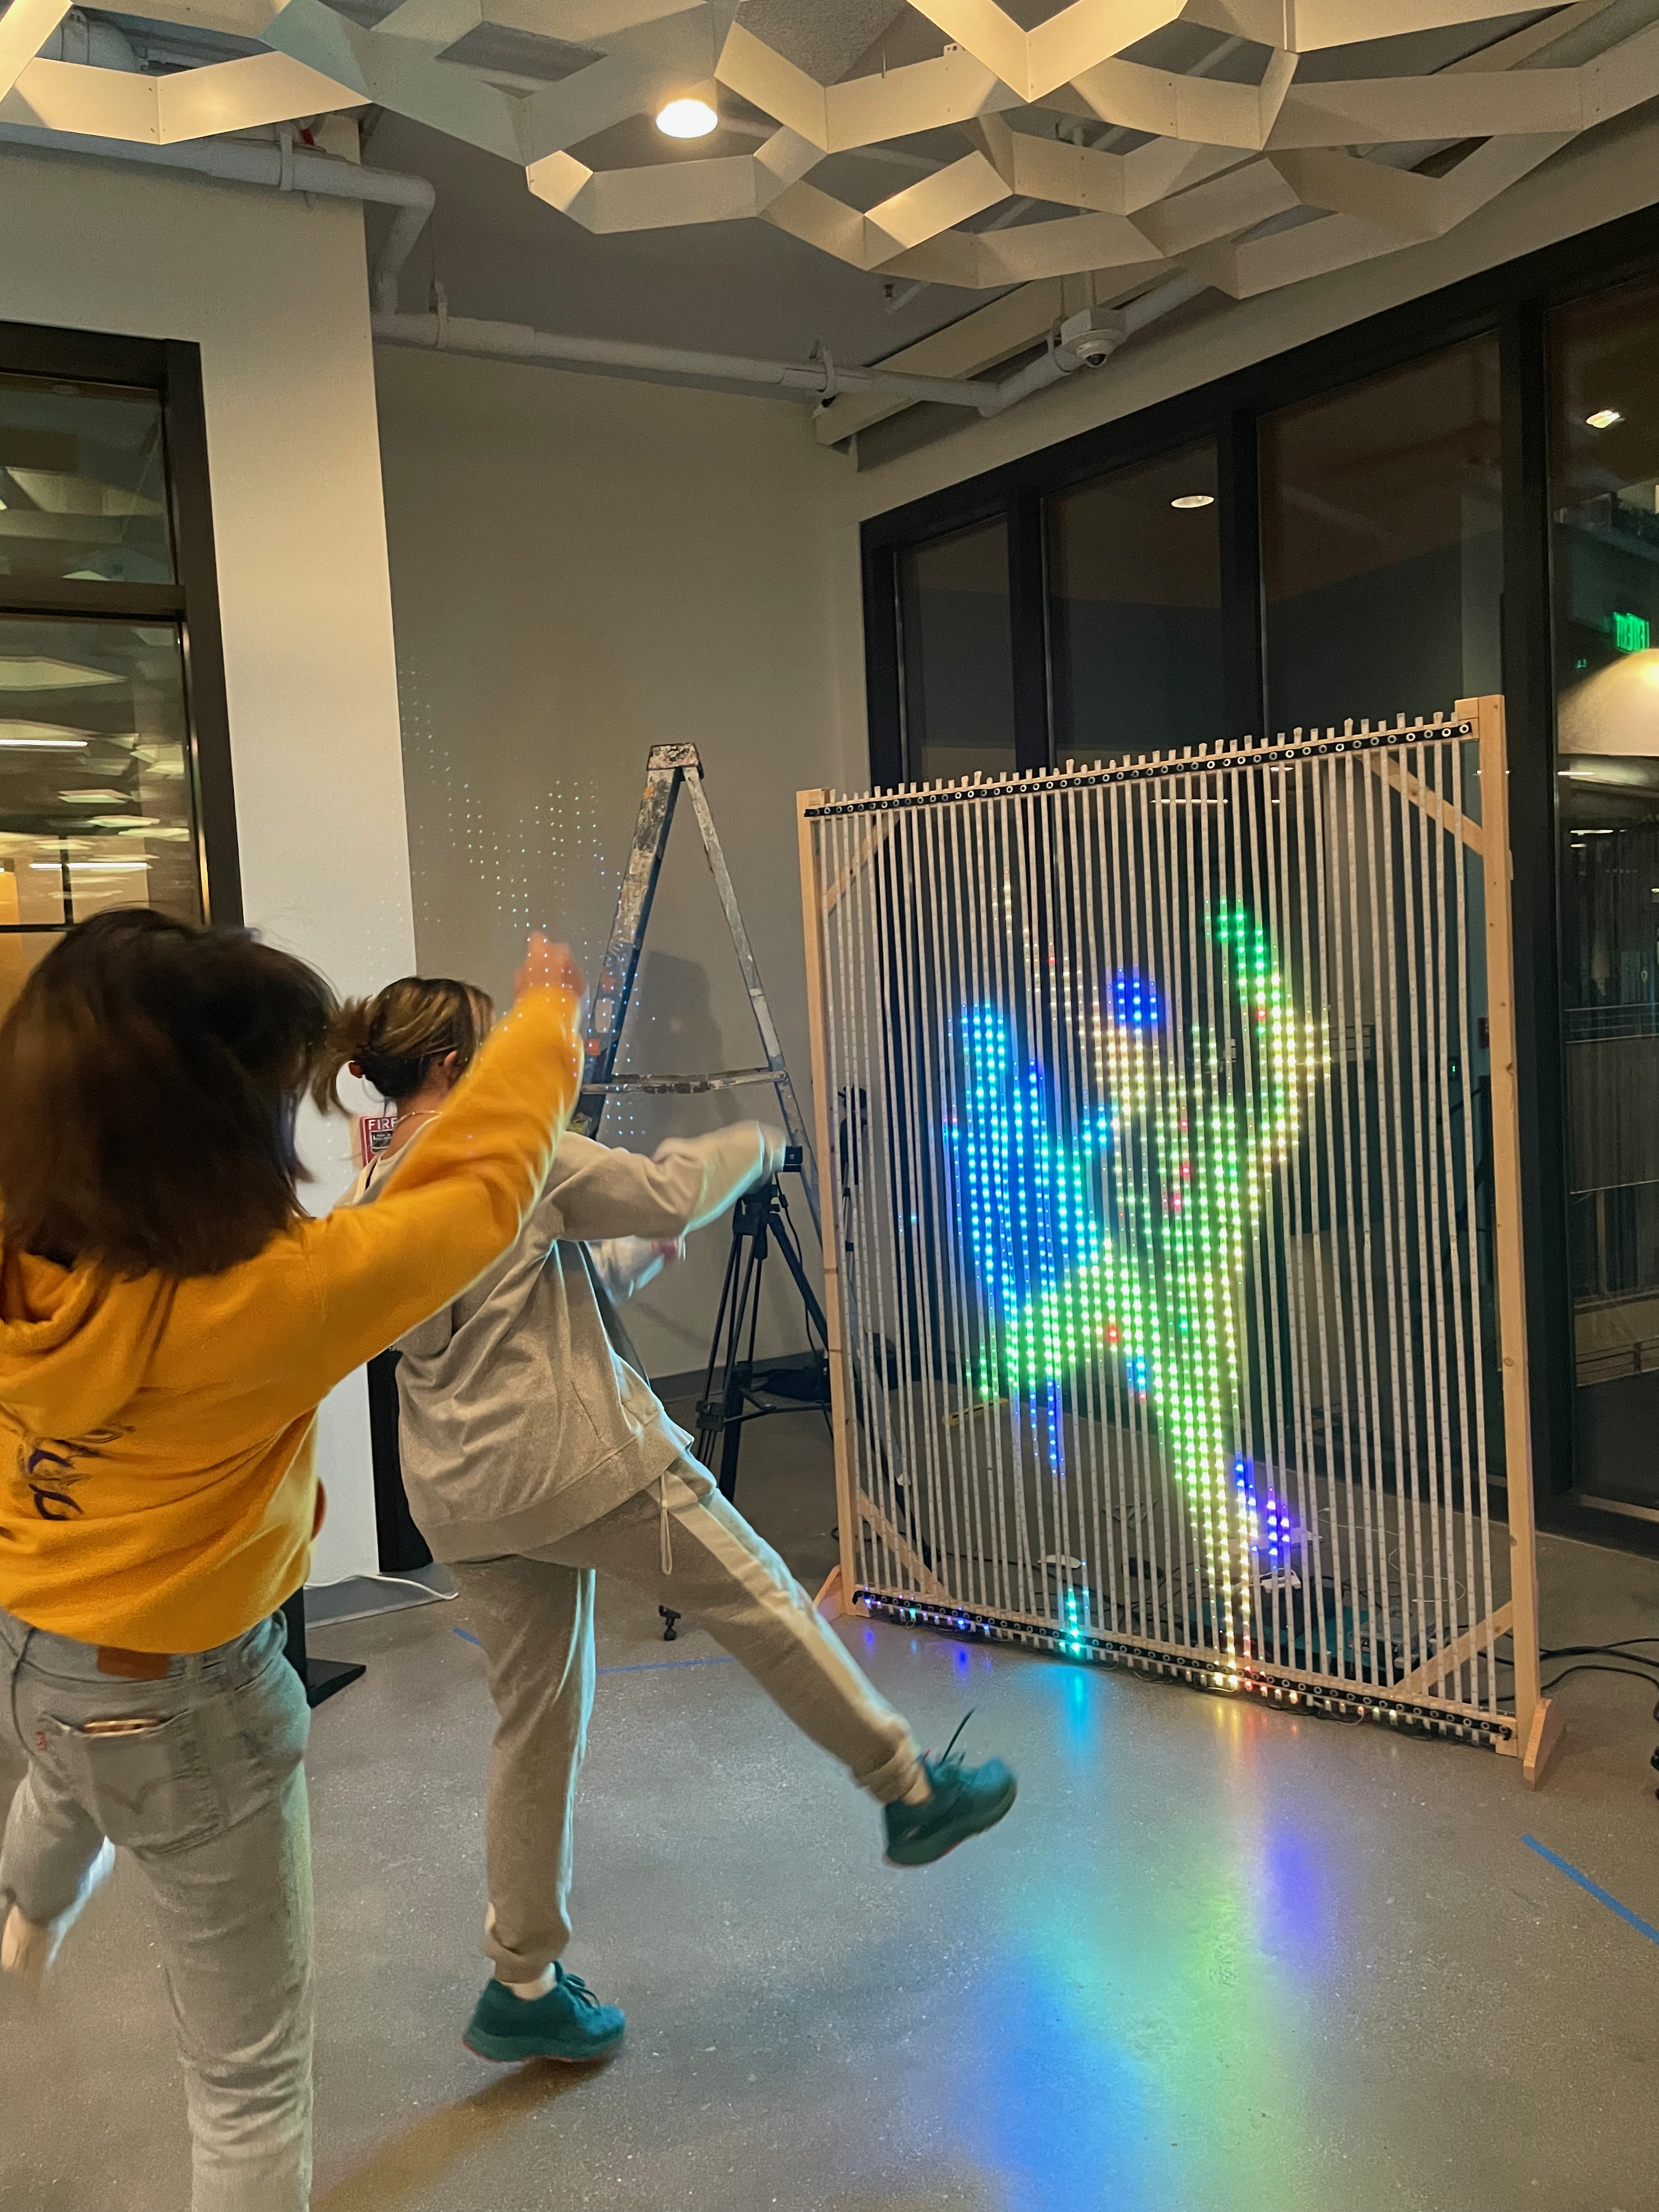
I built a 45x60 pixel display, 1.5 meters wide with 2 meter strips running vertically. The LEDs came in 5-meter reels, so nine of the strips had to be spliced together from the remaining 1-meter sections. Data and power each required two leads per strip, for a total of 180 solder connections. I used the discontinued FadeCandy controllers, which each came with 8 pins. I wanted each 2-meter strip to have its own pin, so 6 boards in total were used. In hindsight, this was overkill — the display could be driven at well over 60 hertz using one board, if the strips were wired sequentially into 5 or more sections each driven by one pin. But driving them all in parallel was cleaner and made the system more reliable, at least.
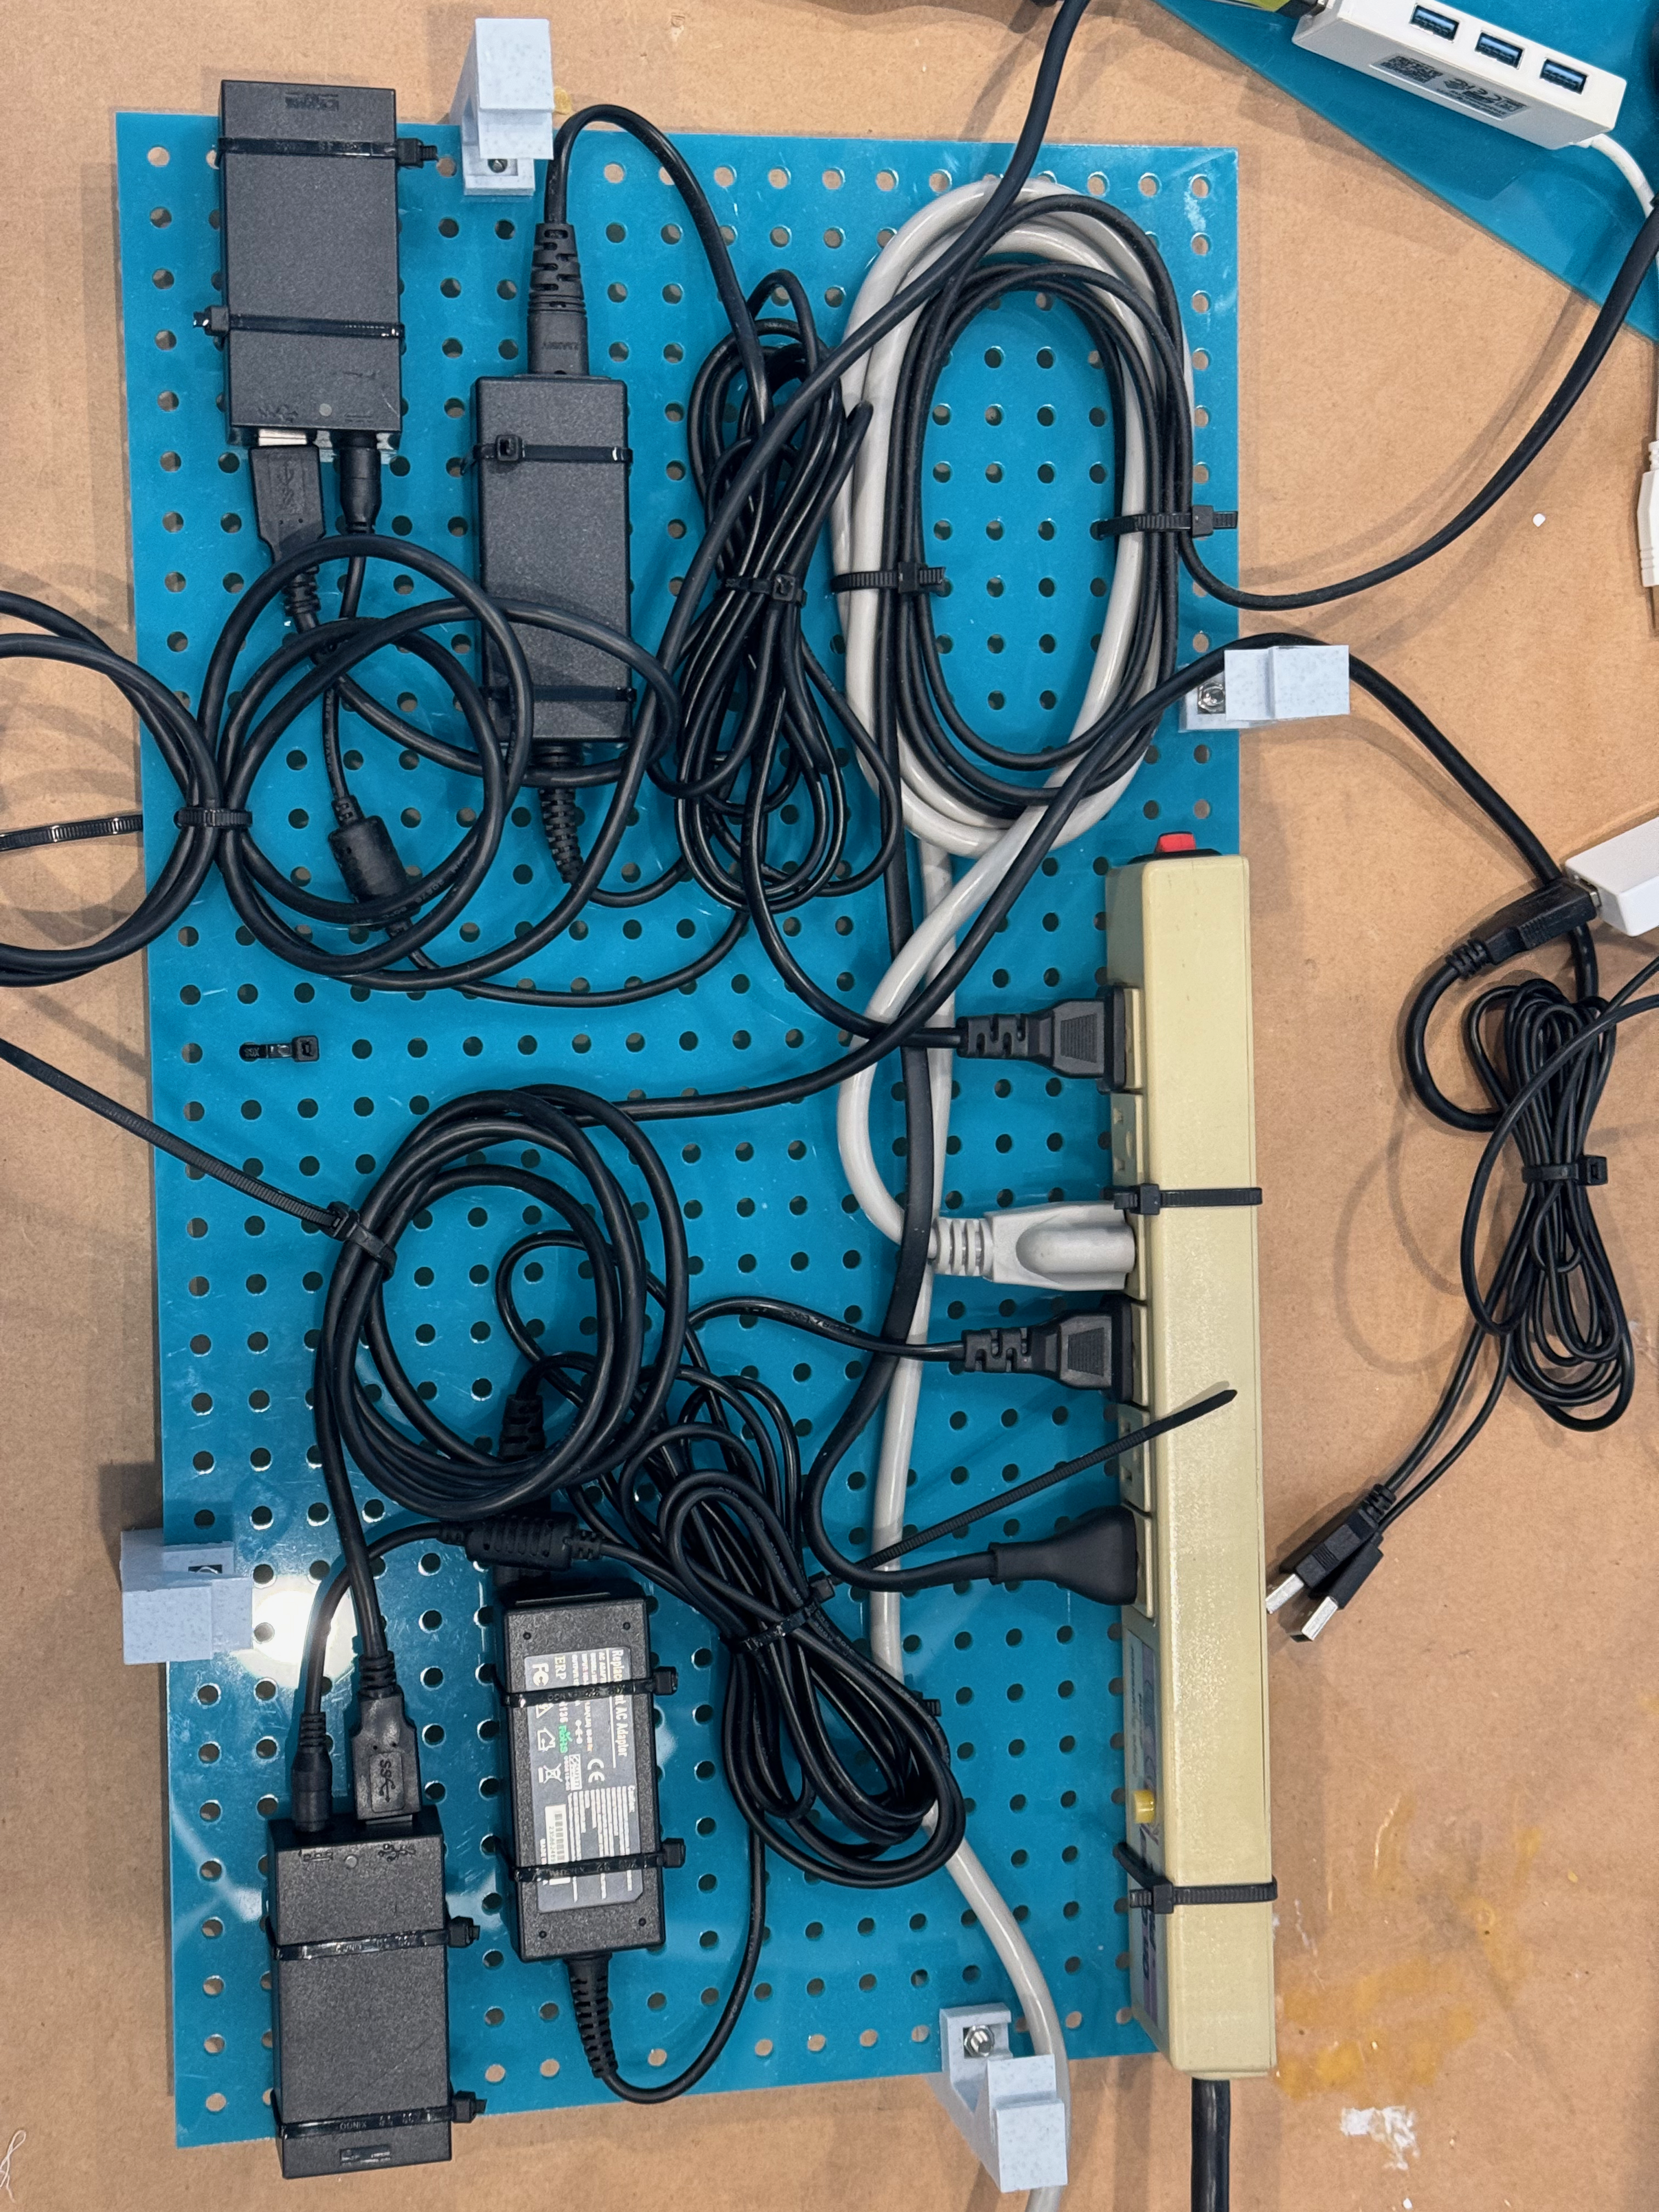
[Wiring]
The first version of the display had a wood frame, with elastic holding the strips in place. It worked well enough, but the strips would constantly get pulled loose or start slipping out under their own weight and have to be tightened again. All of the electronics including the computer that drove this setup were mounted on a sandwich of laser-cut acrylic, with 3D printed standoffs holding the two pieces apart:
I recently built a new display out of aluminum extrusion, assembled with M5 screws in blind joints. This one has wheels and, more importantly, fixed arms that hold the sensors out to each side. The sensors were on tripods before, and I had to calibrate for their positions every single setup, and every time some idiot would bump into them.
The Software
The ideal version of this piece would be a display where each pixel has a depth sensor looking straight out, so that each pixel can see and respond to objects within its “column”. You can picture it as an array of laser beams, and the ones that are broken create the silhouette of the subject.
However, placing a suitable time-of-flight sensor on each pixel would increase the cost by an order of magnitude. So I stuck with the Kinect sensors and worked backwards from this ideal form to write the software. The final image displayed on the 45x60 panel is essentially a 2D histogram of the point cloud: each pixel has its own square tube projecting out from it, and all of the points that get caught in that tube are added to its bucket.
[More Cloud]
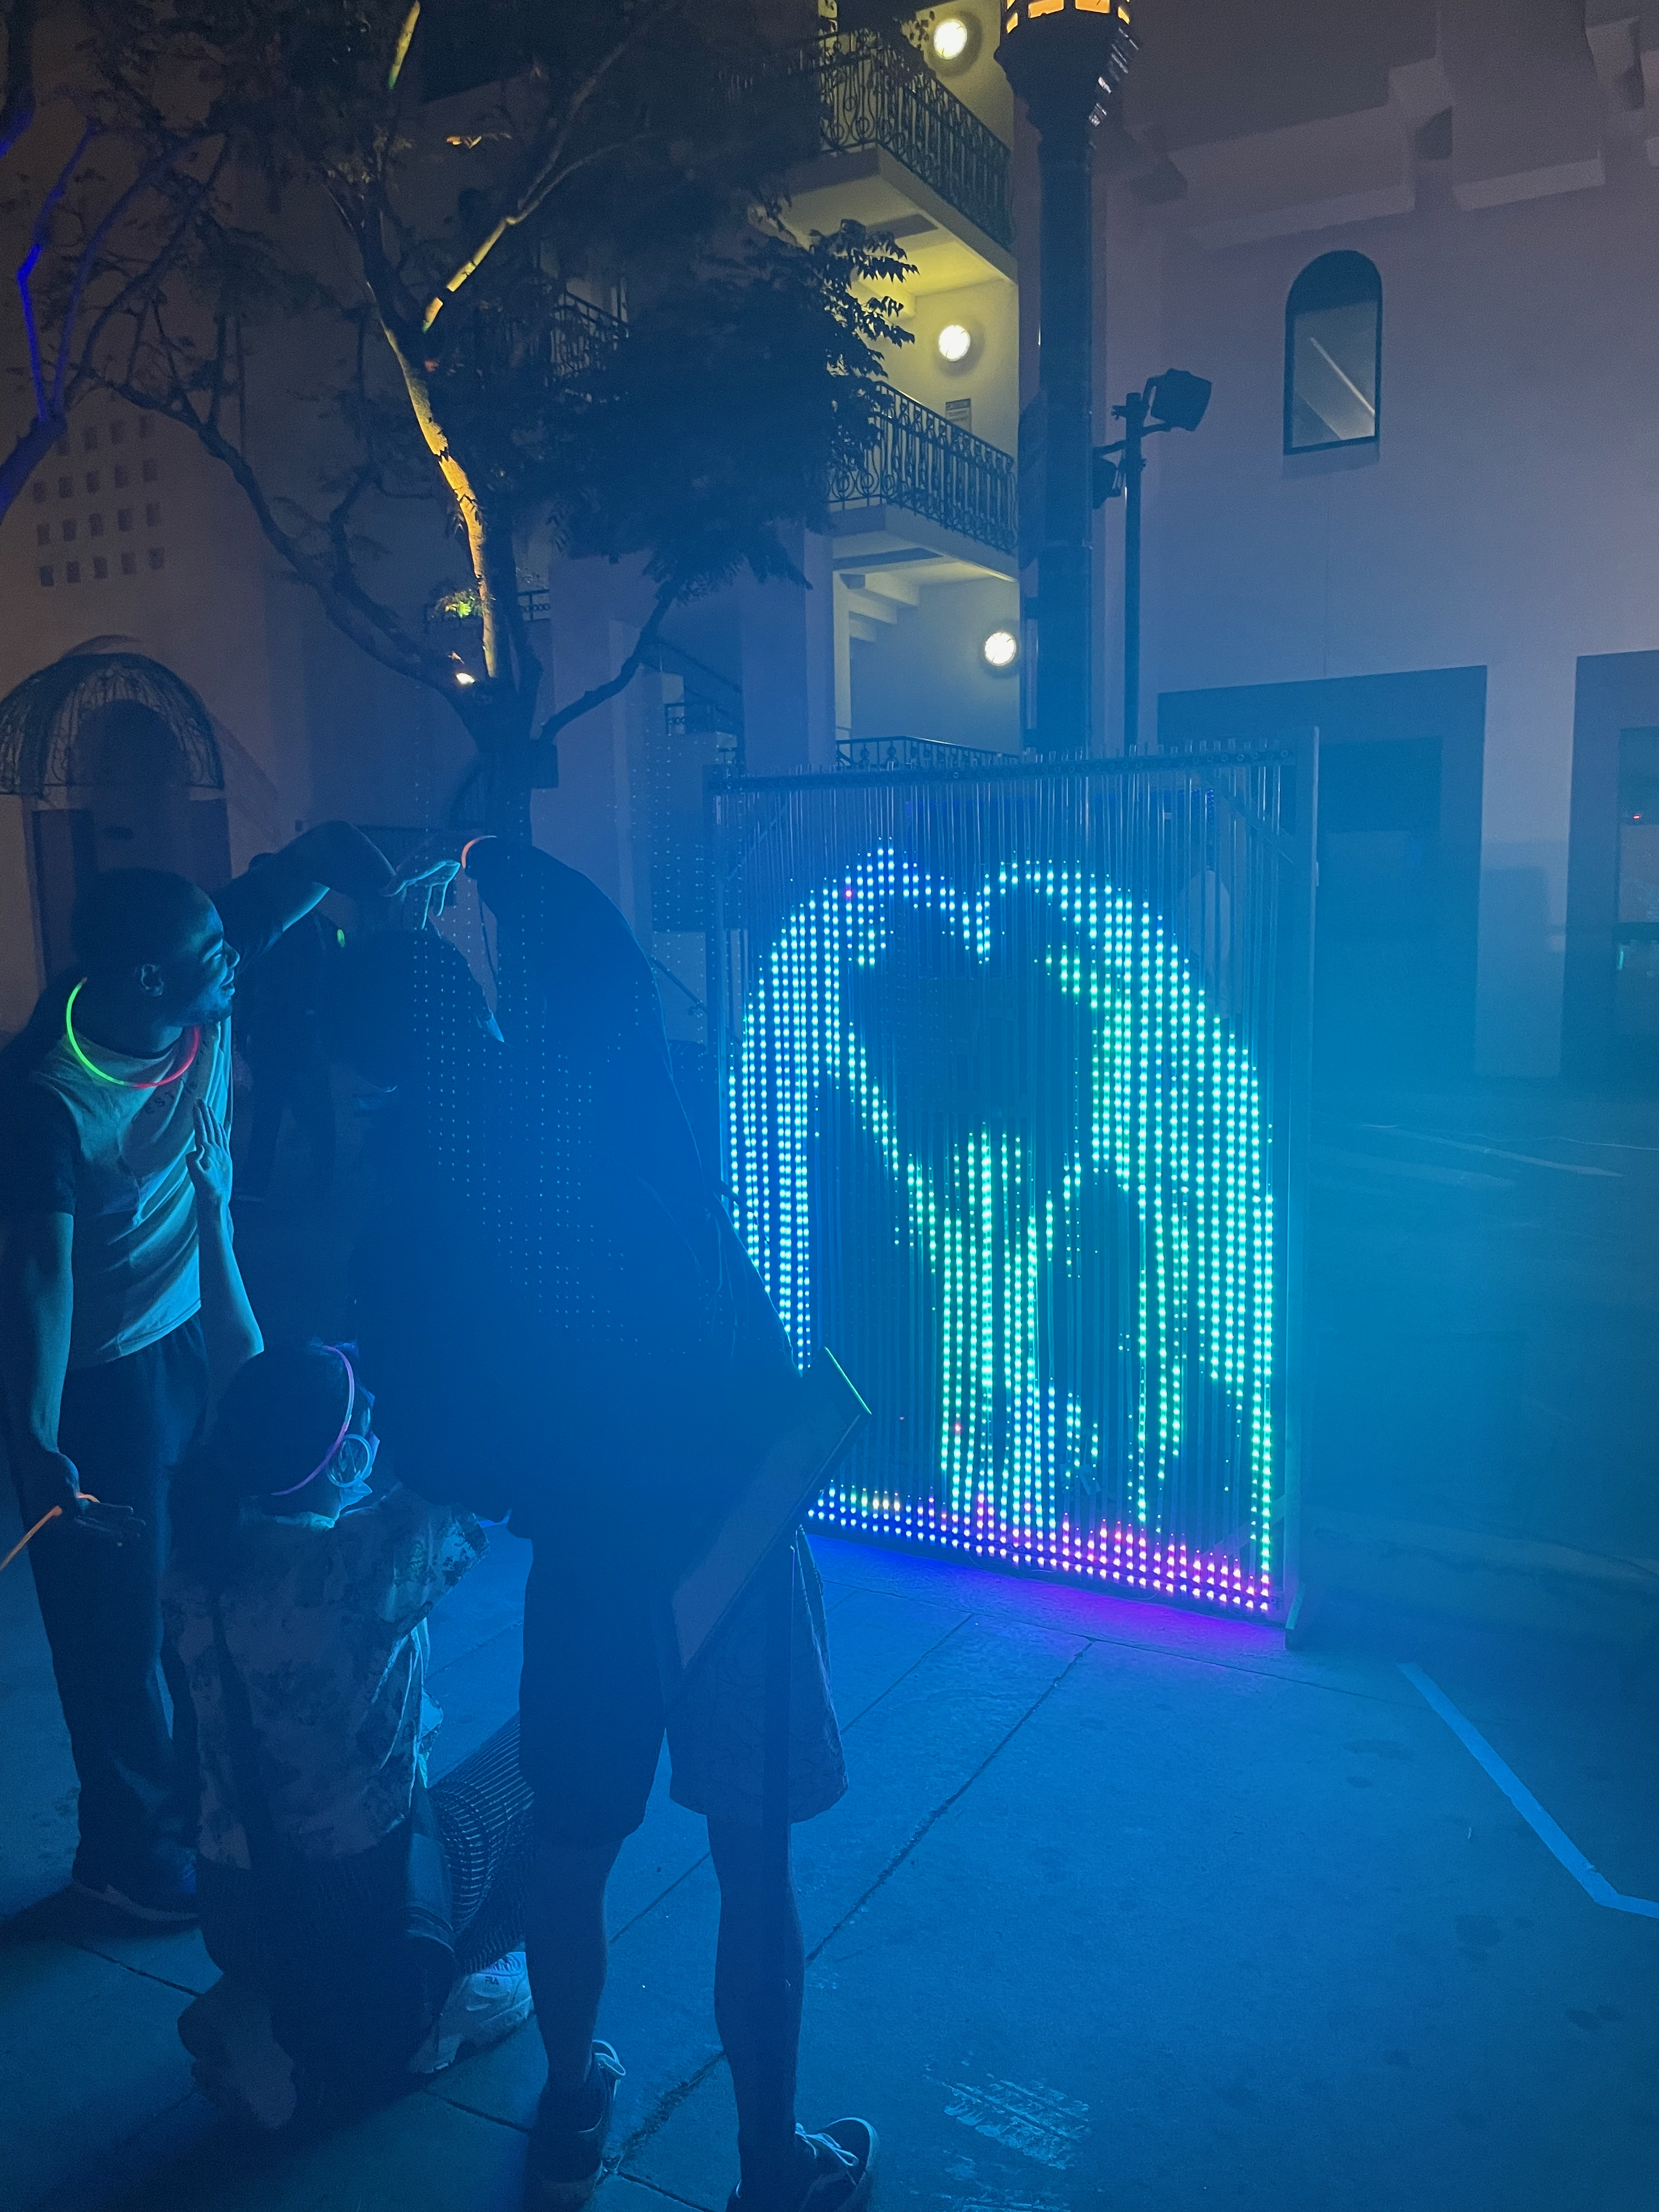
Note that in this configuration, the histogram is represented by the brightness of each pixel, not the hue. The hue is mapped to the minimum distance of points in the tube, thus simulating the distance measurement that an individual time-of-flight sensor would gather.
Gallery