Indigo
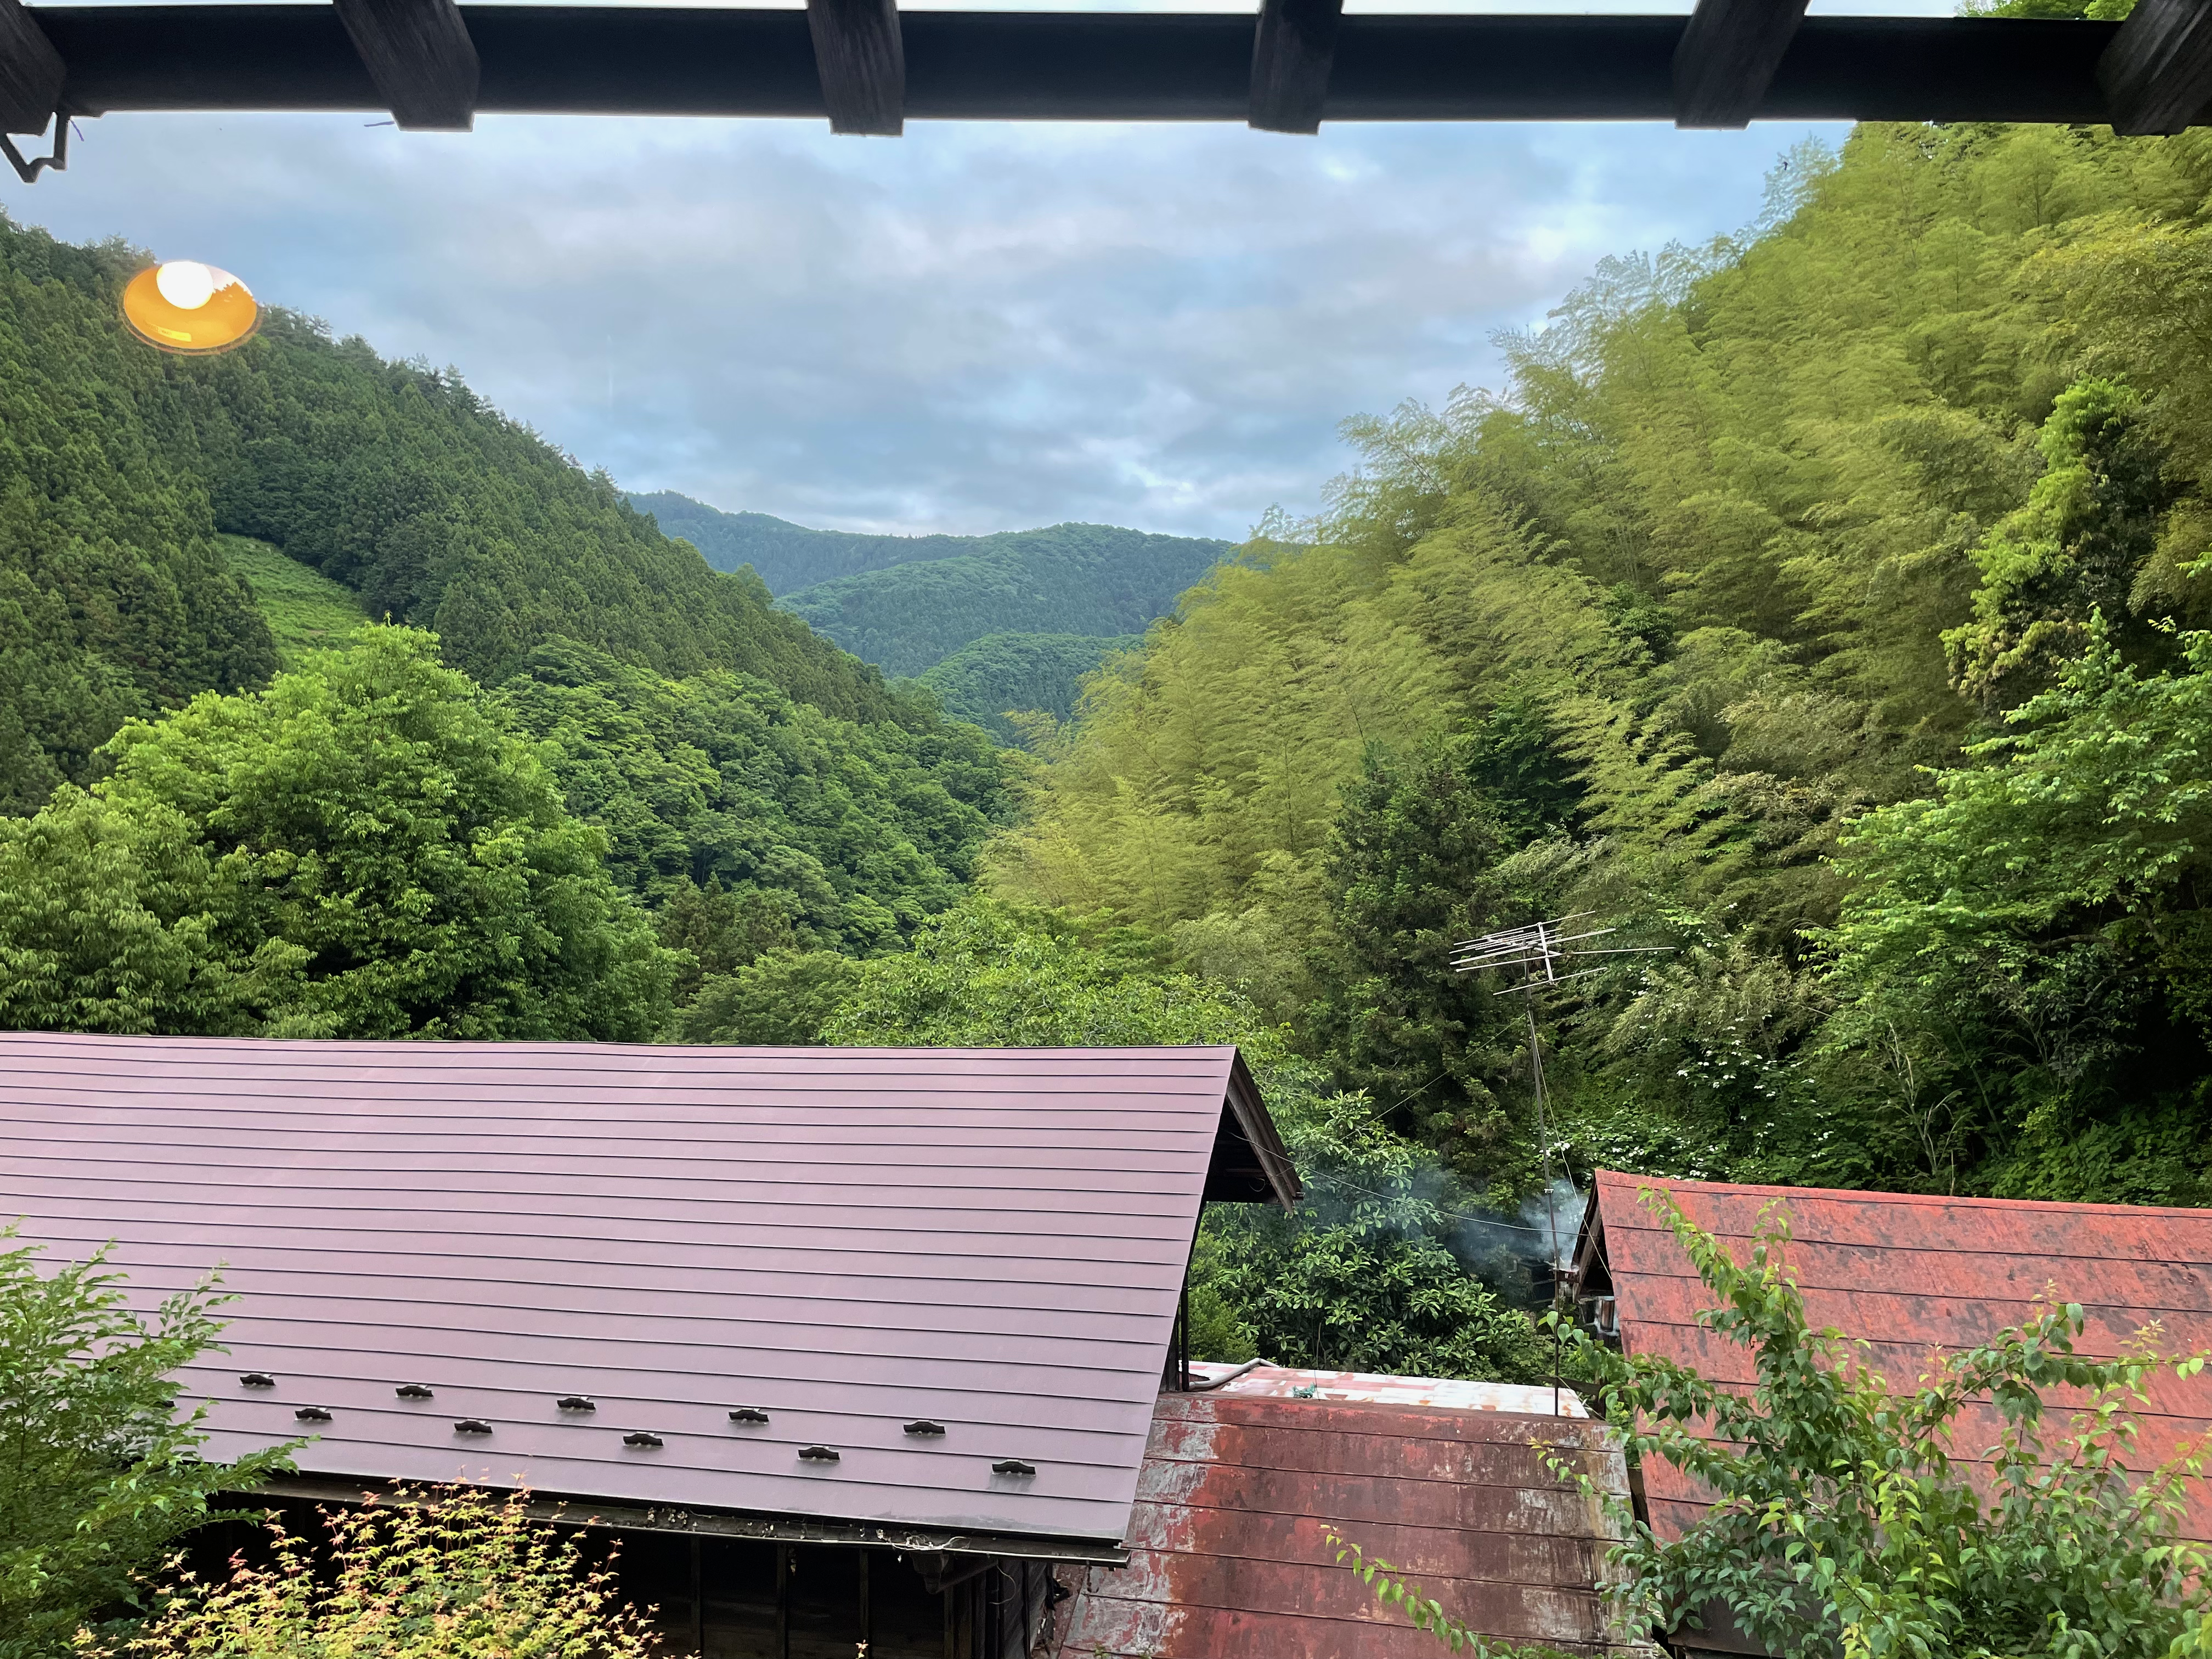
This past spring, I had the opportunity to take an intensive class on dyeing with indigo. For two weeks, I lived in the mountains of Japan with 9 other students, staying with our teacher Bryan in a 150-year-old farmhouse. I was quite an outsider in this group — all but one of my classmates were in the fashion industry. I was only there to take my aunt’s place in the class, and came in with zero prior experience in dyeing. Because of this, I’m especially proud of what I was able to accomplish in my two weeks there.
Indigo is fascinating to work with. It makes a mechanical bond with the fabric instead of a chemical bond like most dyes; this is what allows it to gradually fall off and create the fade patterns seen in denim. The mechanical bond is formed when oxygen joins loose dye molecules together into chains that affix themselves to the fibers.
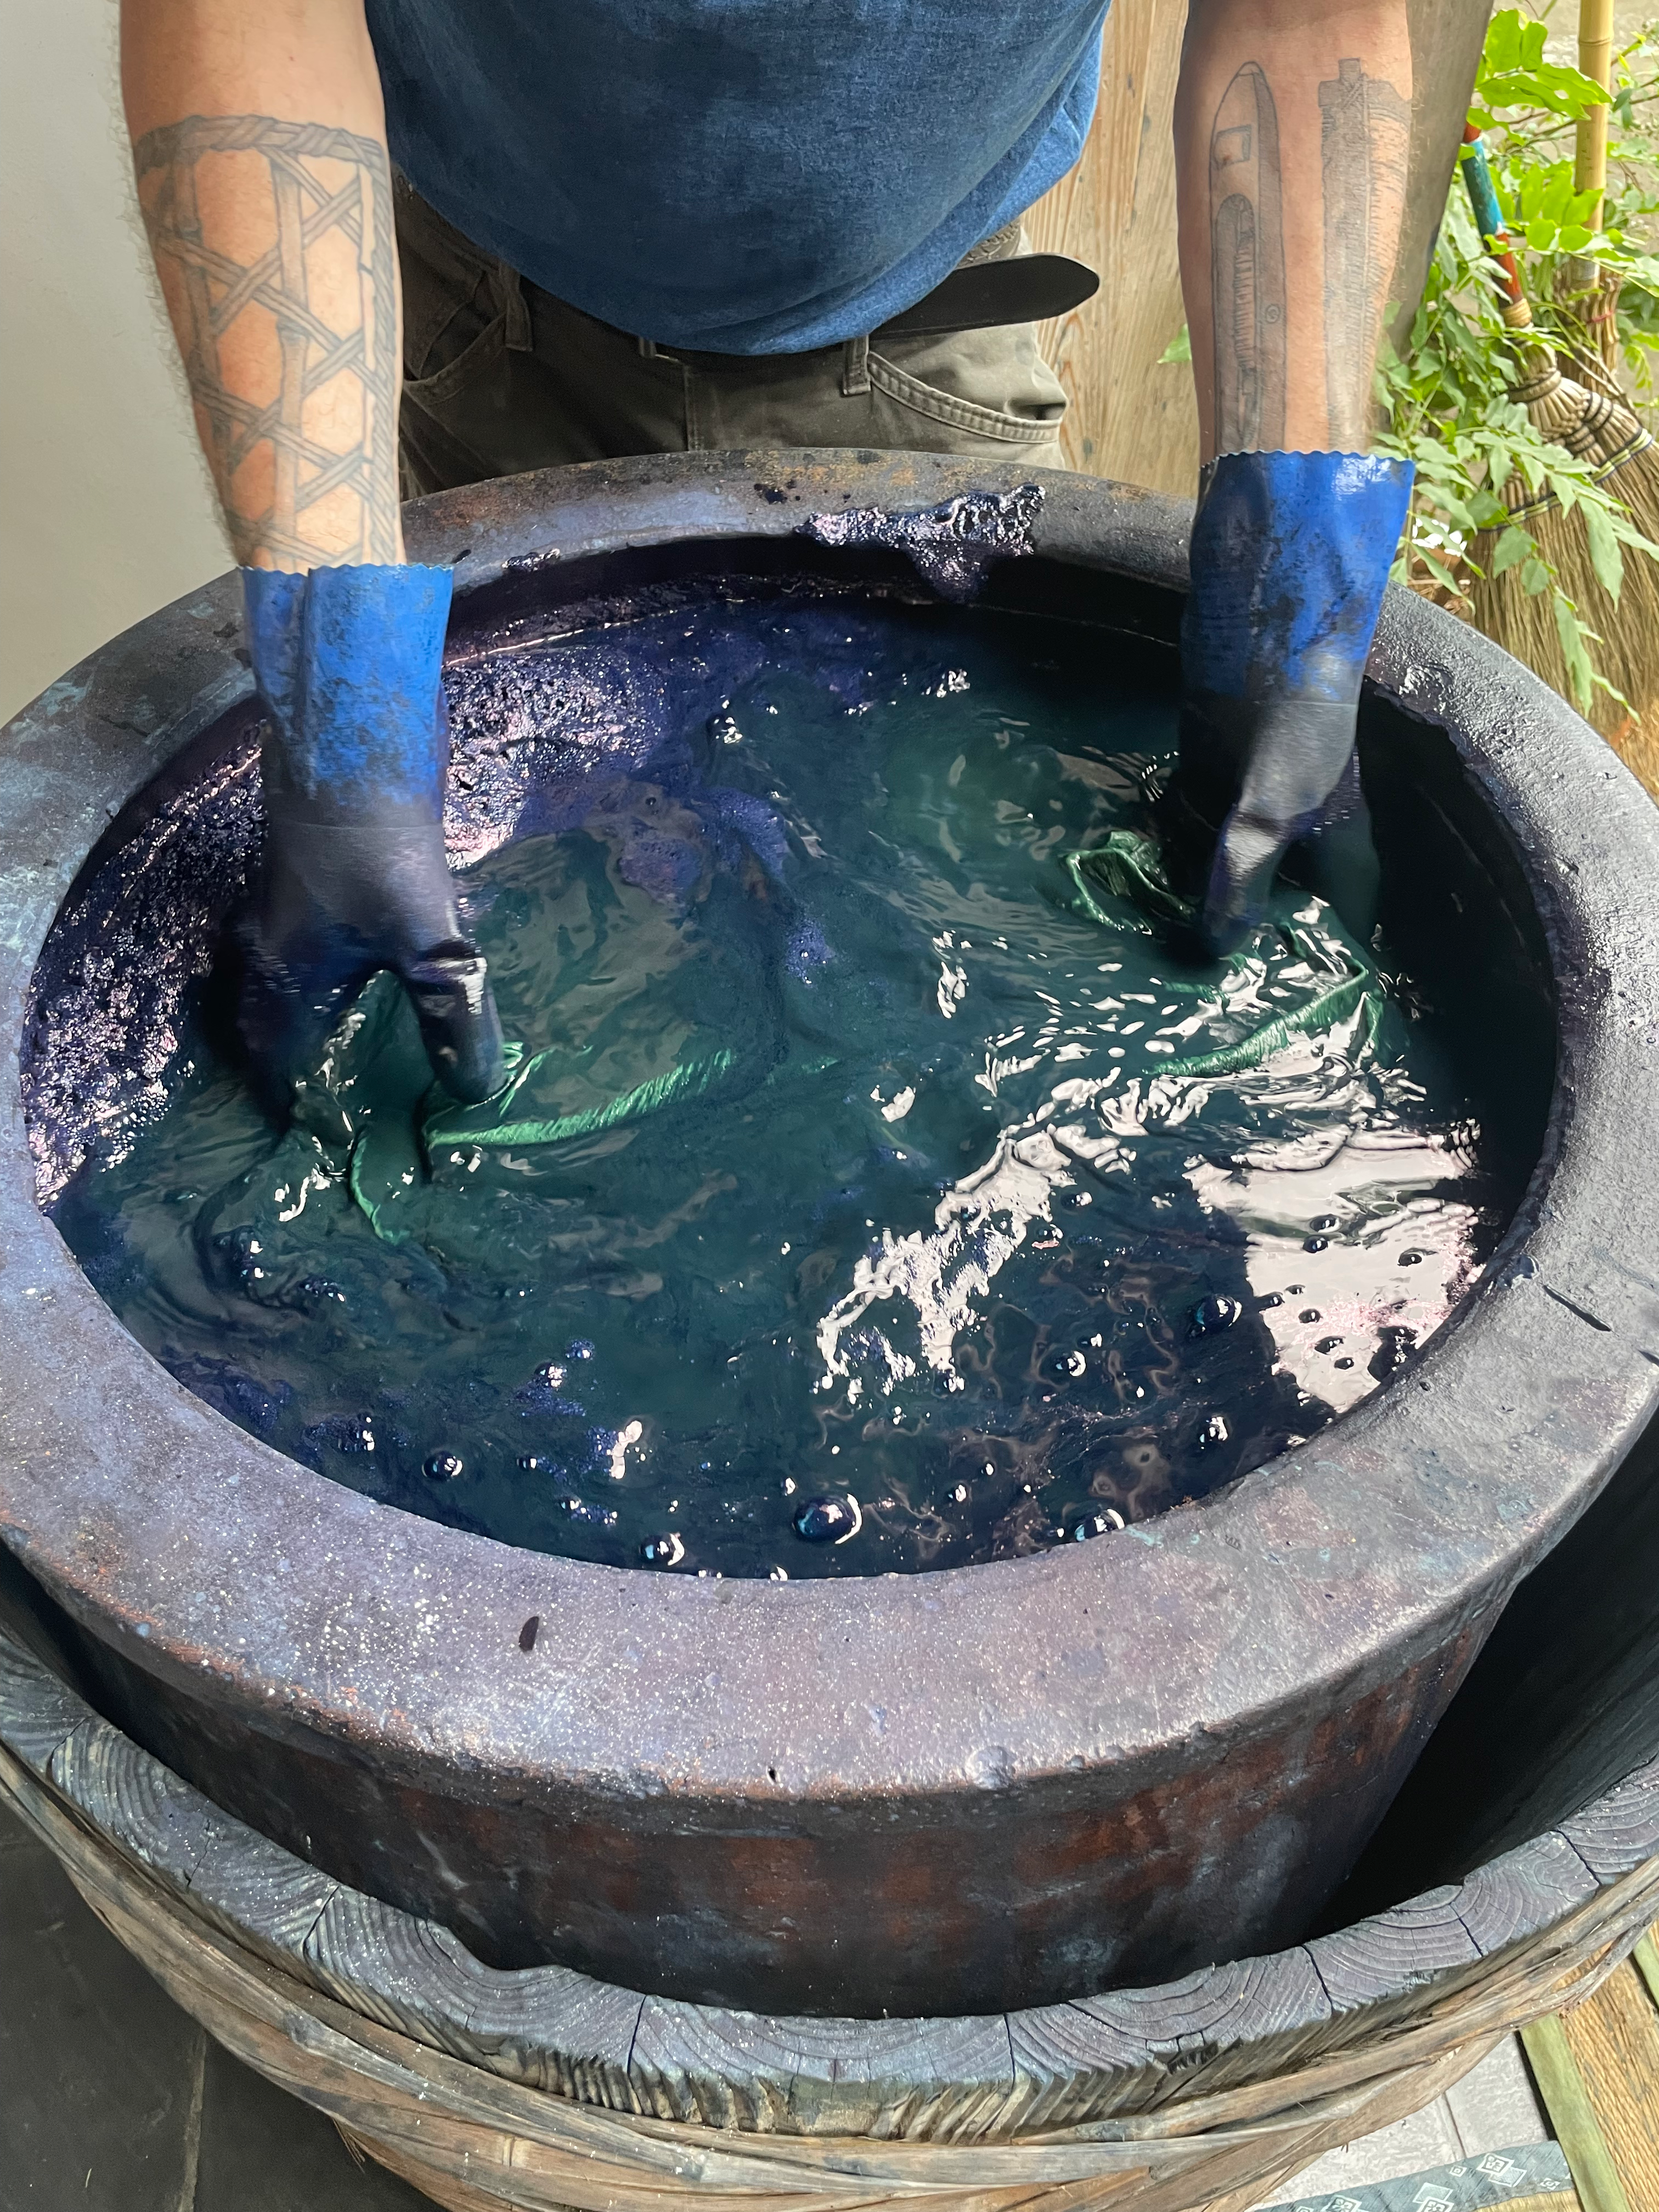
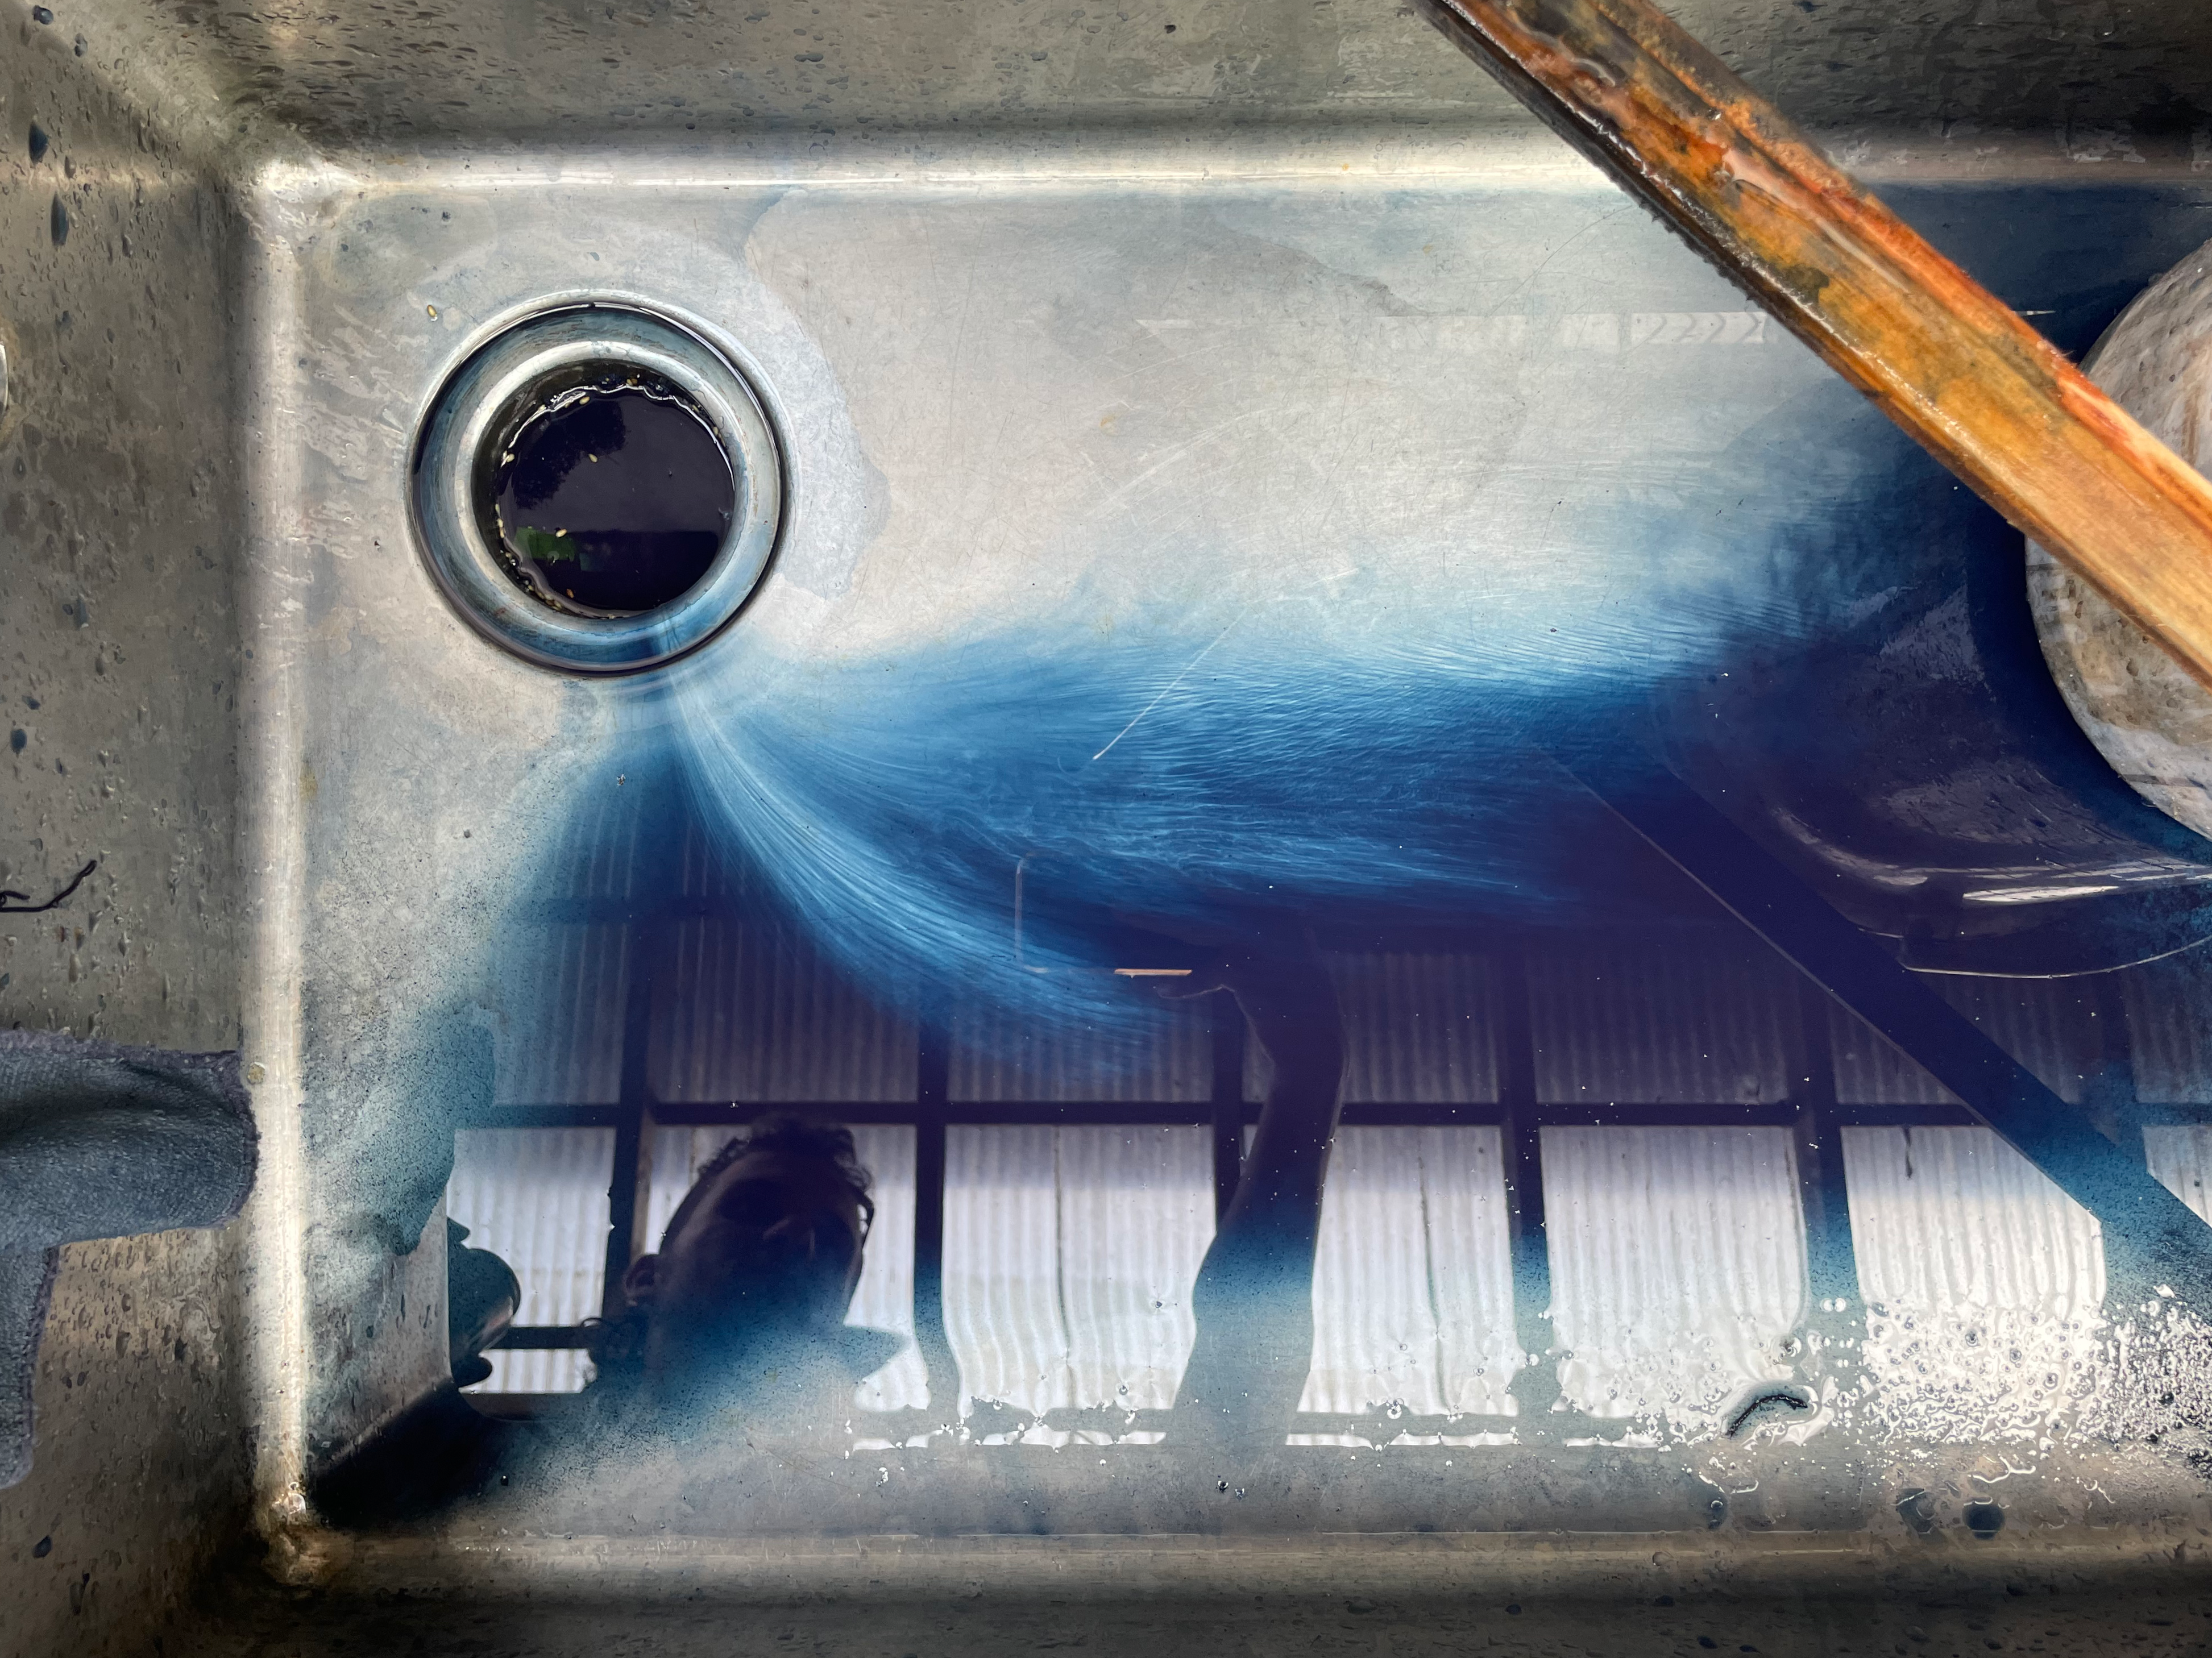
In its unoxidized state, indigo is green. We would dip fabric into vats of de-oxidized indigo. They came out green and we hung them out not to dry, but to oxidize. In the breeze they turned to that familiar blue, and we dipped them again.
After five dips or so, we had to remove all the loose dye that had not attached to the fabric. You can wring and rinse a lot of it out, but only impact will get the last of it. Down the road from the farmhouse, a creek ran through the quiet village. We walked down to the creek, descented a set of rungs, and beat the fabric against the rocks until no more streaks of blue joined the gentle flow.

After hanging the pieces out to dry, we went inside to drink plum moonshine and work on our sewing. Nothing is made quickly this way, and that was just fine.
Katazome
In addition to better-known dye resist techniques such as shibori, we learned how to apply a rice paste onto the fabric to block the indigo, a method known as katazome. Stencils are made out of a durable paper with a thin mesh backing.
It pained me to think of everything I could do with this method if I had access to a laser cutter or even just a desktop vinyl cutter. But my tools were on the other side of the Pacific, and the nearest public makerspace was hundreds of miles away. Everything I had access to in the farmhouse was analog — even the sewing was done by hand.
Digital Art
Can you make digital art with only your hands? I’ve always thought so; to me “digital” doesn’t refer to computers or machines of any kind, but to a discrete space as opposed to a continuous one. This space can be a tapestry with a woven design — the creative choices are made from a finite set of options: which thread passes over the others, which color appears on each square of the woven grid.
I’d like to think that I don’t need any of my machines, or even my computer, to make the kind of digital art that I do. I got to take a step in that direction here.
The System
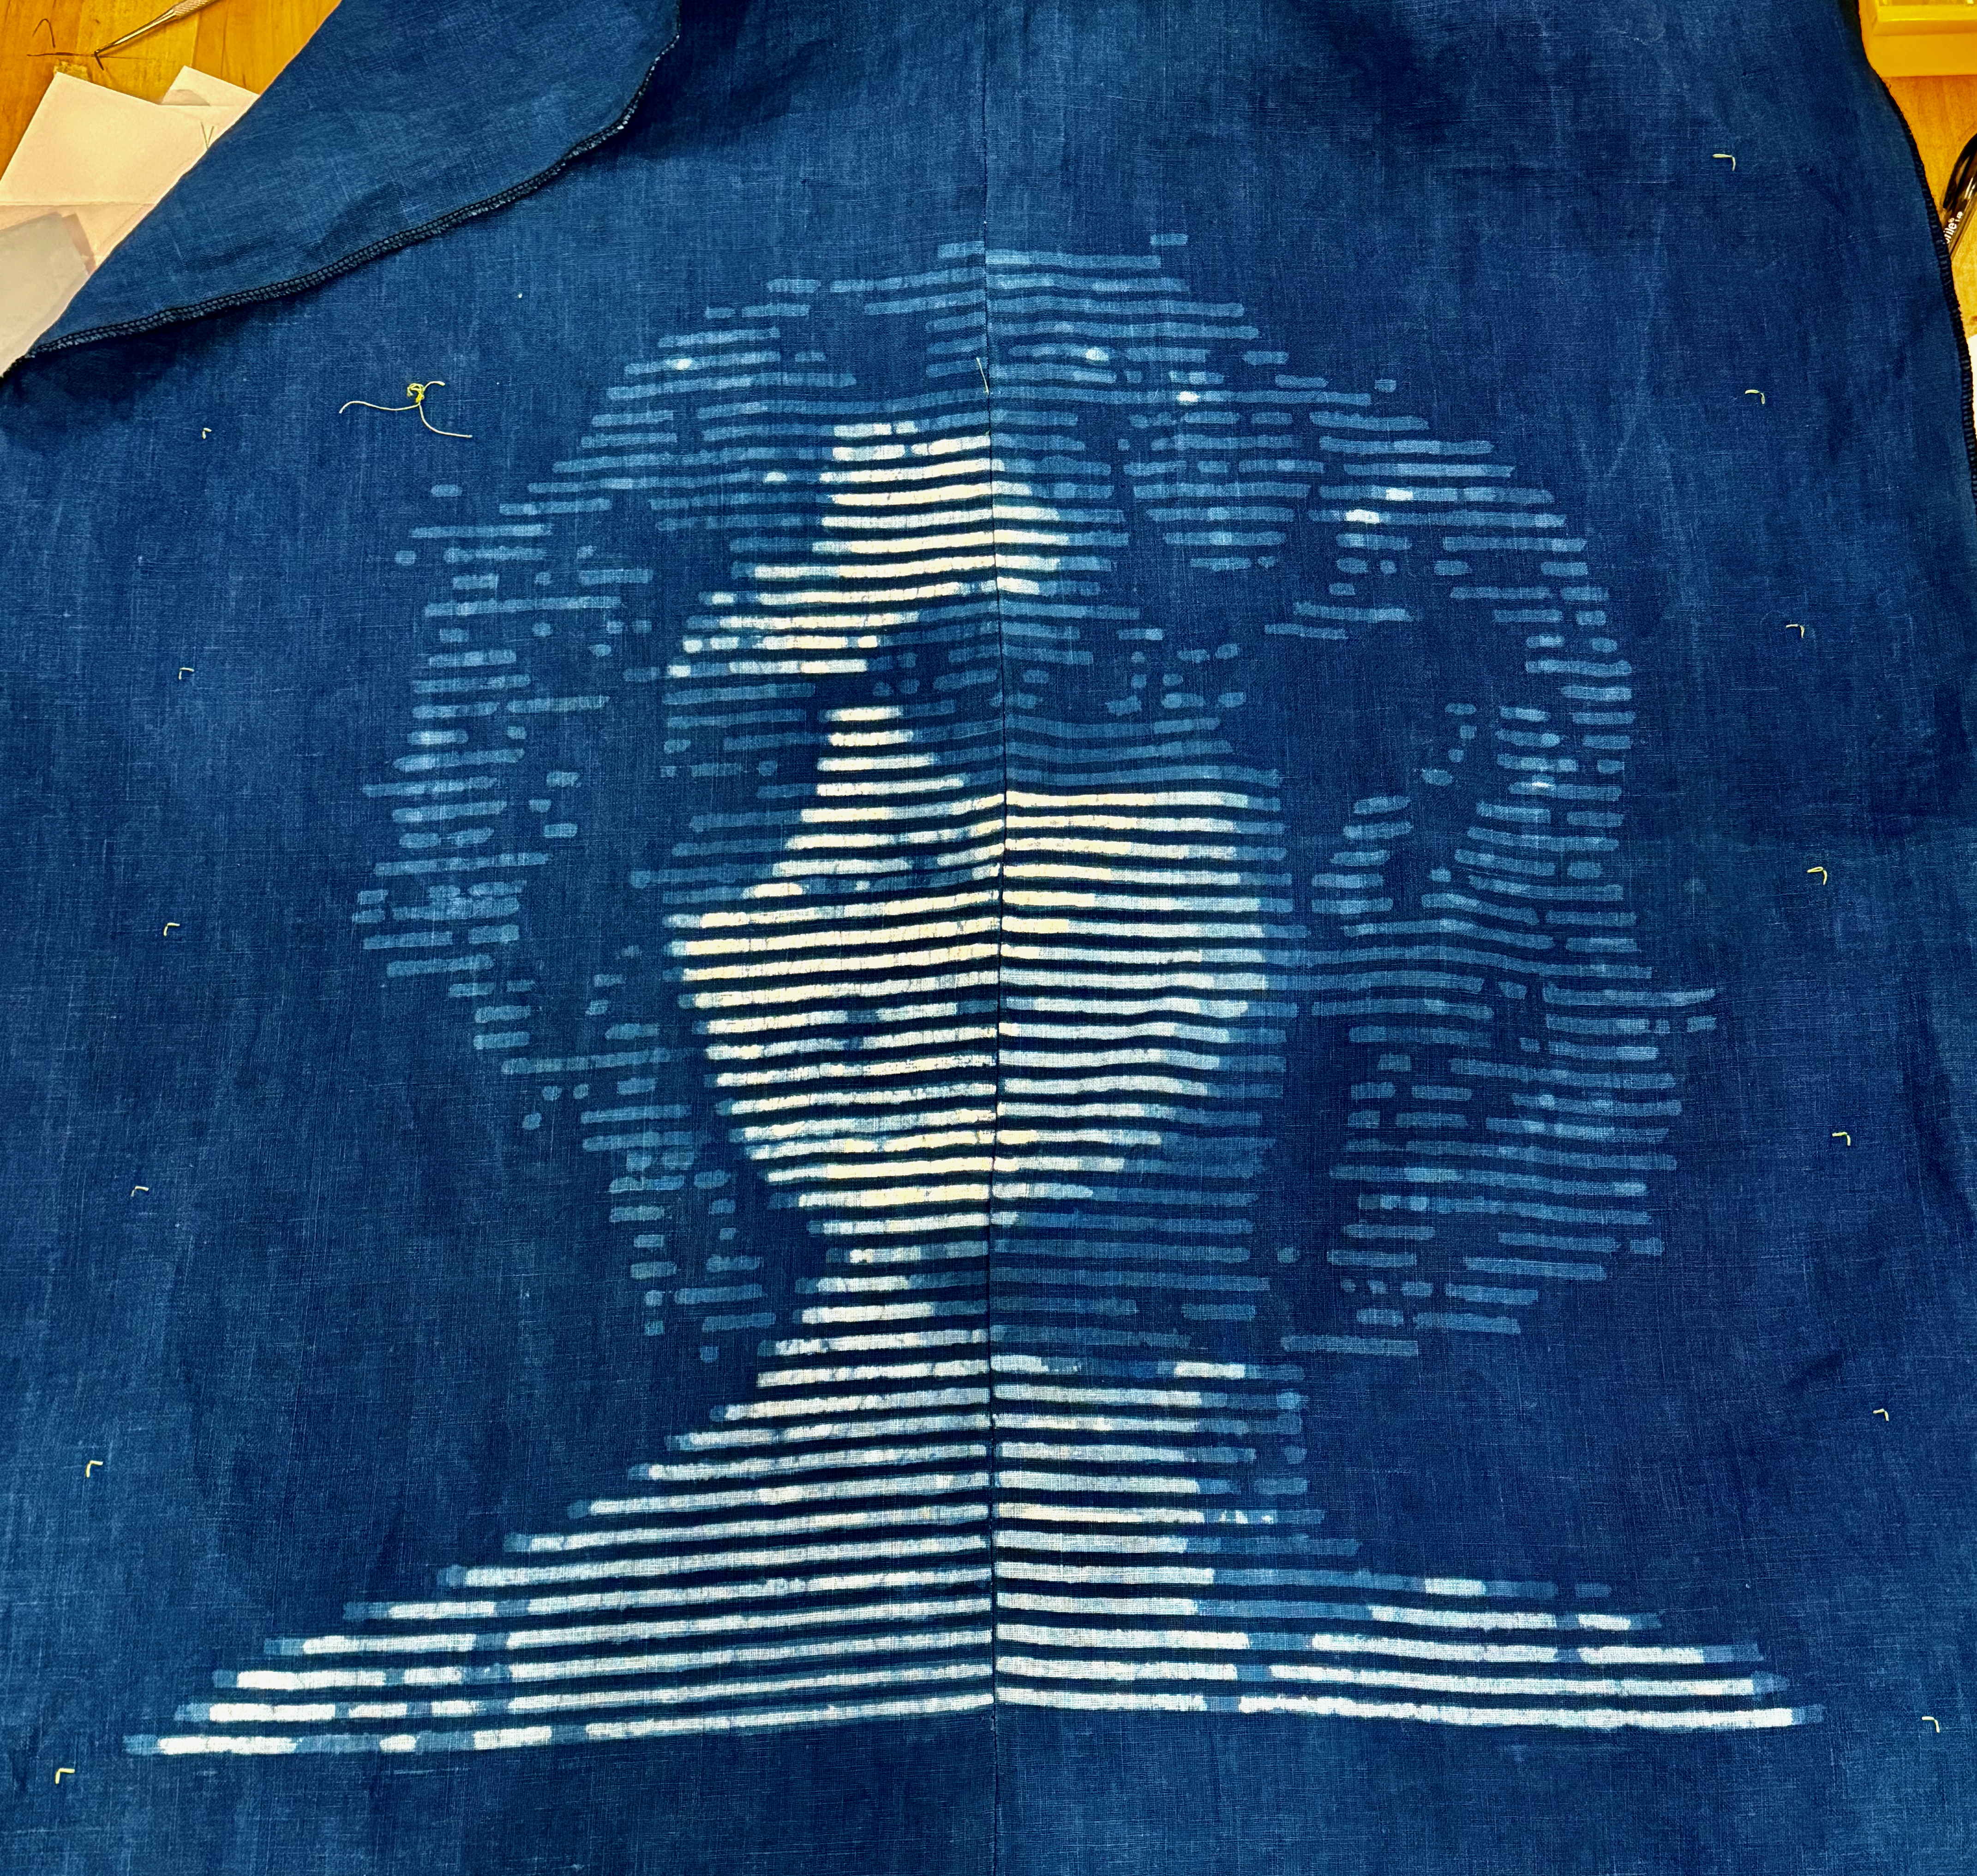
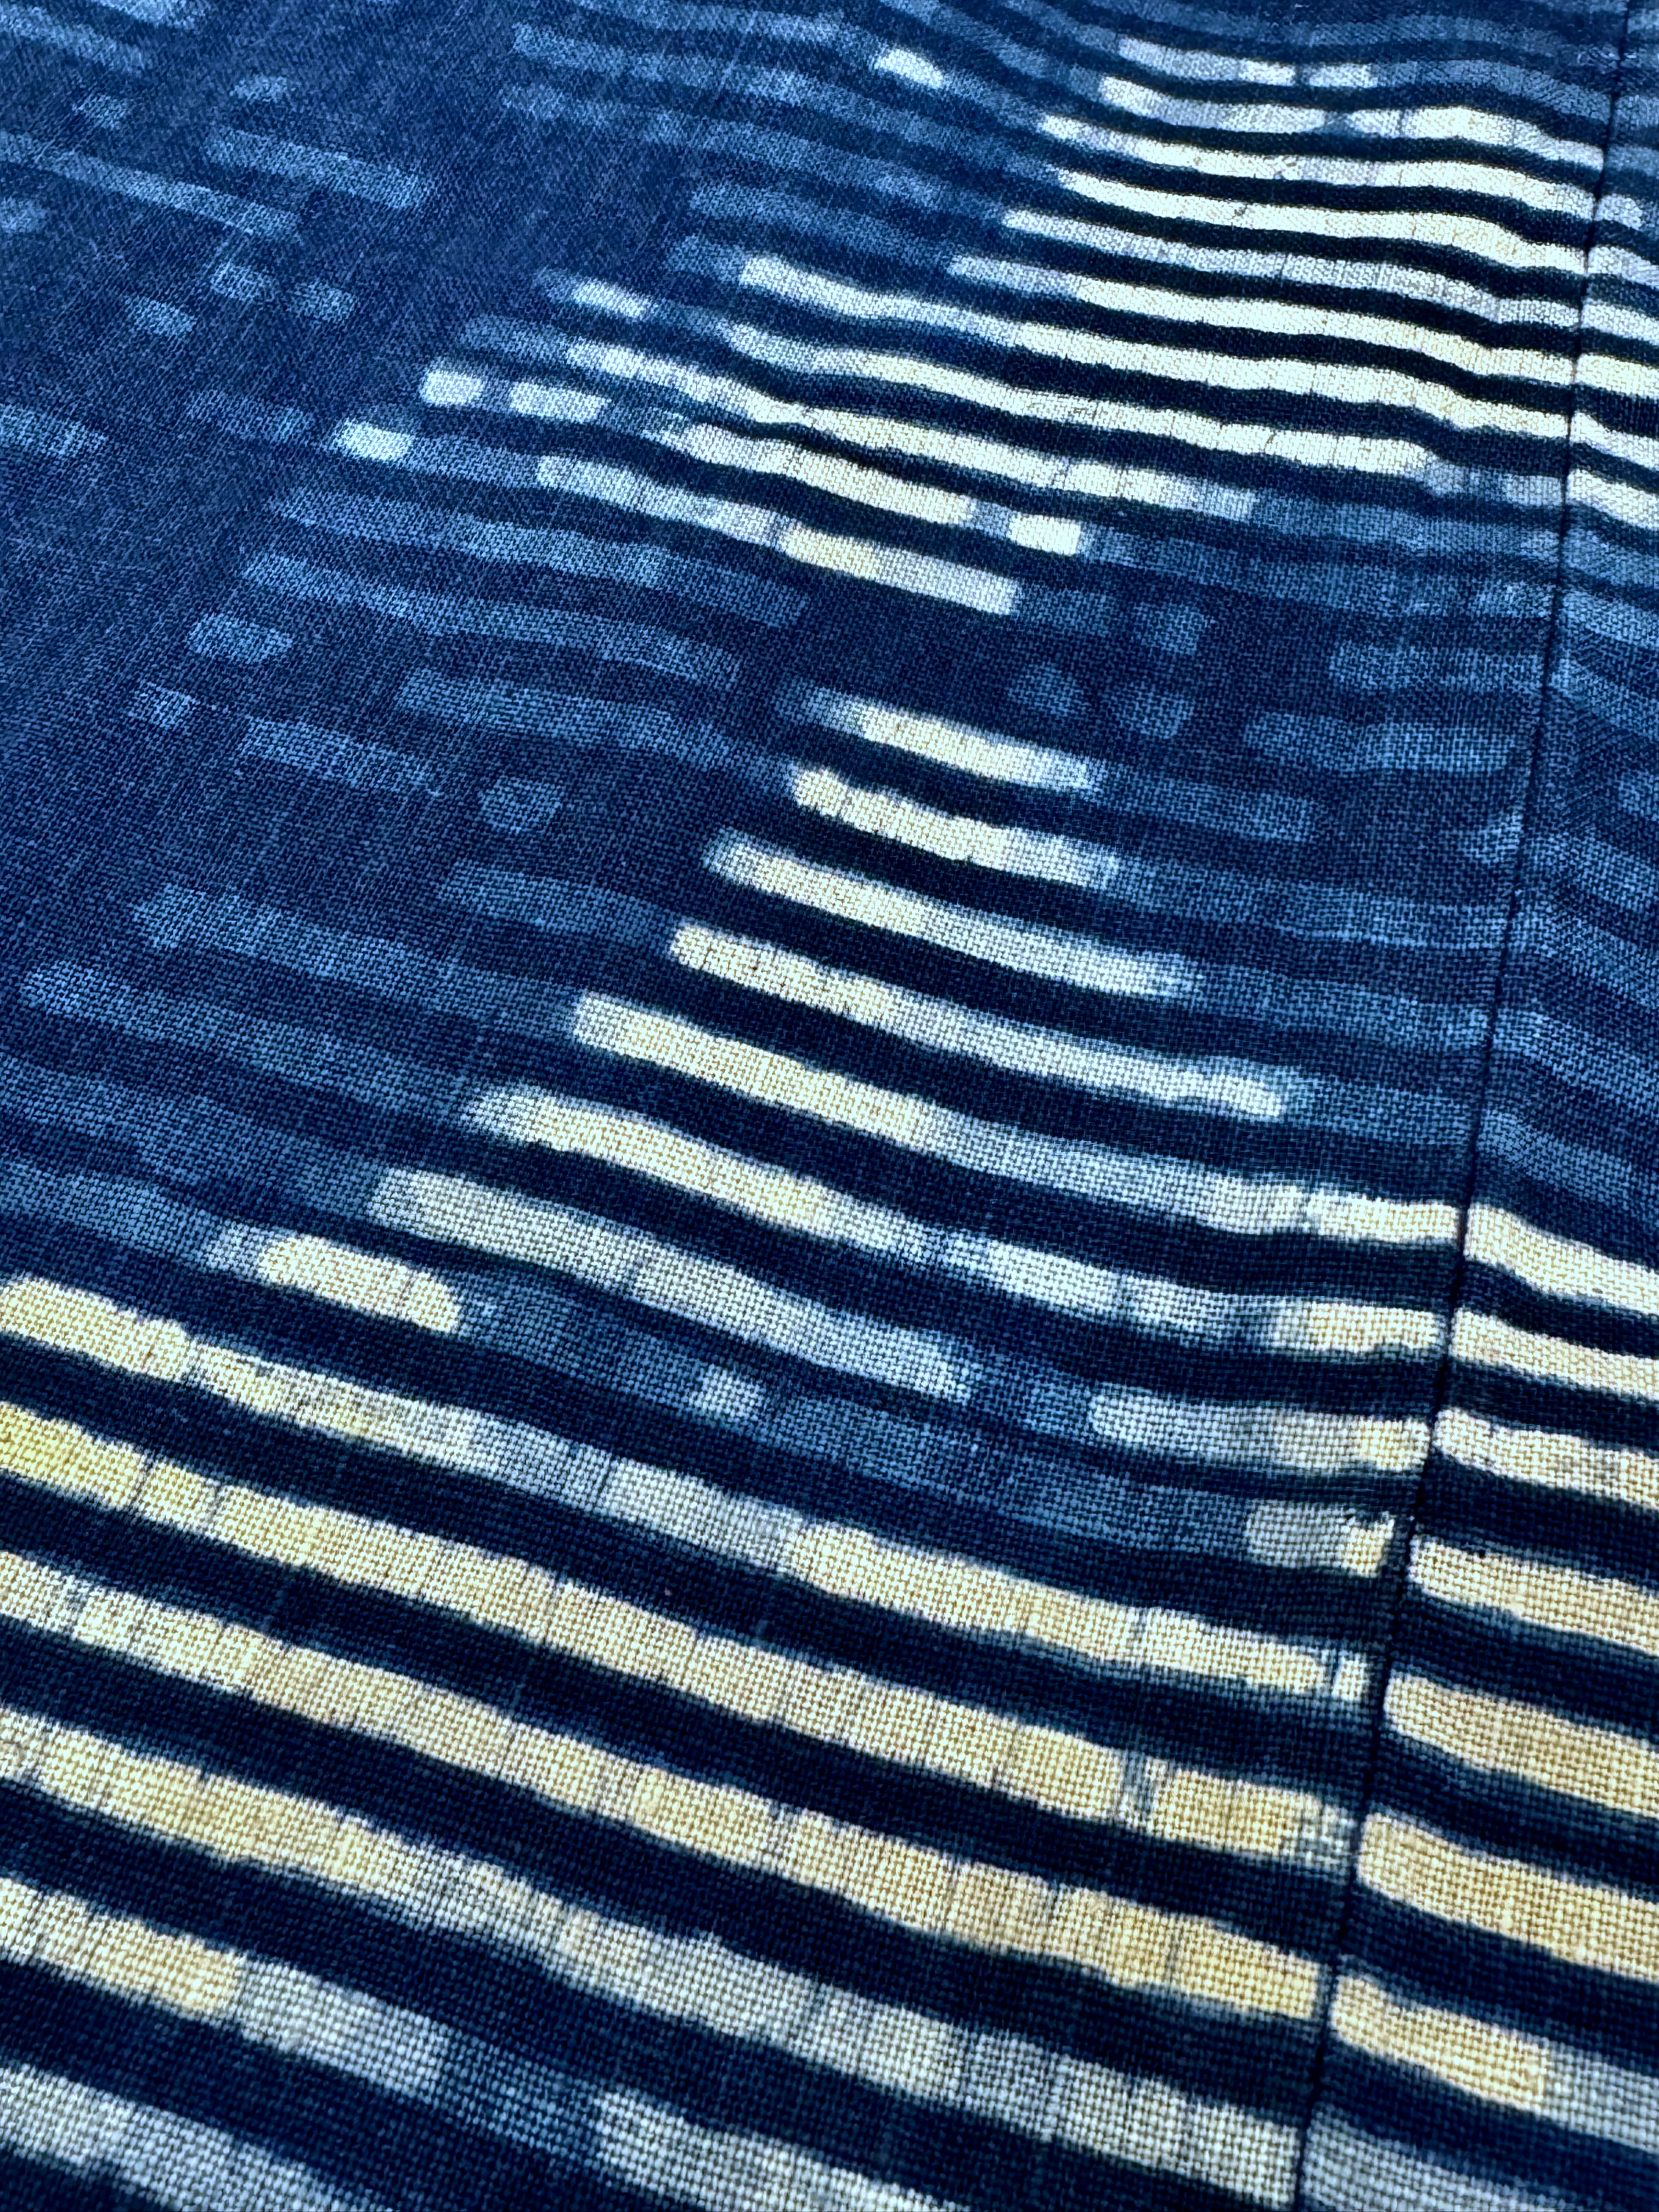
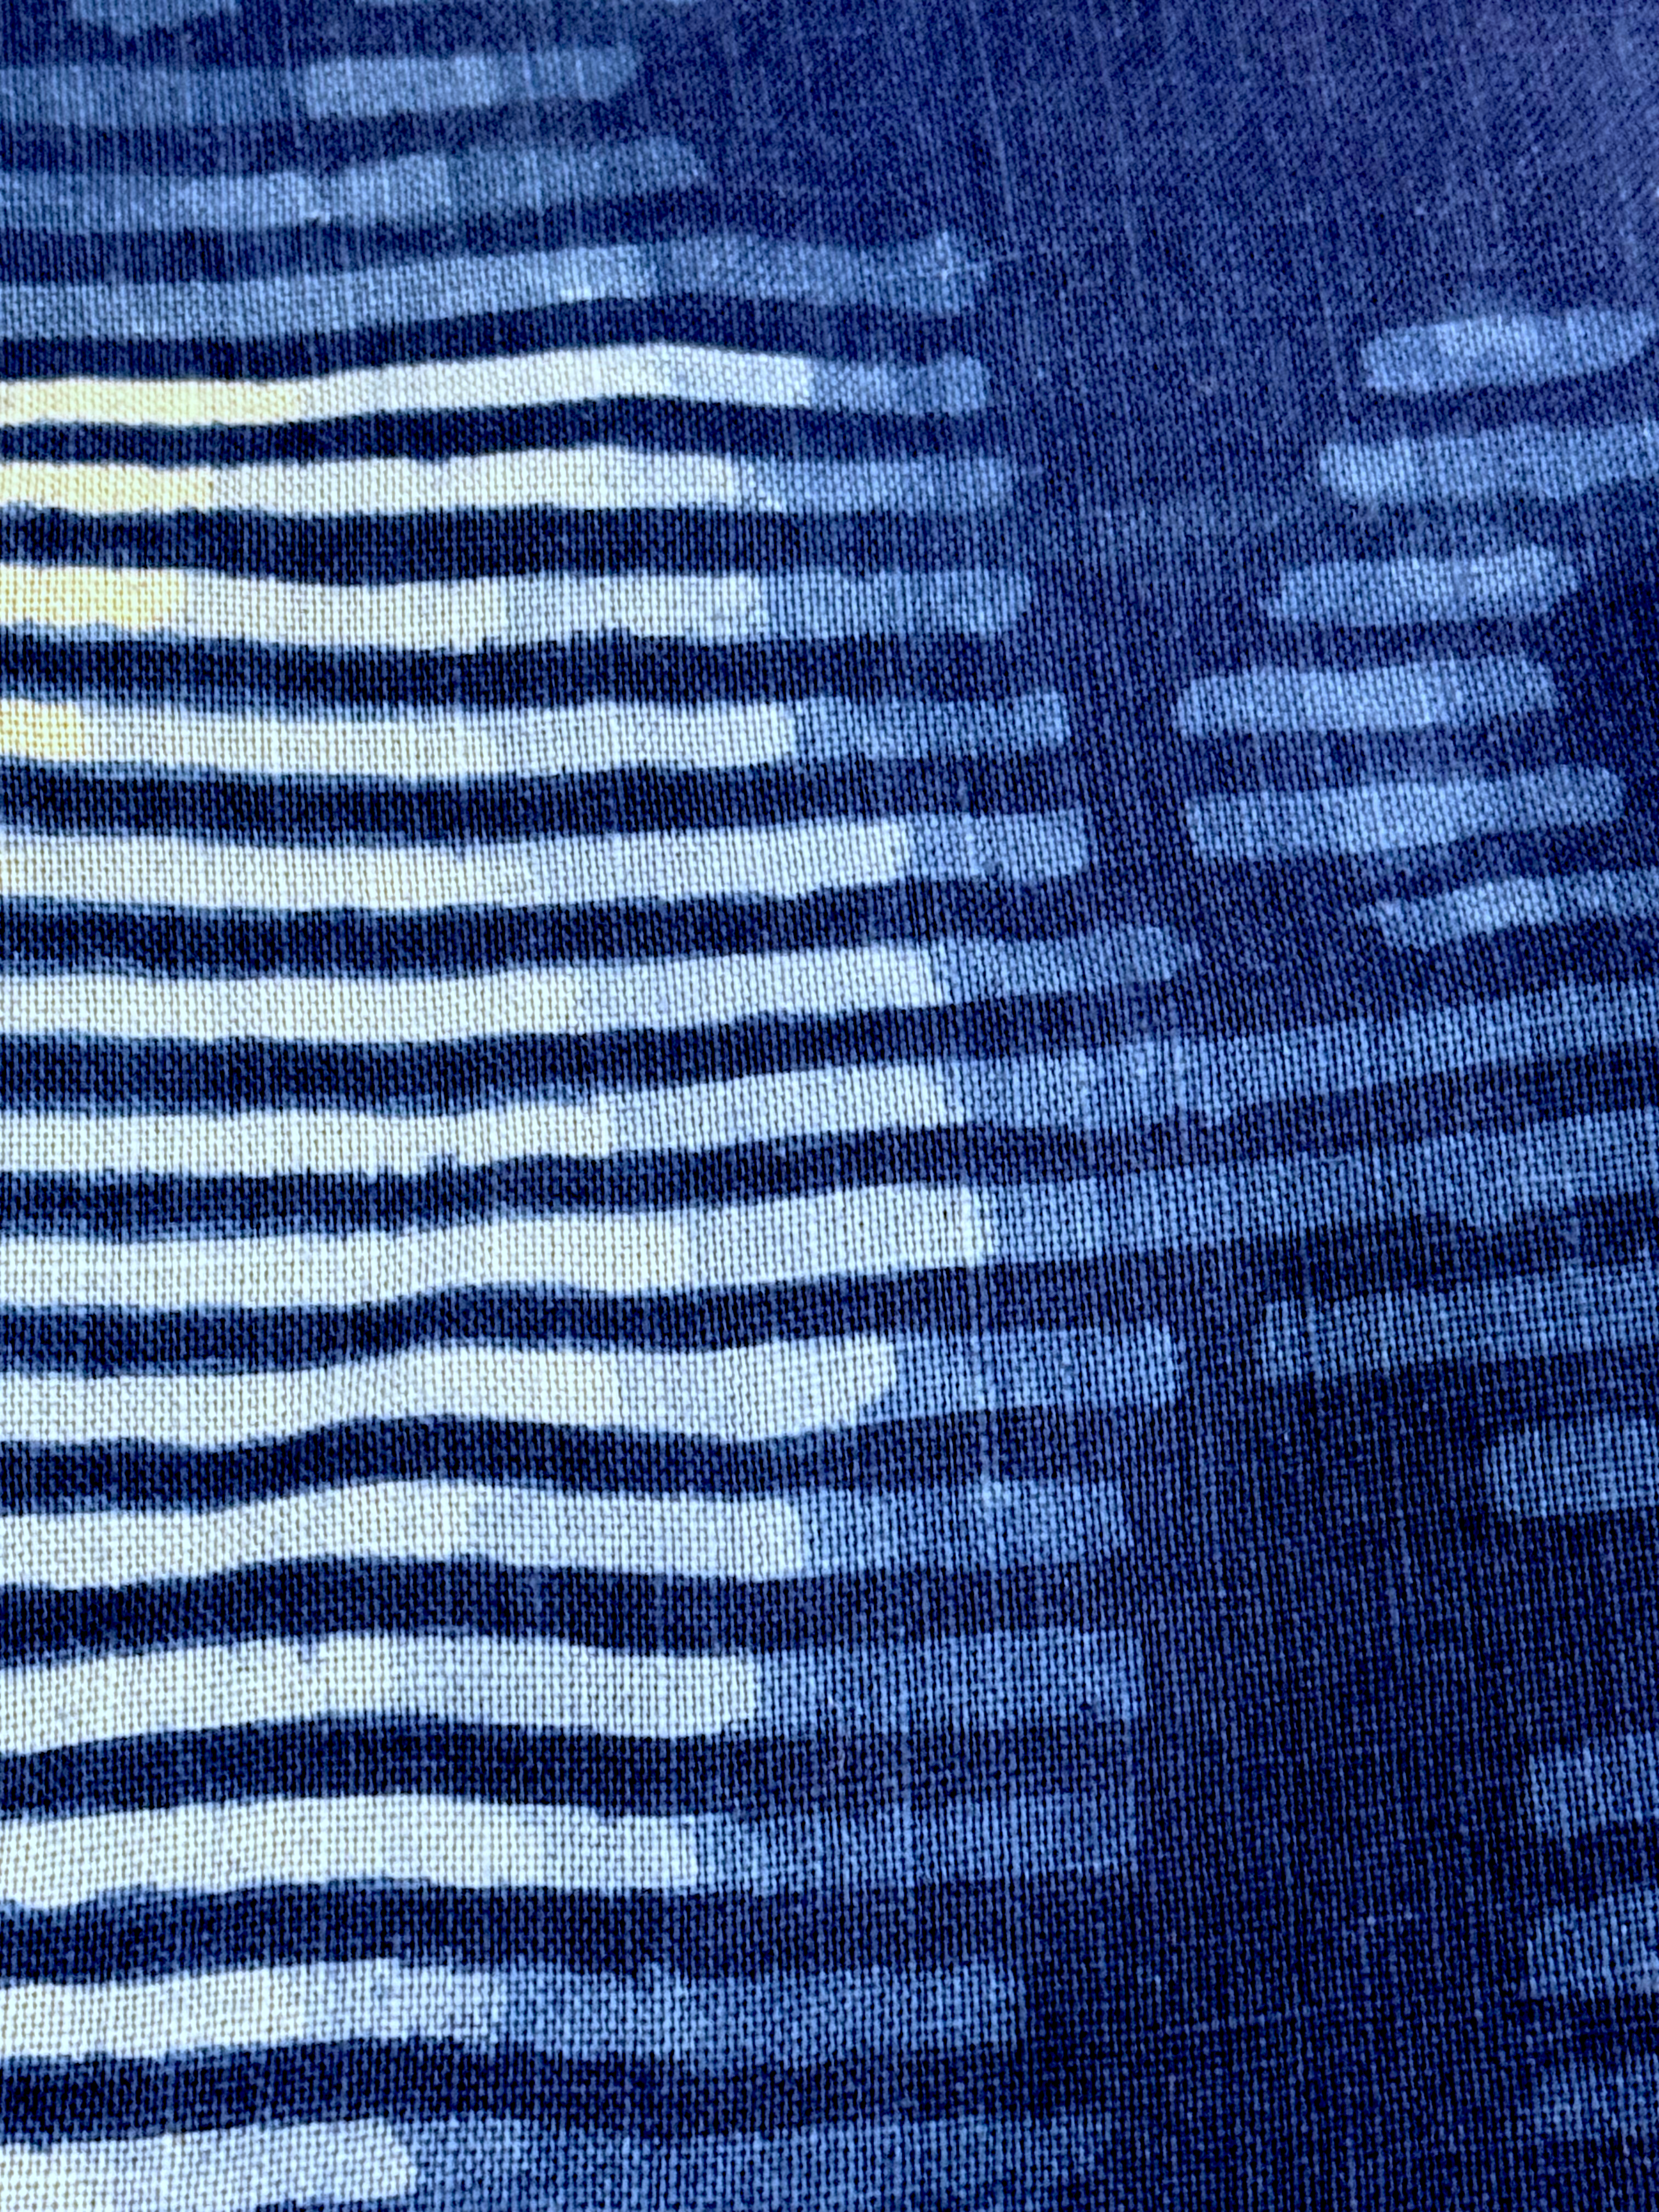
Against the advice of our teacher, I wanted to make a design with 6 different shades of indigo. This would require the stenciling process to be repeated five times. And I wanted the design to be large, of course. Using up five large sheets of katazome paper was out of the question, so I made a system that used one modular stencil to transfer a digital design.
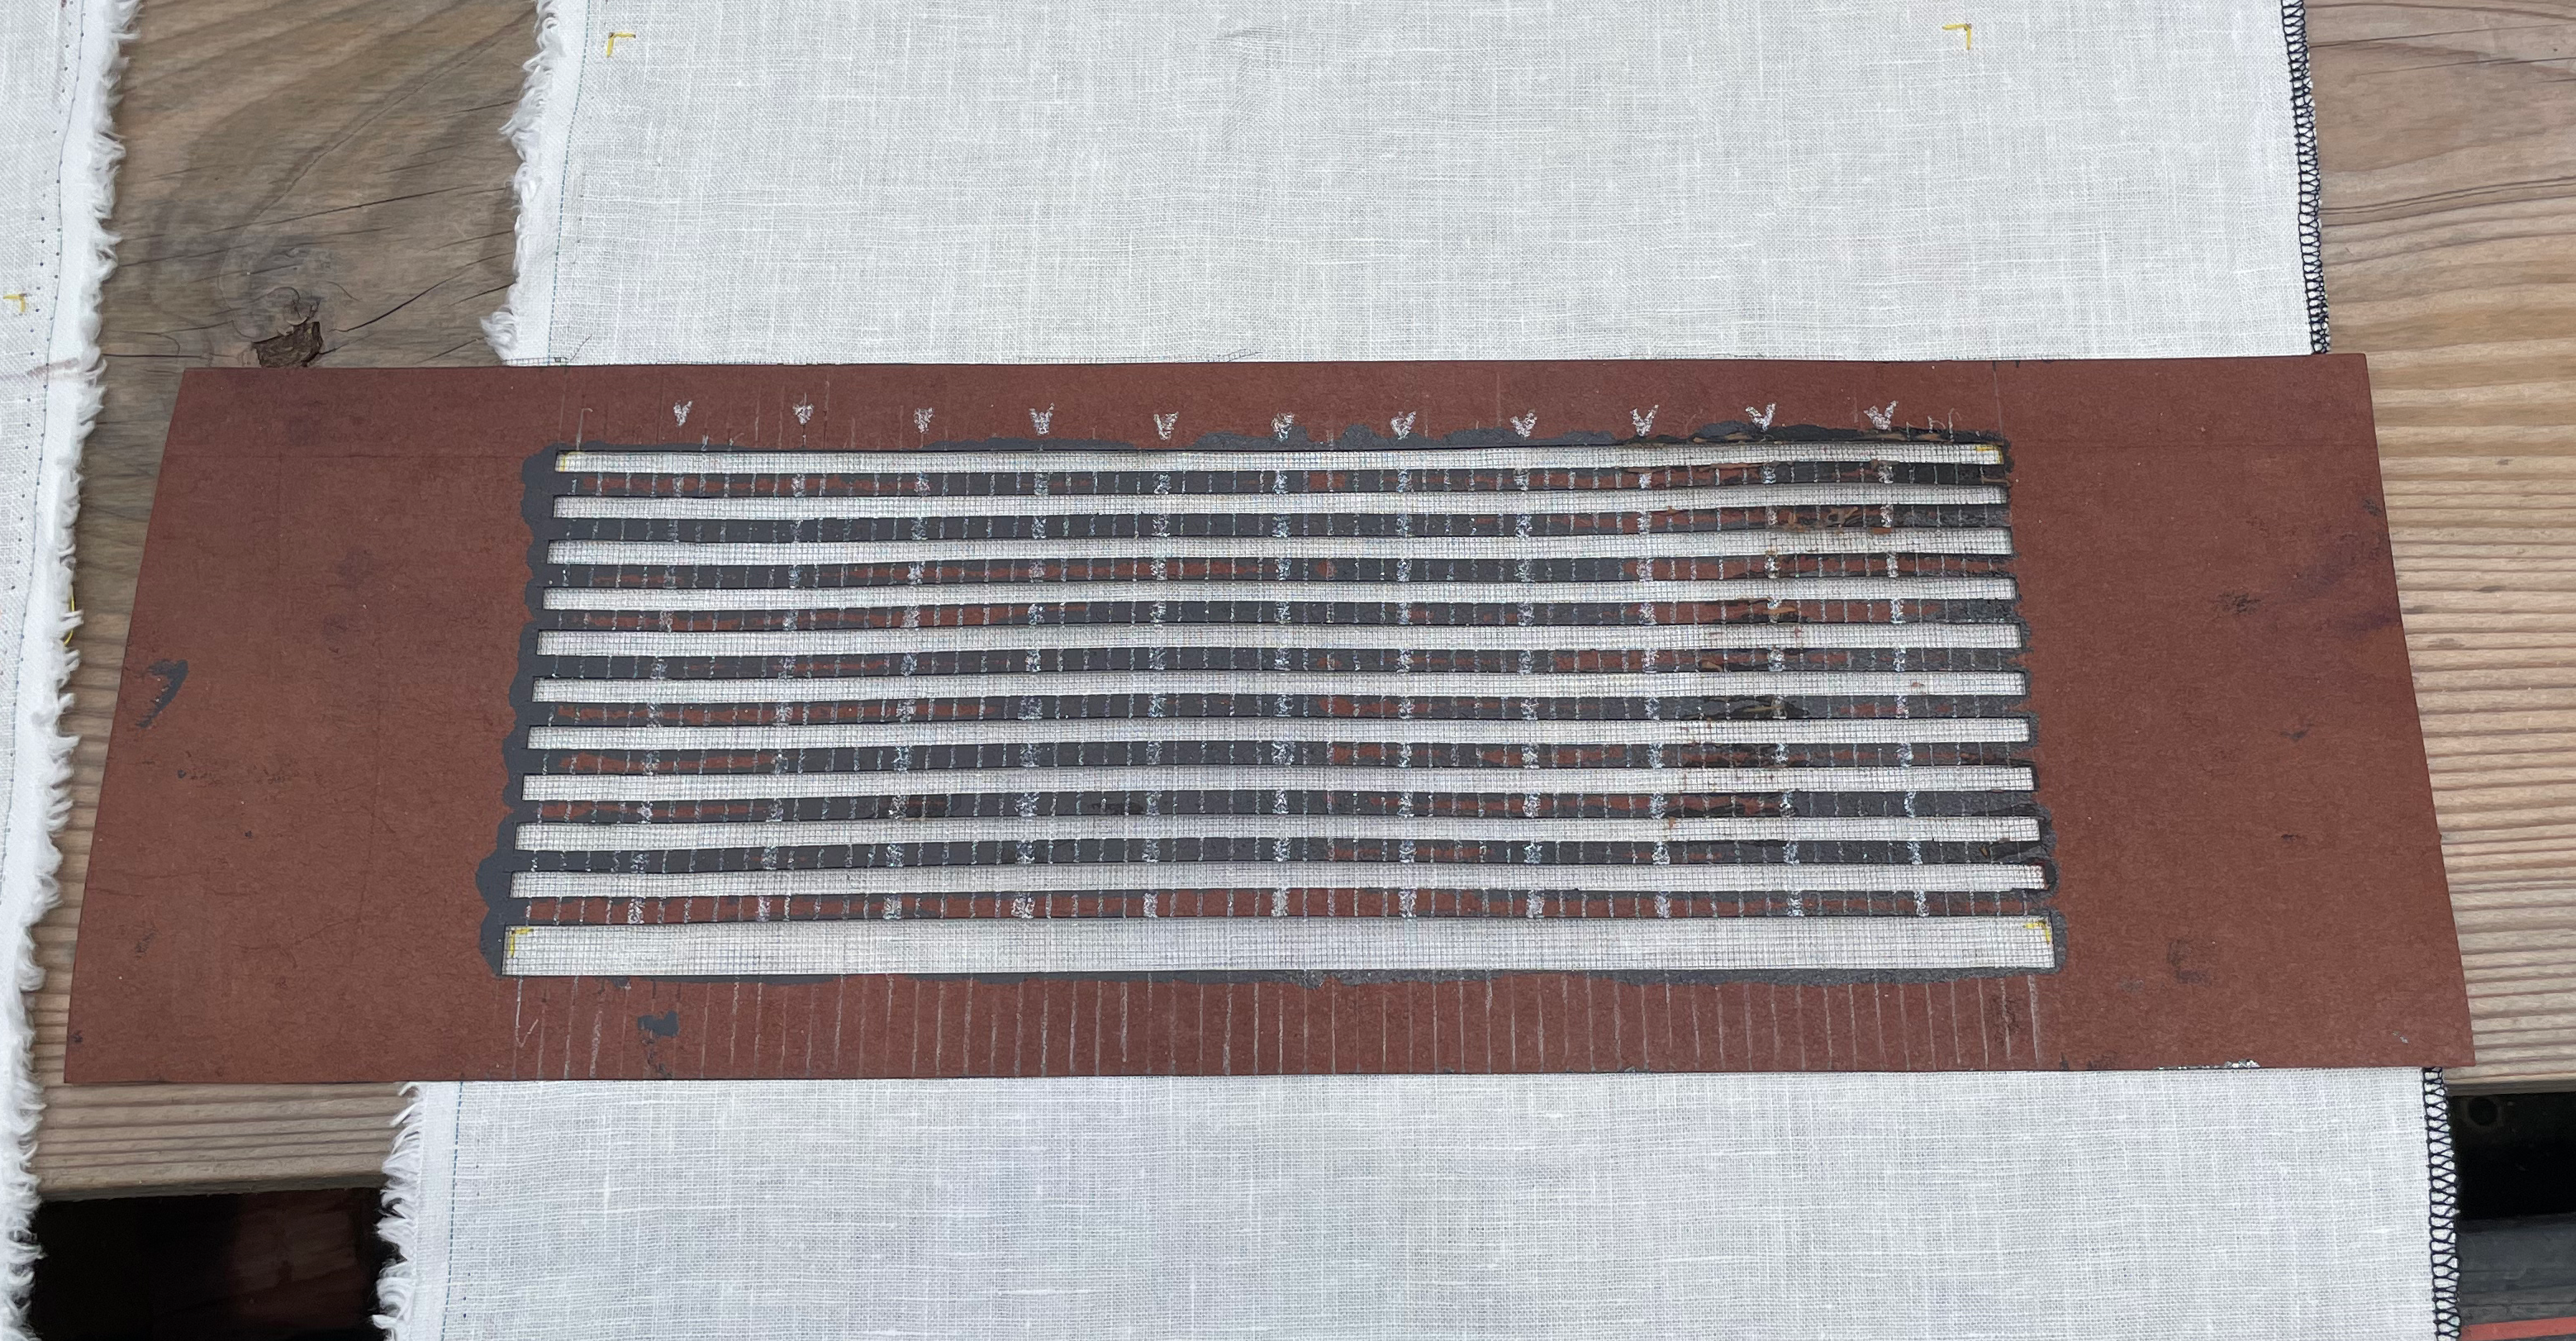
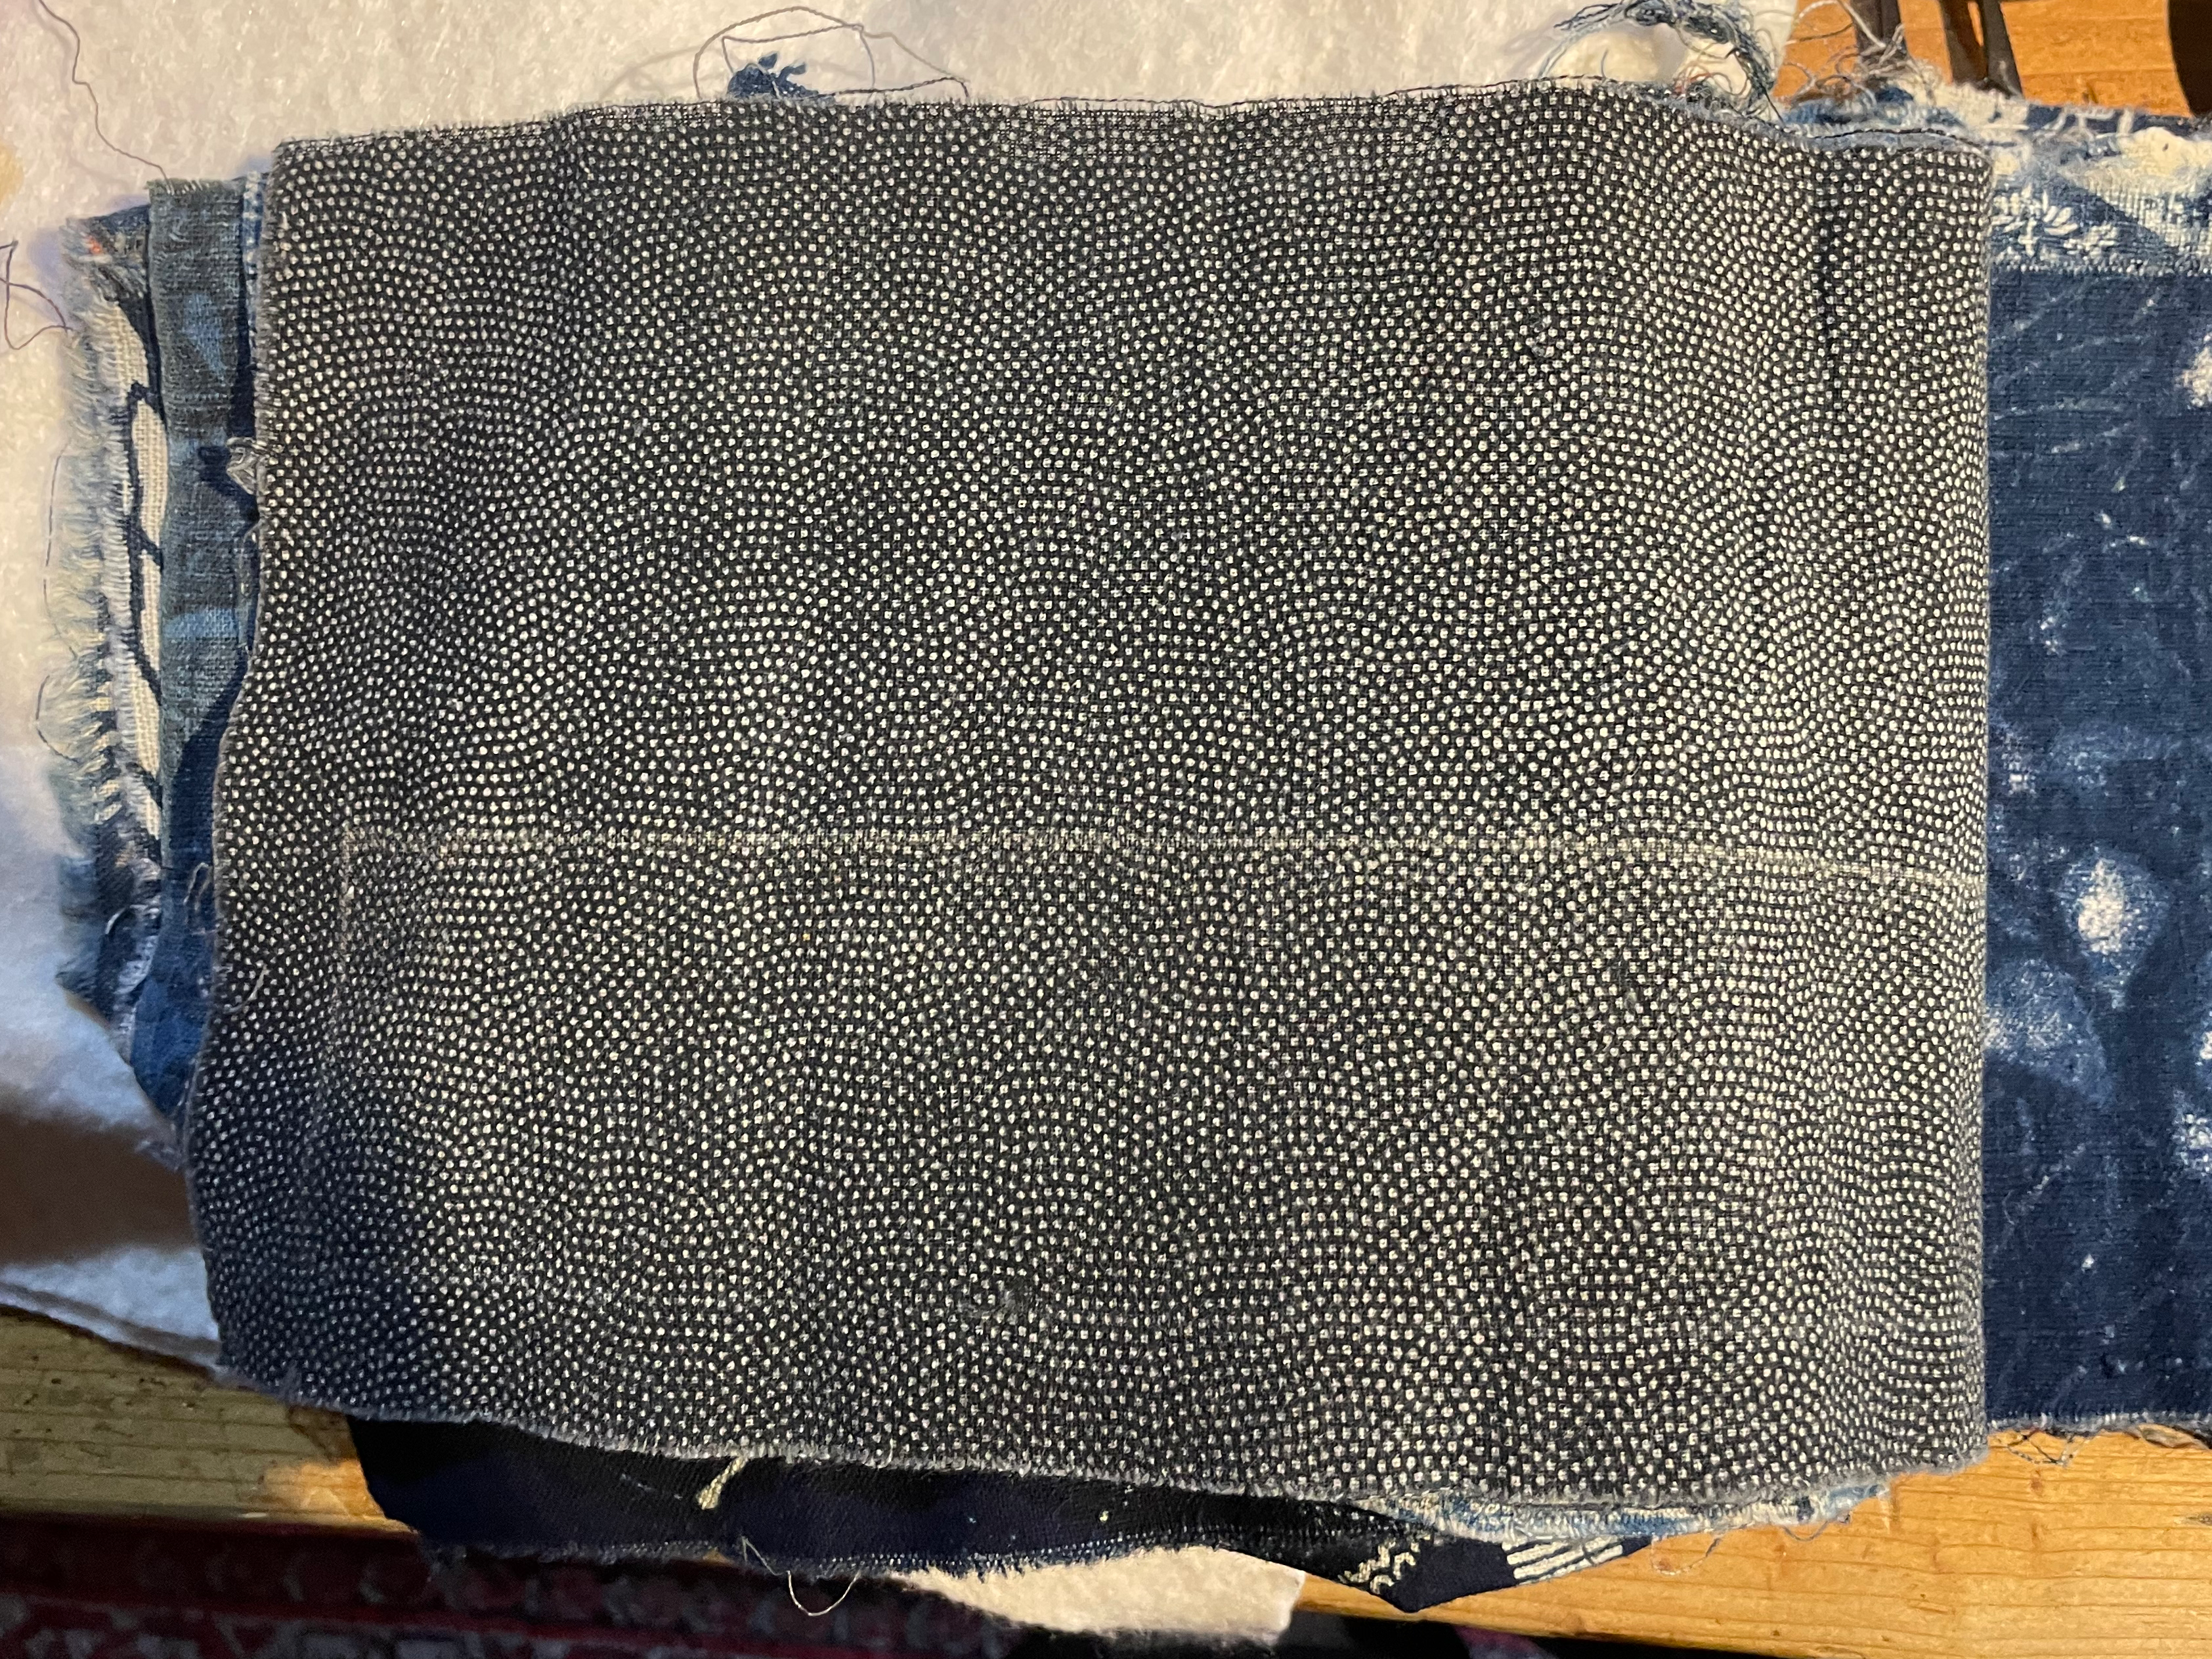
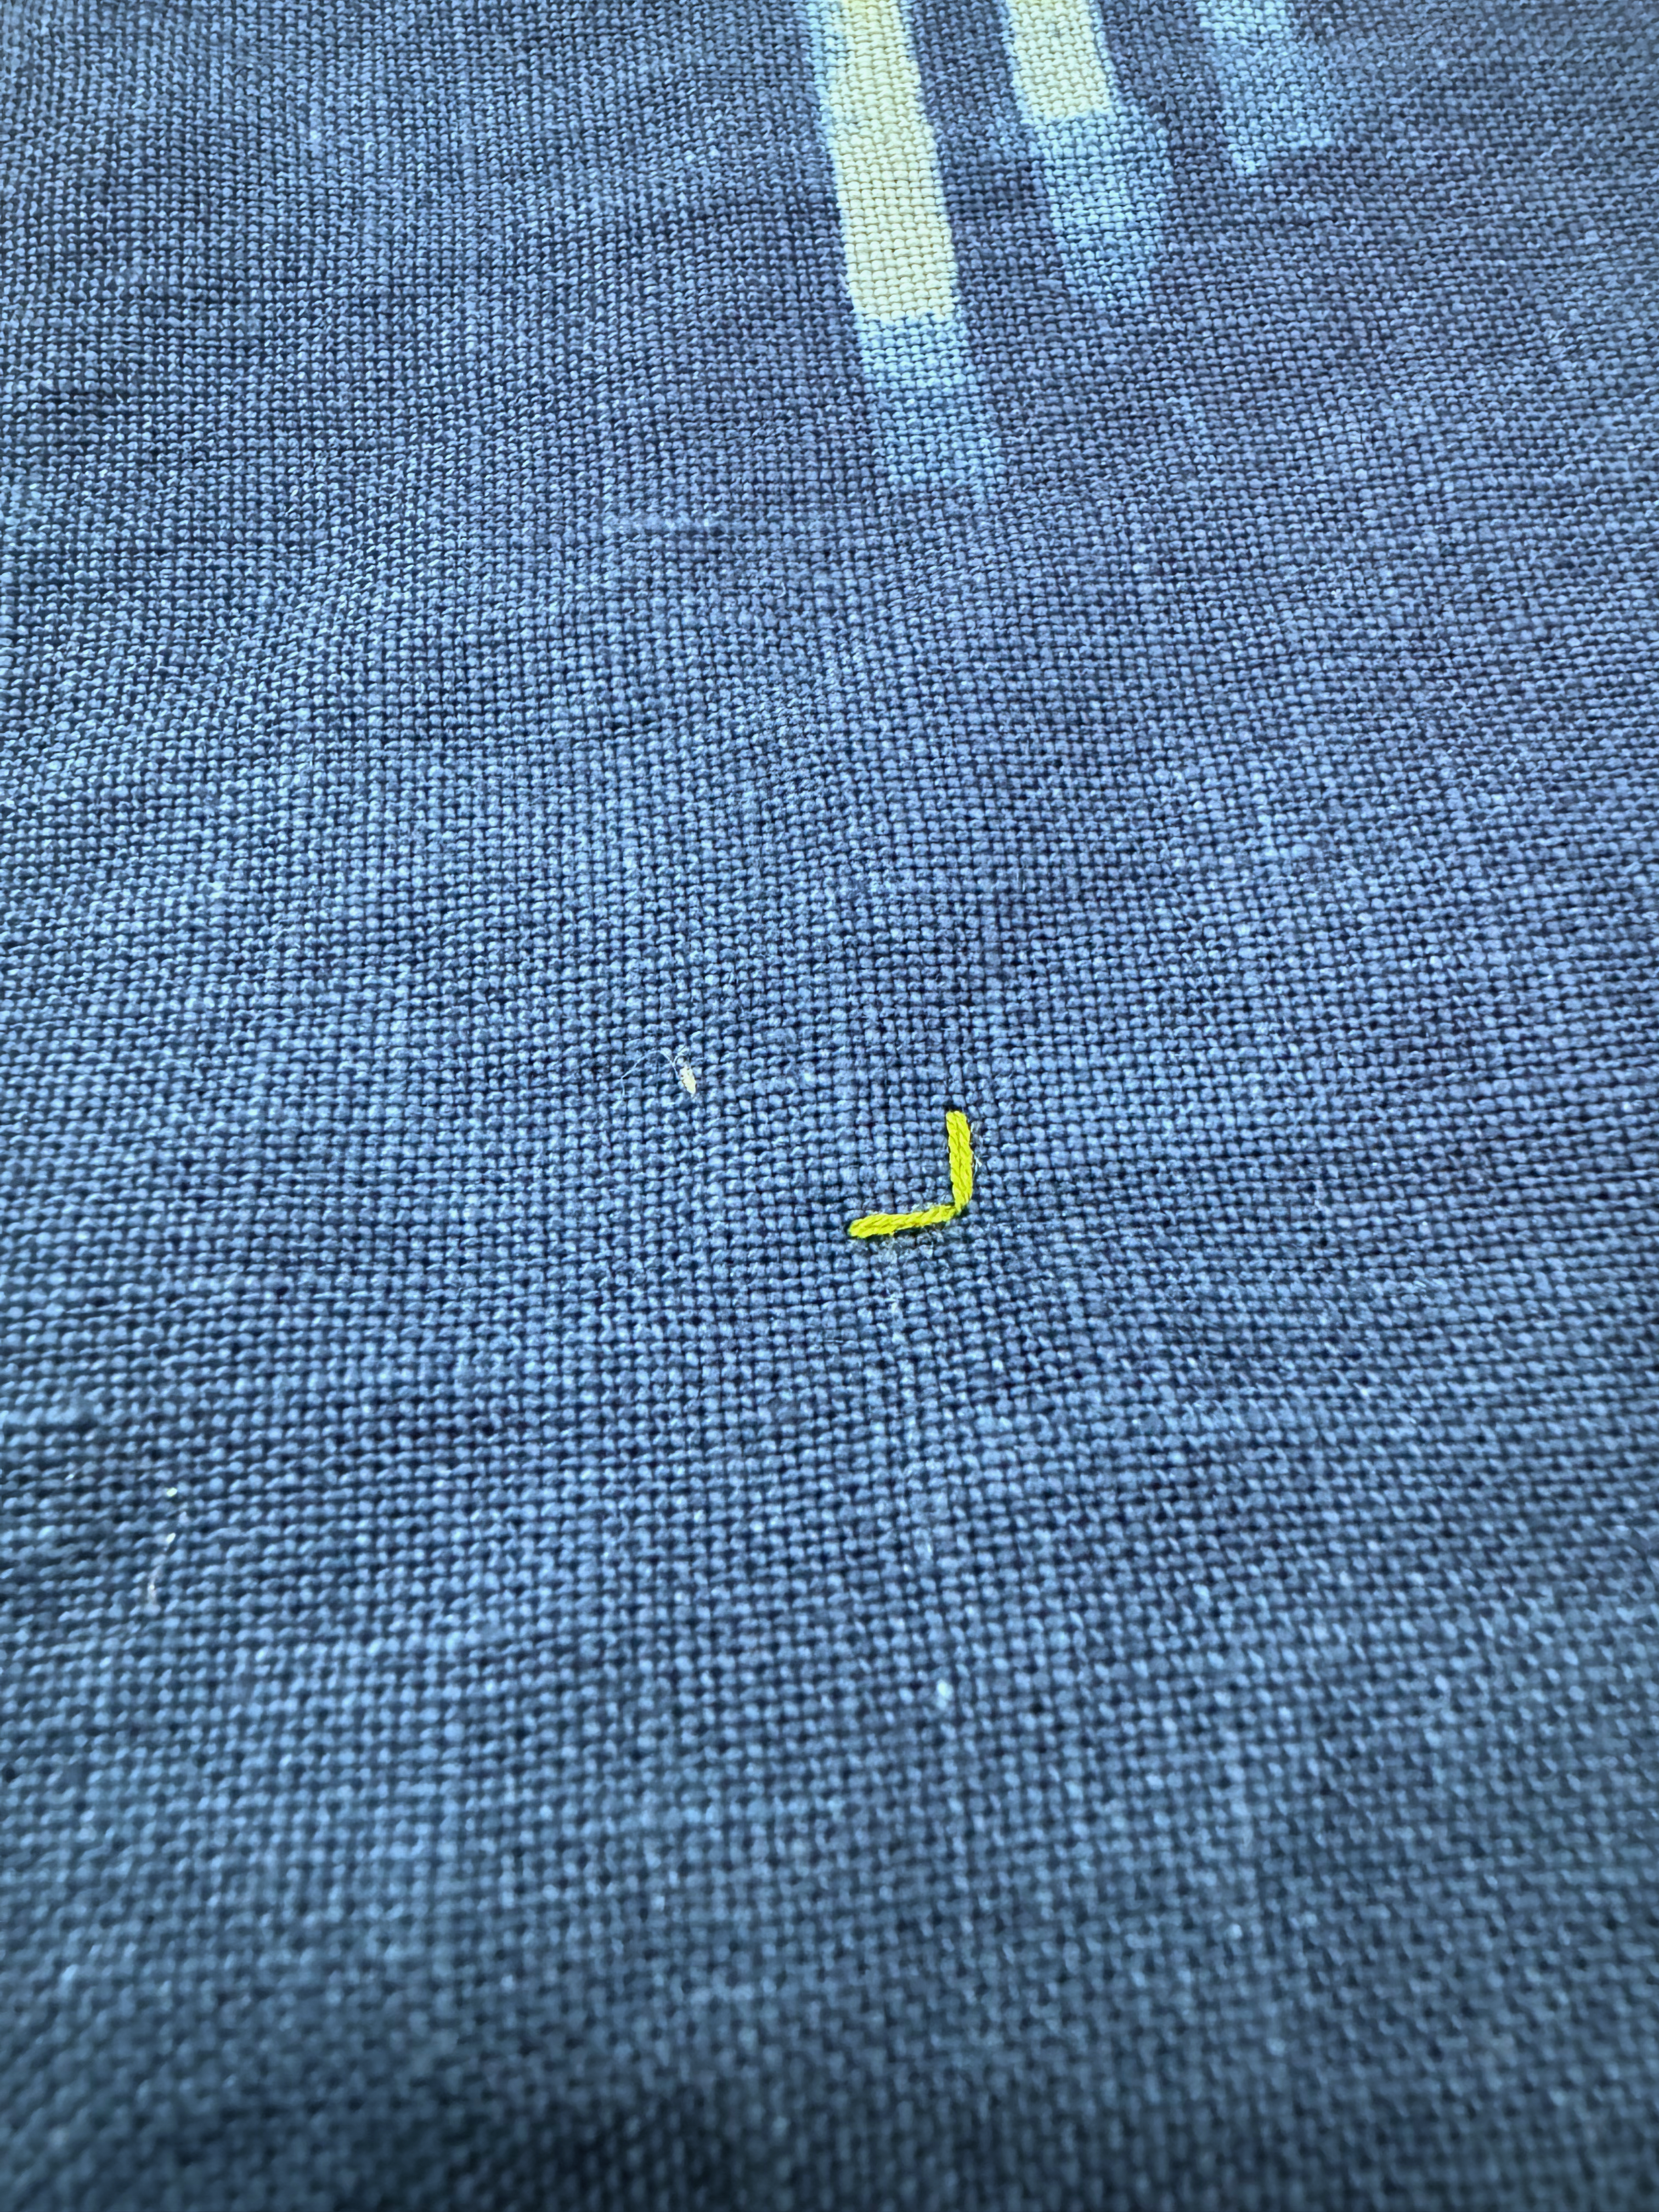
With a ruler and a craft knife, I cut ten stripes and an alignment window into my piece of katazome paper. Then I found a grease pencil and used it to complete the 5mm grid. The eleventh stripe is a window for alignment — It lines up with these little corners I sewed into the fabric with polyester thread that won’t take on the indigo.
I wrote a Processing sketch that digitized the image in two ways: First it was posterized into 6 shades of blue, then each layer was pixelated into a striped grid. Each of the 12 sections of this grid, outlined in yellow, corresponded to the stencil. This way I could precisely transfer the design by hand.
The Work
Here’s what one layer looks like:
-
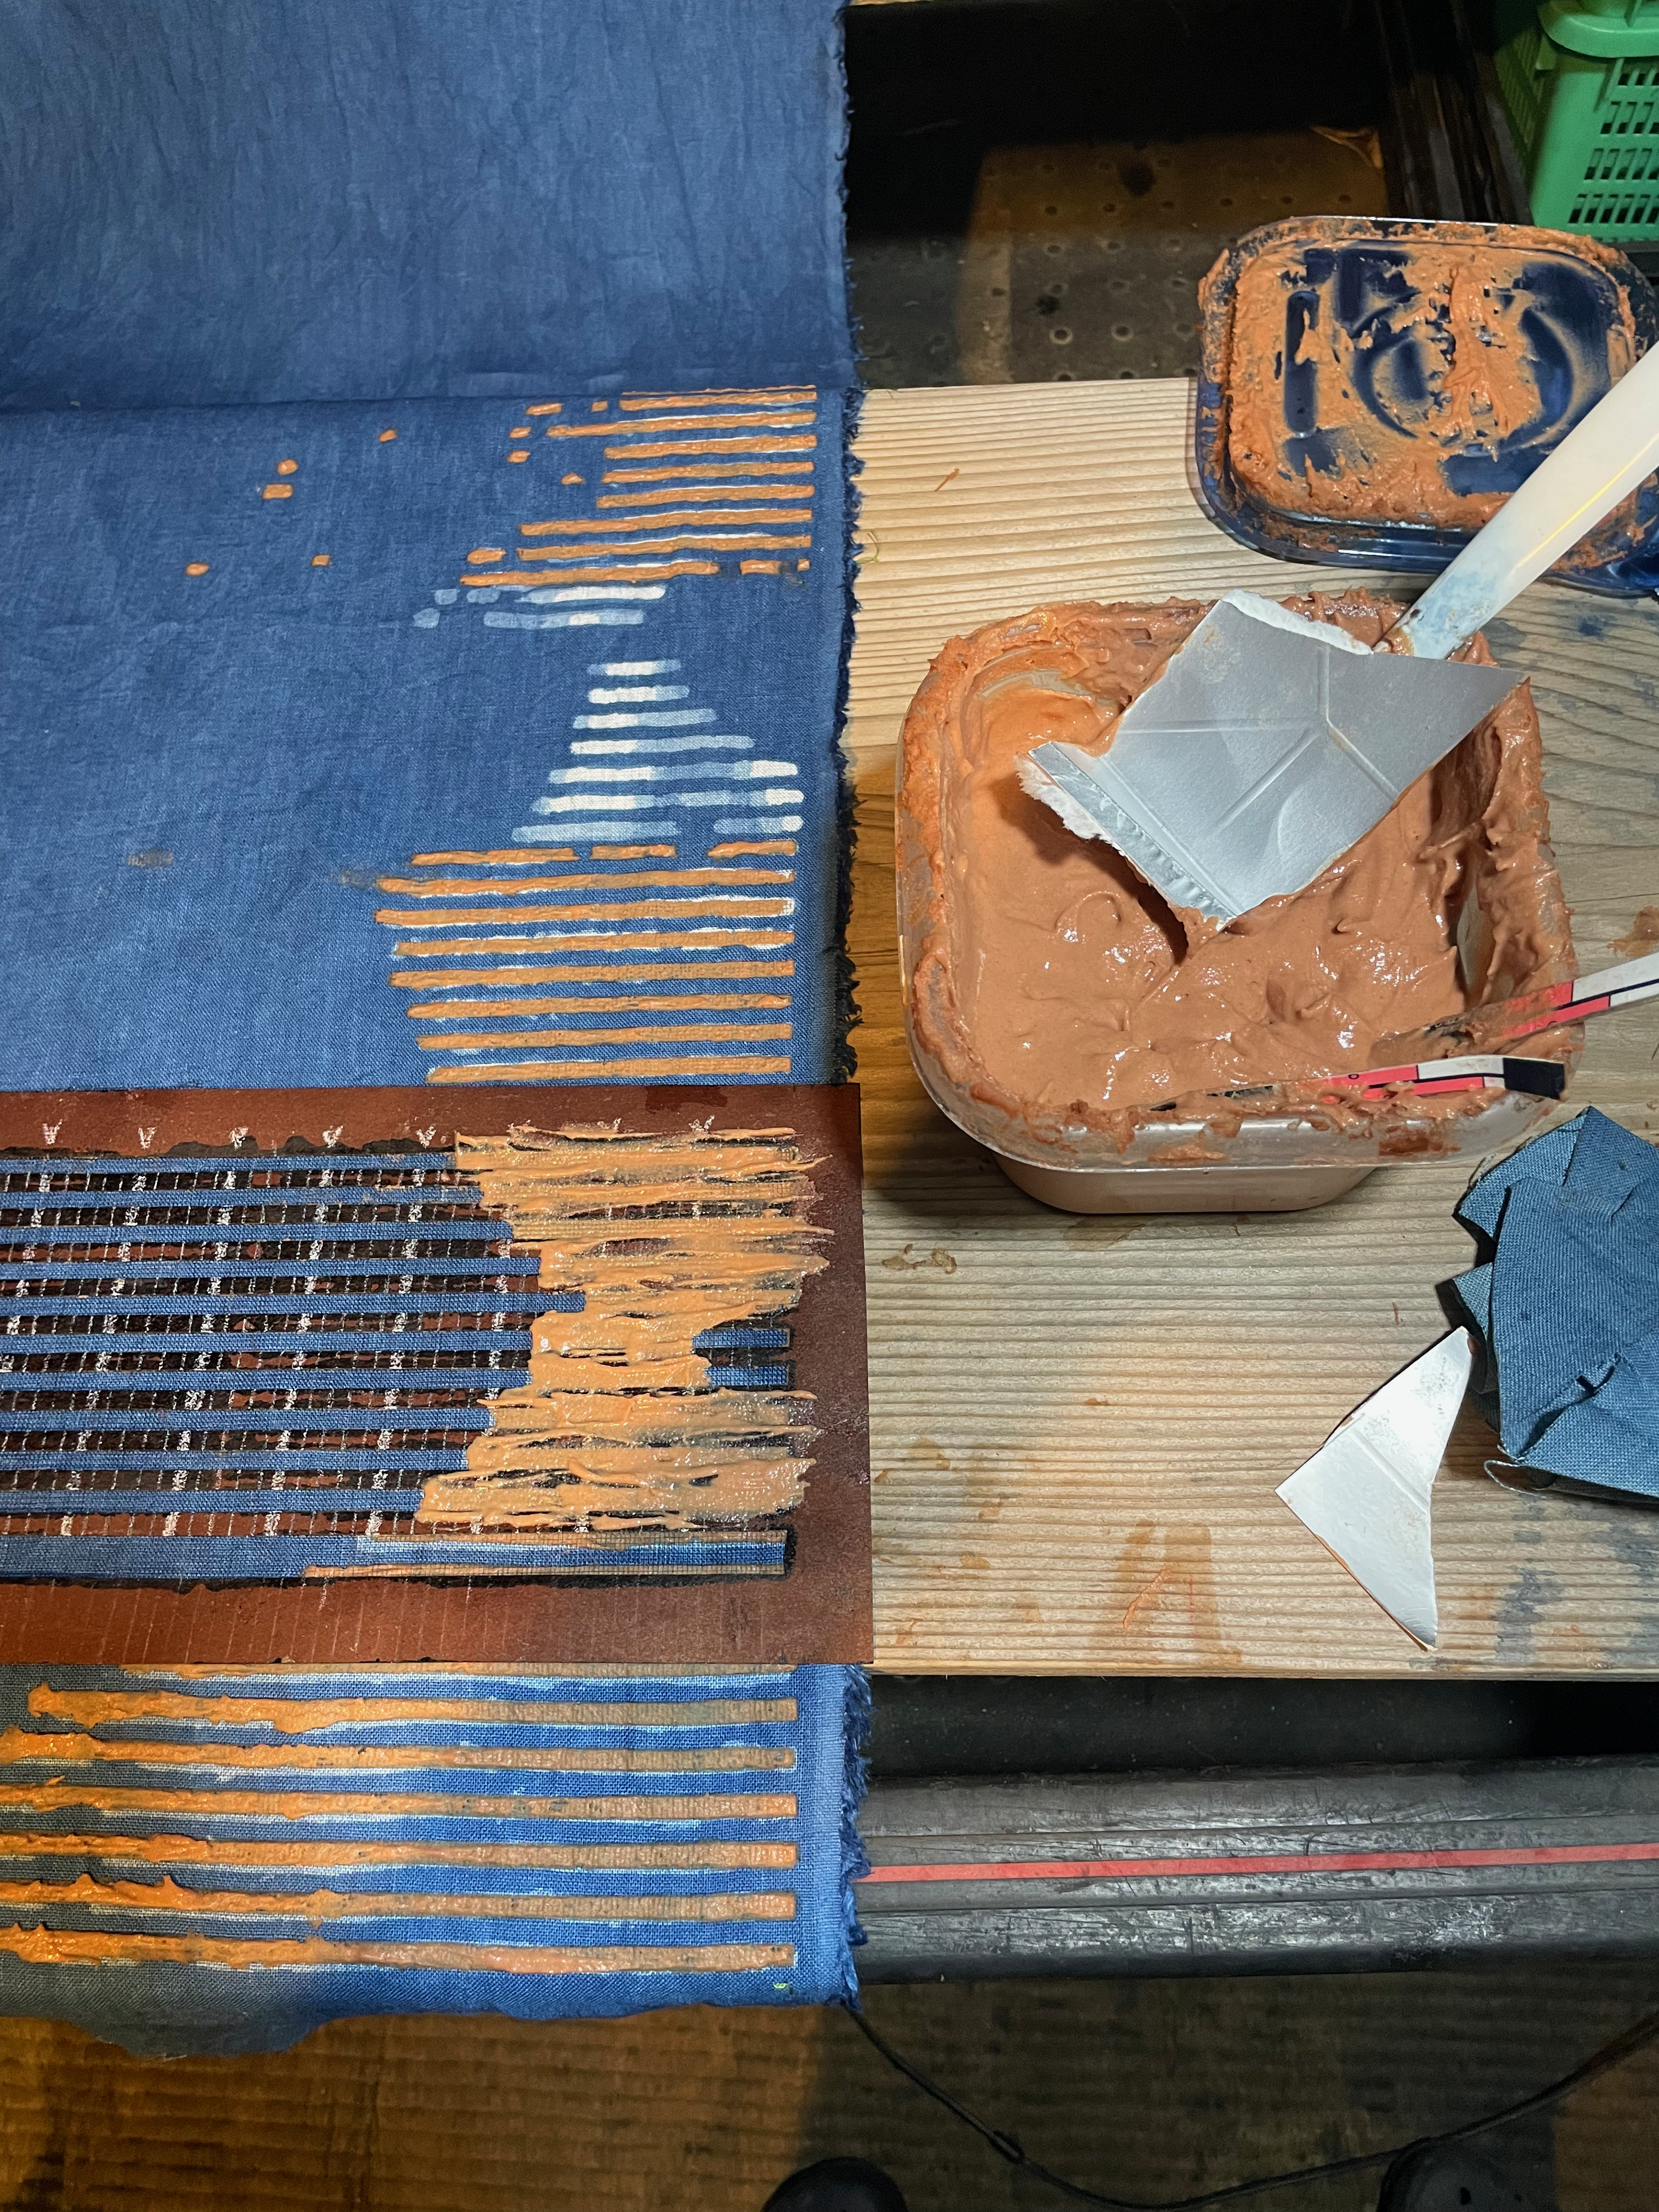
Iron the fabric
-
Align the stencil with a pair of locating stitches on the fabric
-
Apply paste to the squares shown by the program
-
Do this 11 more times
-
Hang up the fabric to let the paste dry
-
Dip the fabric in the indigo vat and let it oxidize for 5 minutes
-
Rinse off the excess indigo. Watch the paste you spent hours applying flake off and disintegrate
-
Walk down to the river and beat the rest of the indigo out onto the rocks
-
Hang up the fabric to dry. Try to eat something while you’re waiting
For three days, I started working when I woke up and stopped only to go to bed. If I worked diligently, I could repeat this cycle twice in such a 16-hour workday. I’m glad I didn’t know what I was in for when I started. The first results were exciting enough to keep me going.
Rather than finding a way to skip some hard work through automation, I had the computer give me more work than I could have imagined. And it was worth it.
Gallery
I am happy to say that all I did to make this happen was worth it. I have one of the most unique pieces of art I’ve ever made: a piece that is plainly two things at once. You can immediately identify it as a digital design, and as a completely handmade piece. It is perhaps the most representative piece I’ve made; it shows how I wield my technical skills not as a replacement for labor, but as a challenge to do more with it.