Halftoning
I don’t work with color a lot. I’m not a painter or a photographer. My pieces don’t express through paint, toner, or anything that can be blended to produce different shades. The machines I work with — pen plotters, embroidery machines, laser cutters, etc. — can visually express only through the presence or absence of their touch on the workpiece. Every point on the piece is marked by the pen, needle, or laser or it’s not. There’s no in between, it’s black or white, 1 or 0.
Halftoning
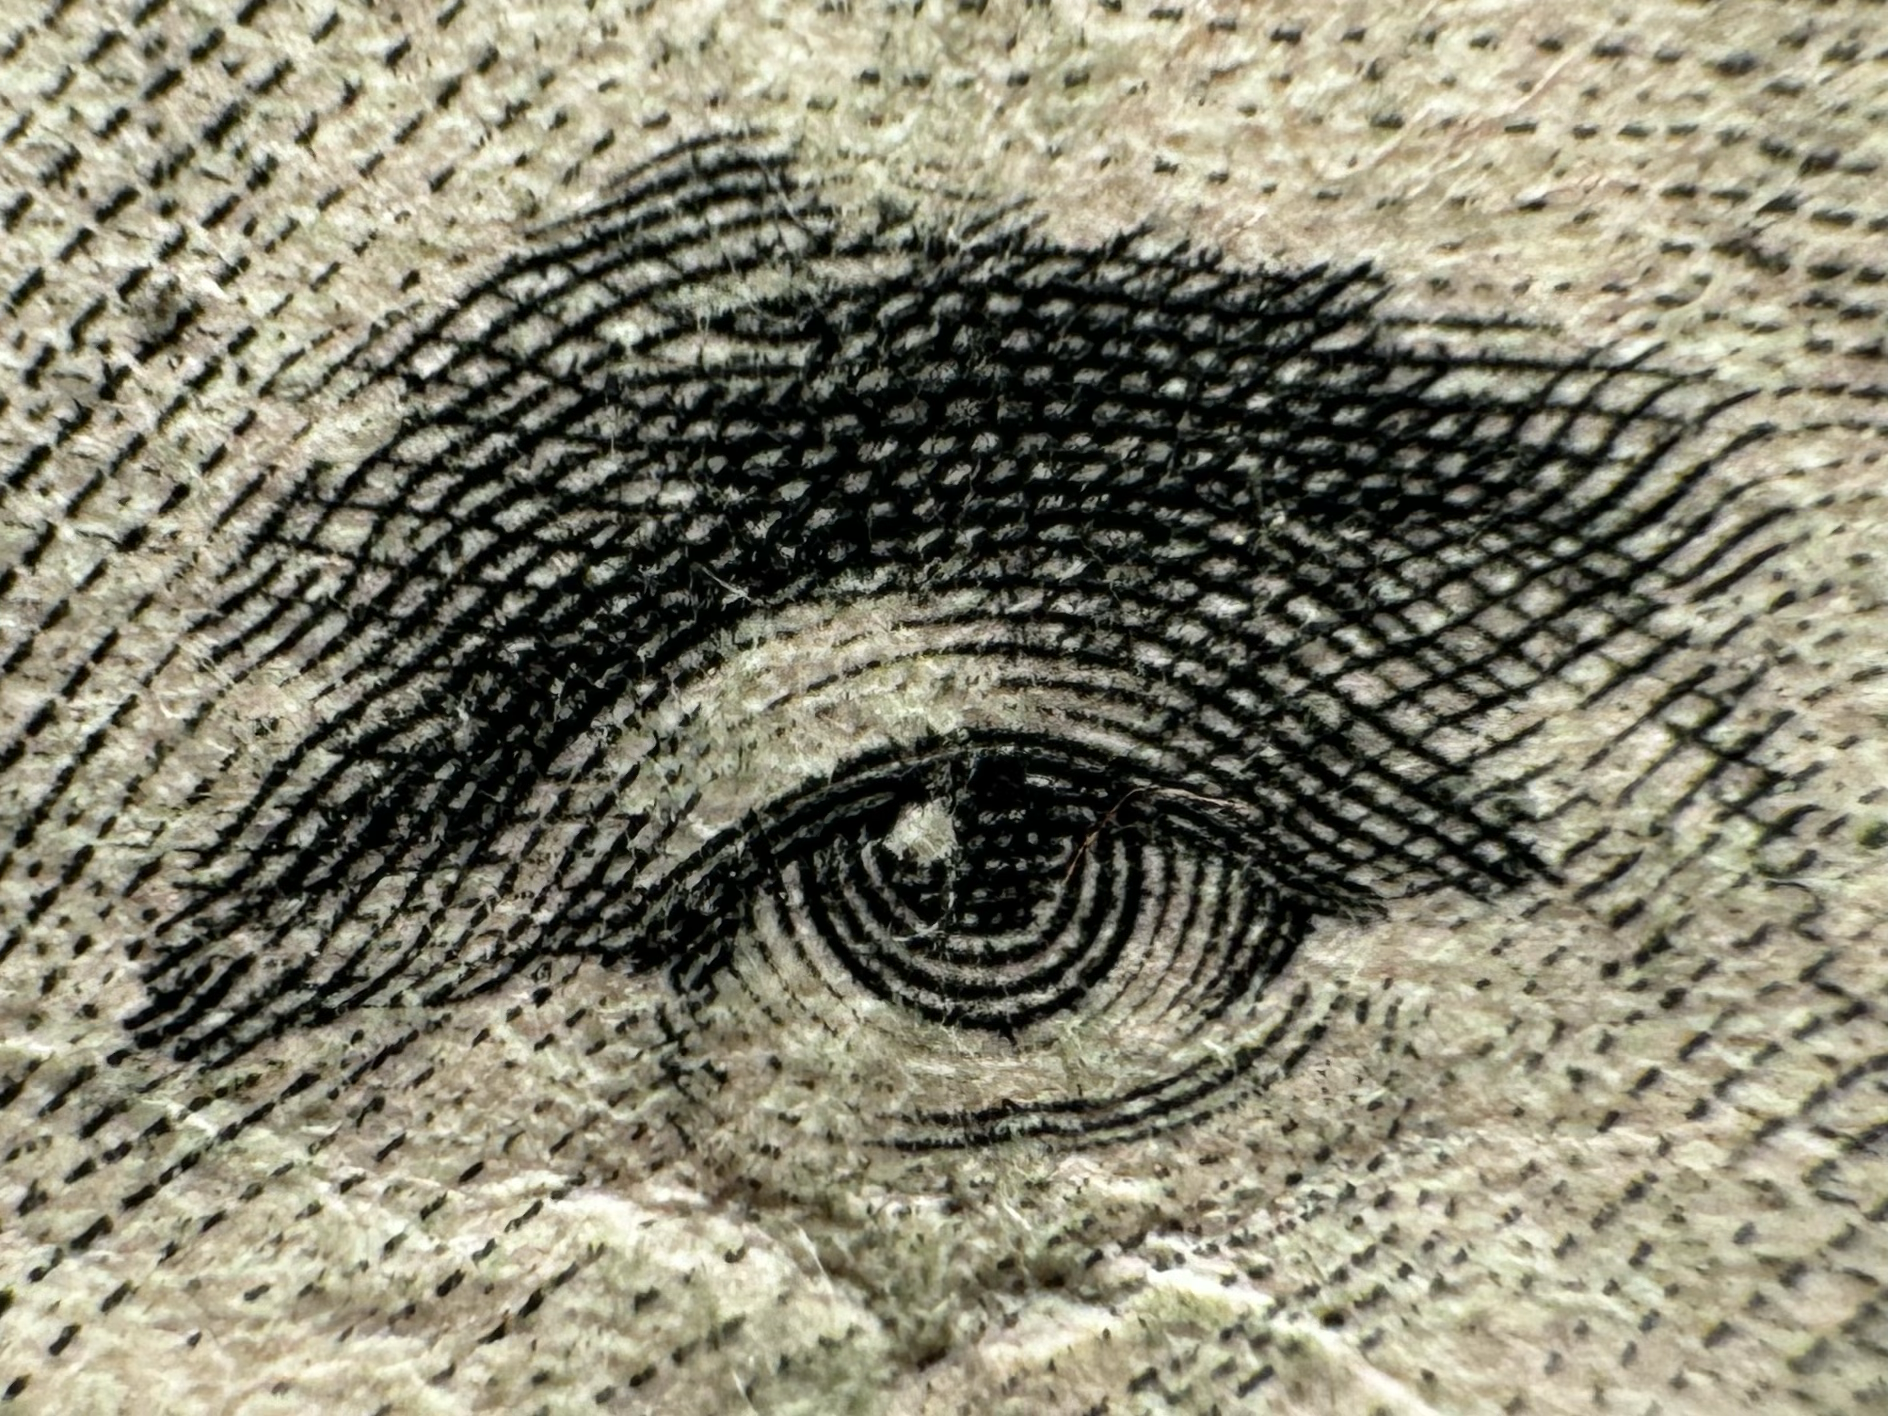
Creating the illusion of gray through these limiting black-and-white processes is known as halftoning, and it’s usually done on the microscopic level — you have to zoom way in on a newspaper to see the little dots of ink that all blur into one color from afar.
Once an image has been processed in this way, it can be printed in all sorts of ways. A laser cutter could make a stencil for it, or engrave linoleum to make a printing block. If the pattern is made up of uniform lines like in Marching Waves, a pen plotter or embroidery machine could follow the paths. I see these processes as a way of being freed from the traditional printer, to explore new and interesting forms of computerized printing.
The Old Way
Even before I started working with machines, my first projects in Processing were halftoning effects like this one:
This one’s easy enough to program: make a grid of circles, where each circle expands and contracts depending on the brightness of the pixels beneath it. In addition to expanding circles, you can define all kinds of dynamic shapes that expand to fill a space:

You can also define bars or concentric rings that expand and contract:
Defining these shapes becomes complicated very quickly, though. What if you wanted to make a Voronoi diagram where each cell is its own dynamic shape?

I’m sure it’s possible to do this geometrically, but it would be an enormous pain. Thankfully I was introduced to a completely different method used by Photoshop artists. This is a raster method — it deals with pixels, not paths.
The New Way
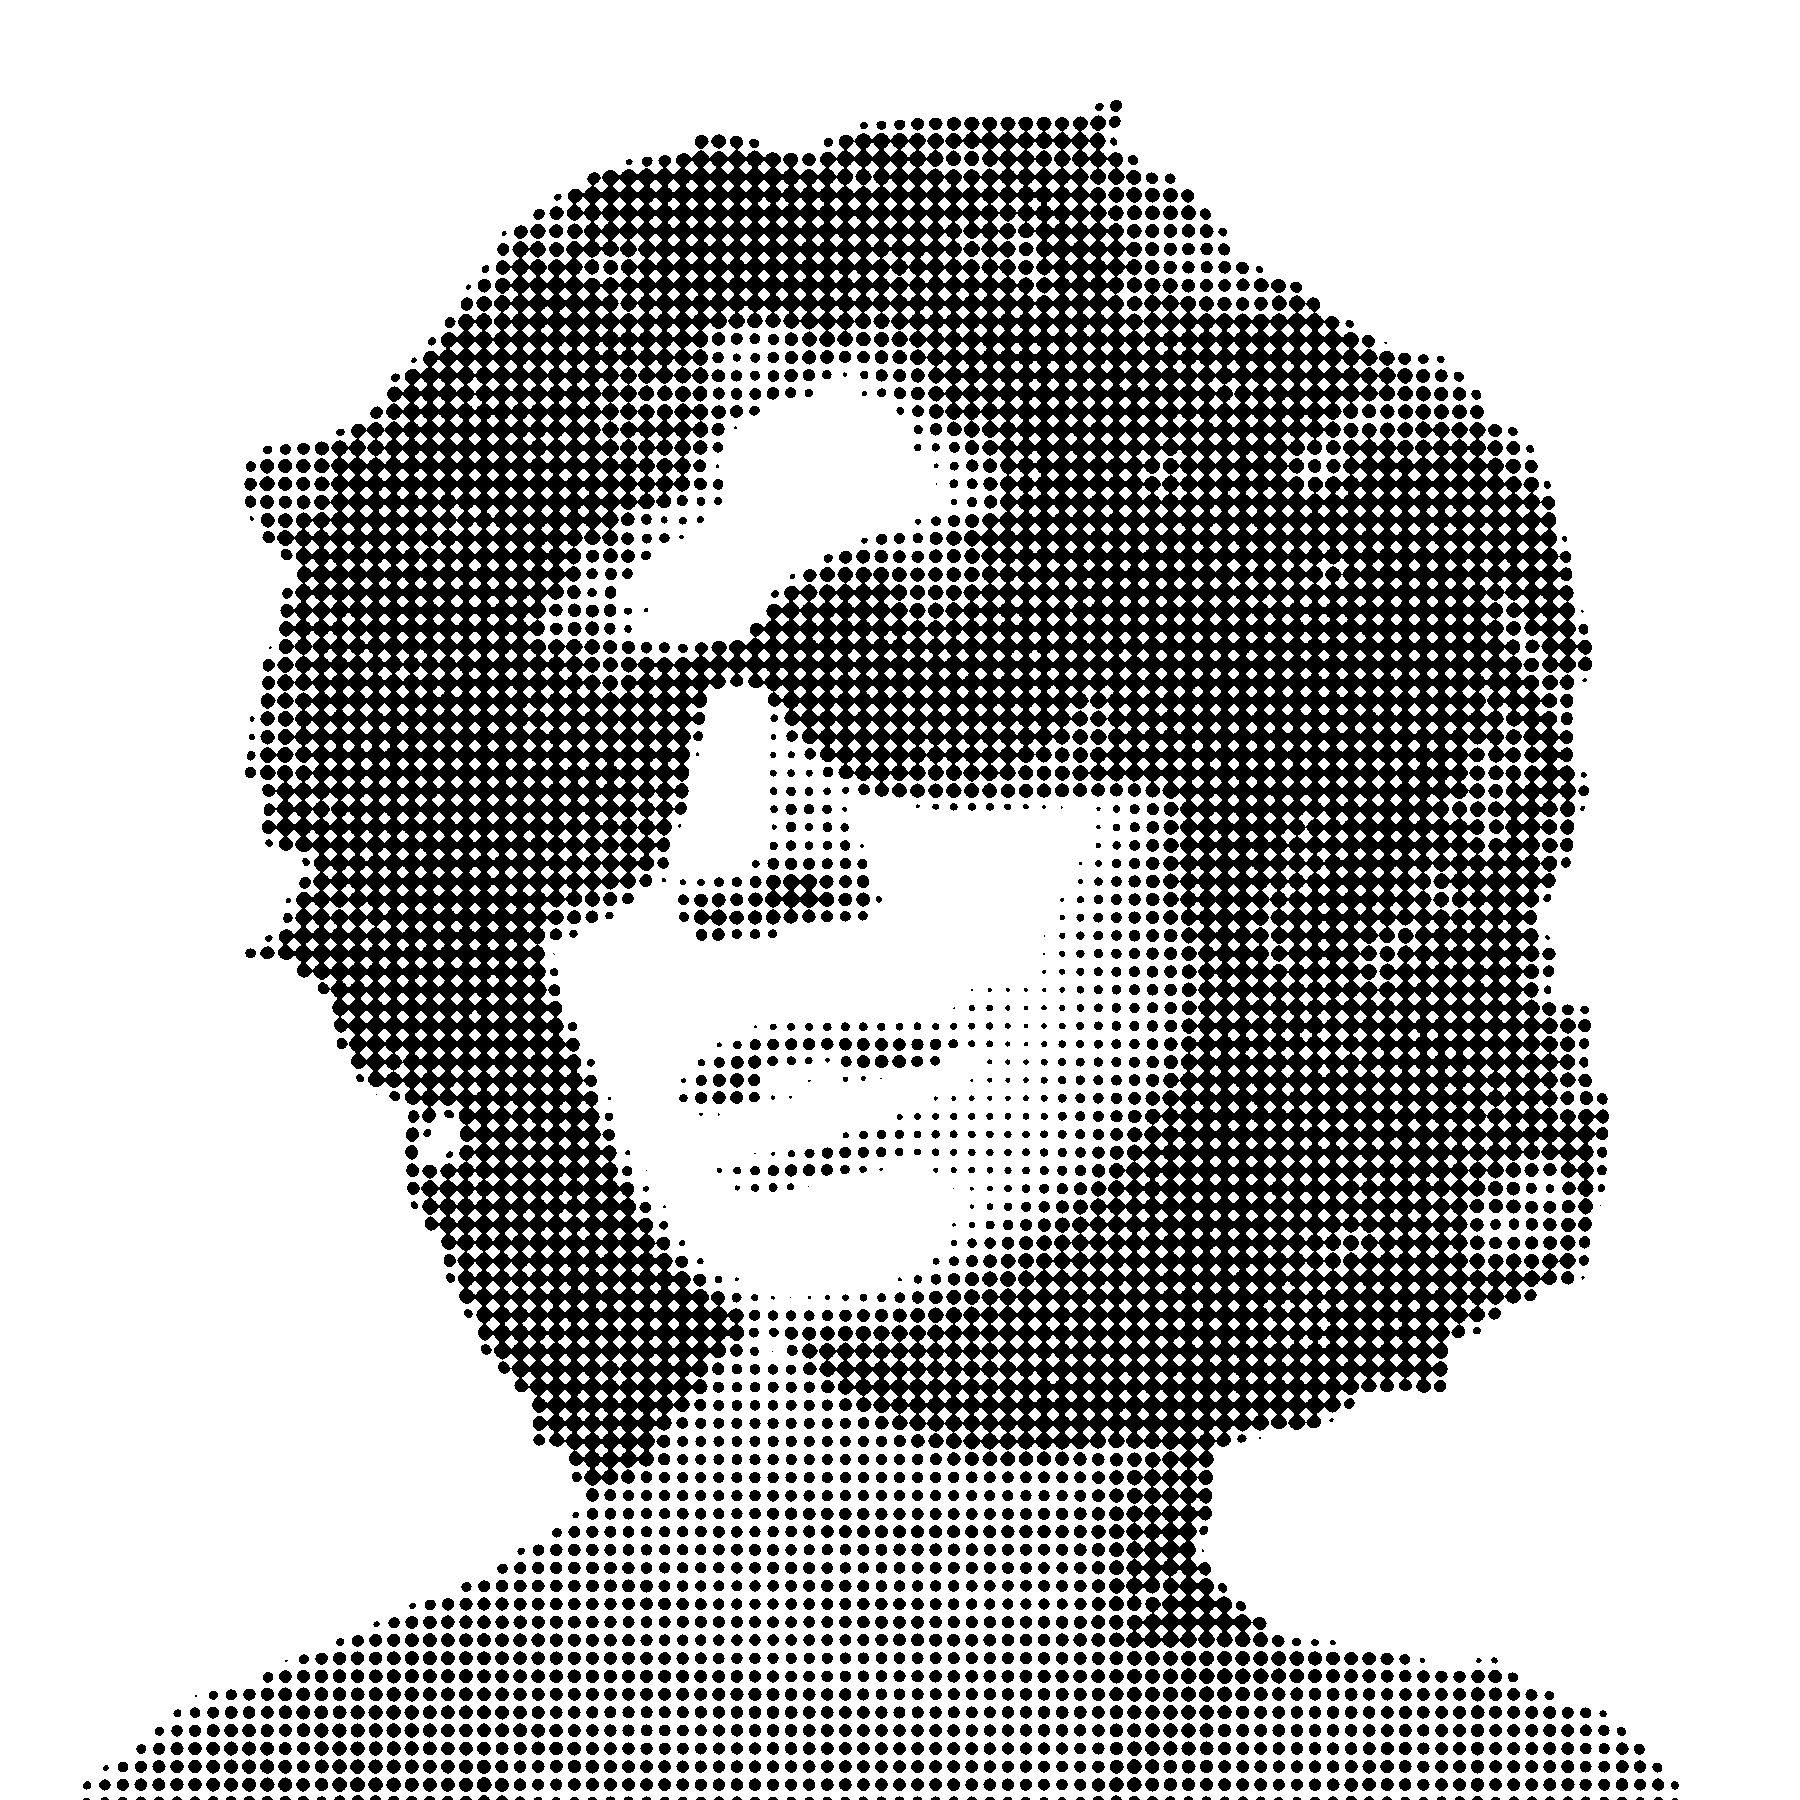
It relies on a simple threshold operation. On its own, this will give you something workable:
You’ll see this effect (also called “posterizing”) used to make stencils and such, but it’s boring and loses a lot of information. You don’t get the illusion of gray. This is why halftoning was invented, of course.
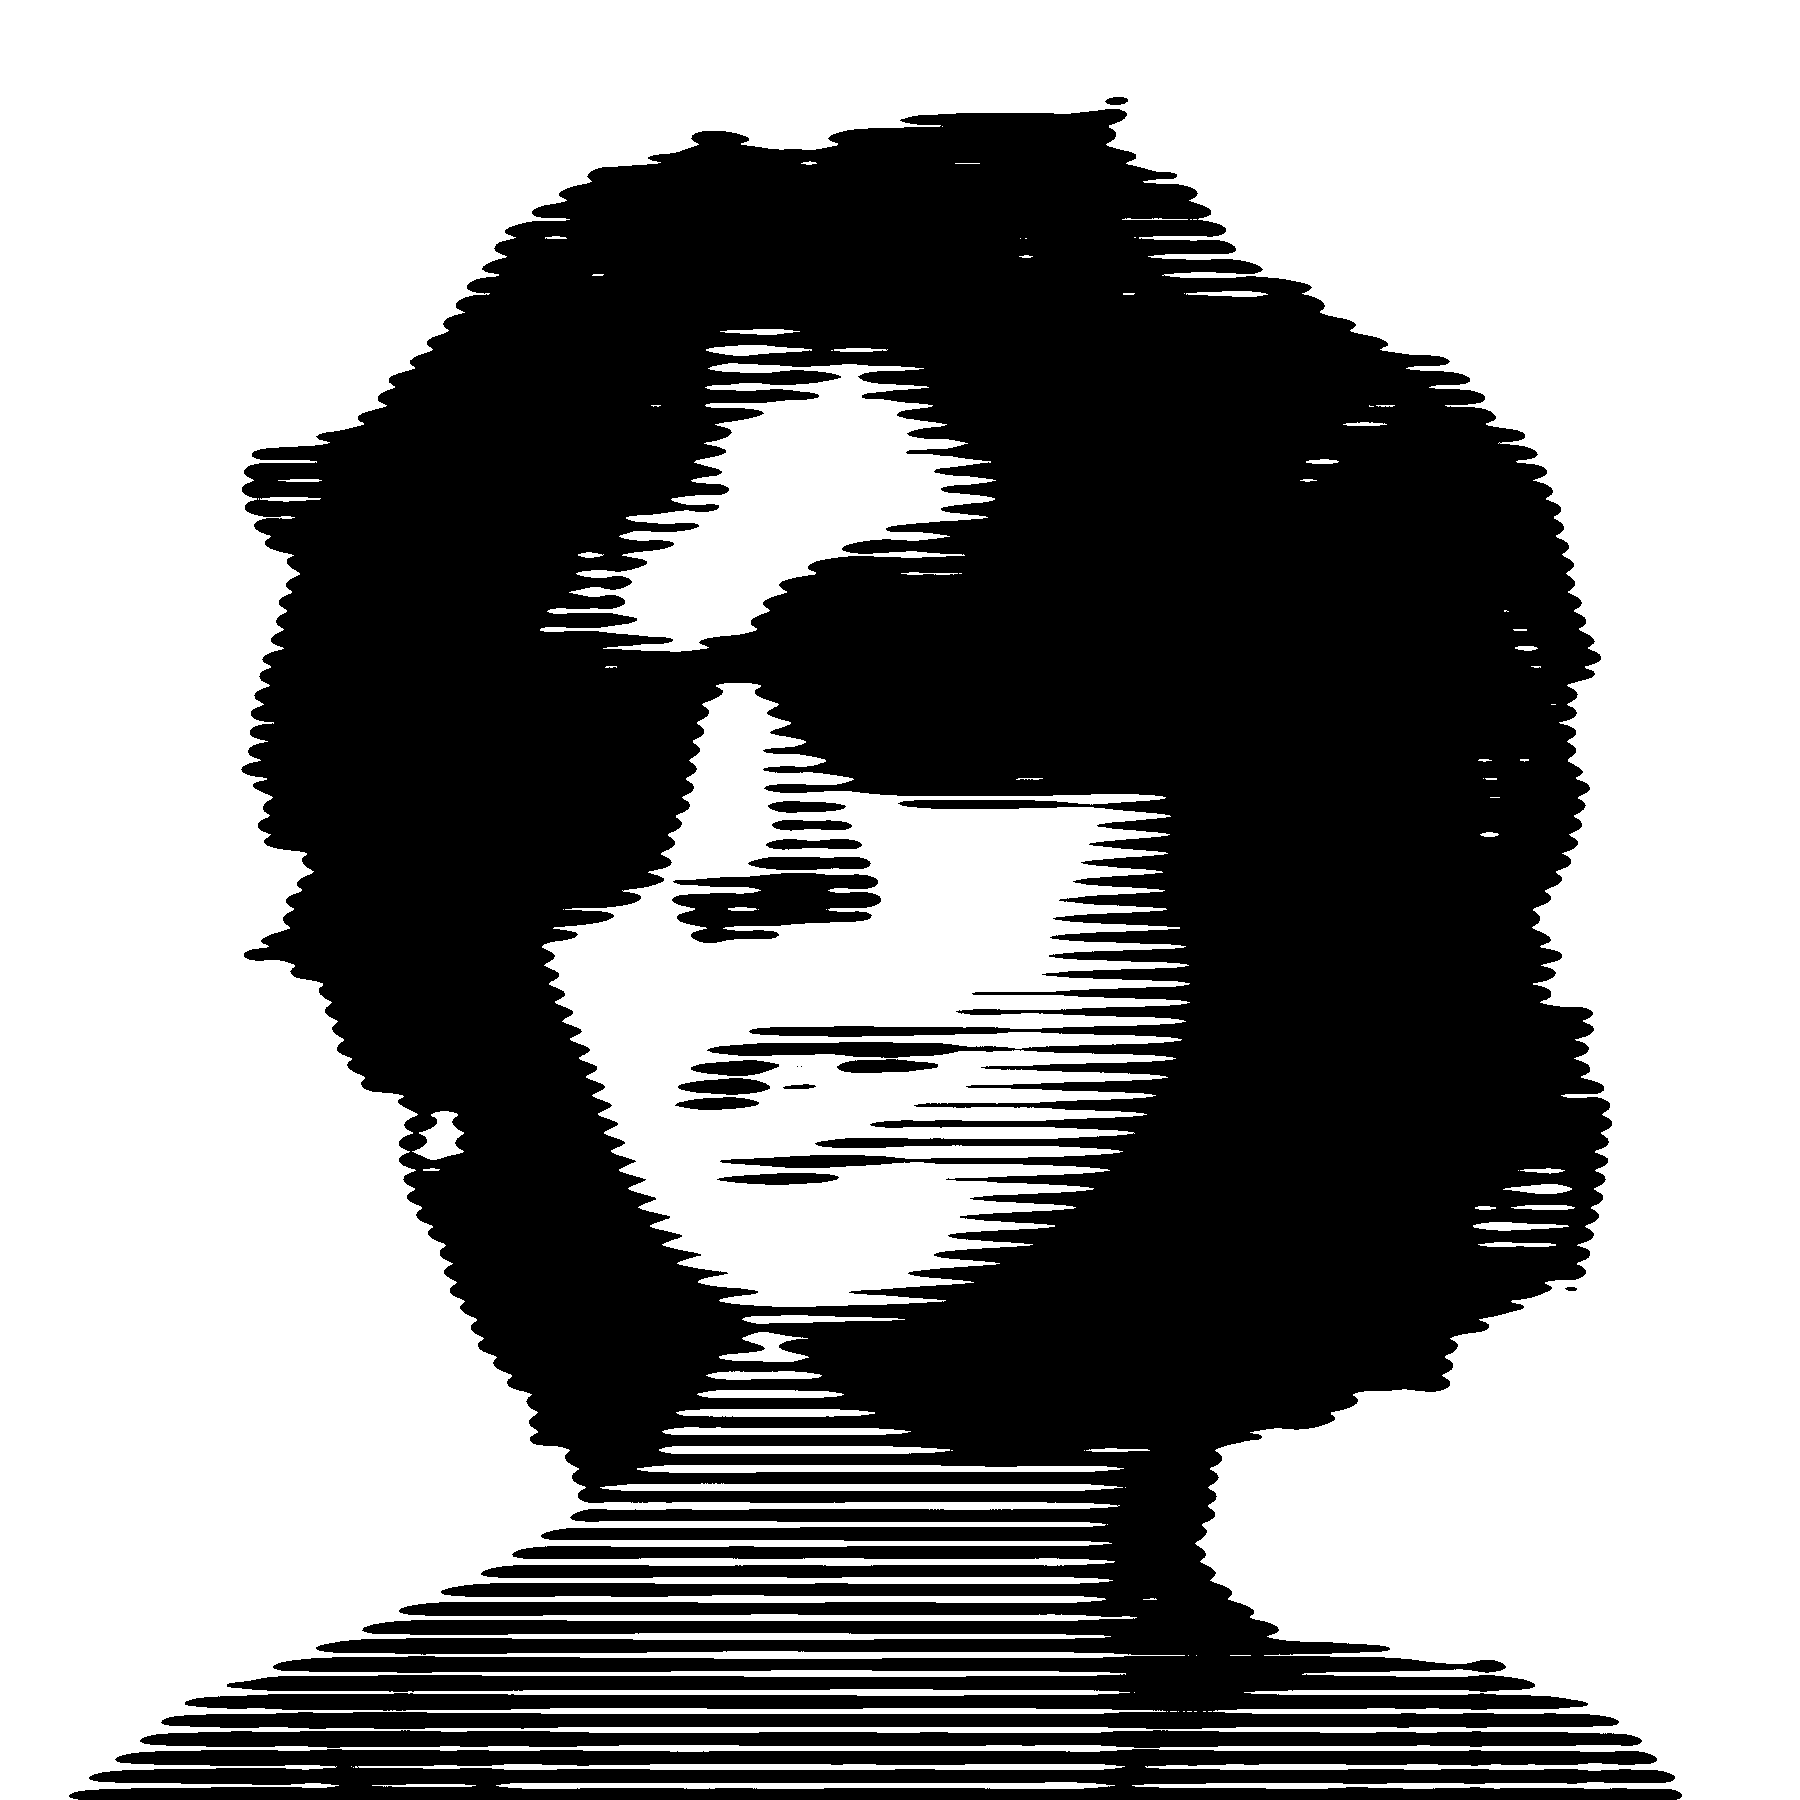
But if you modulate the image with a certain pattern before running it through the threshold operation, like this:
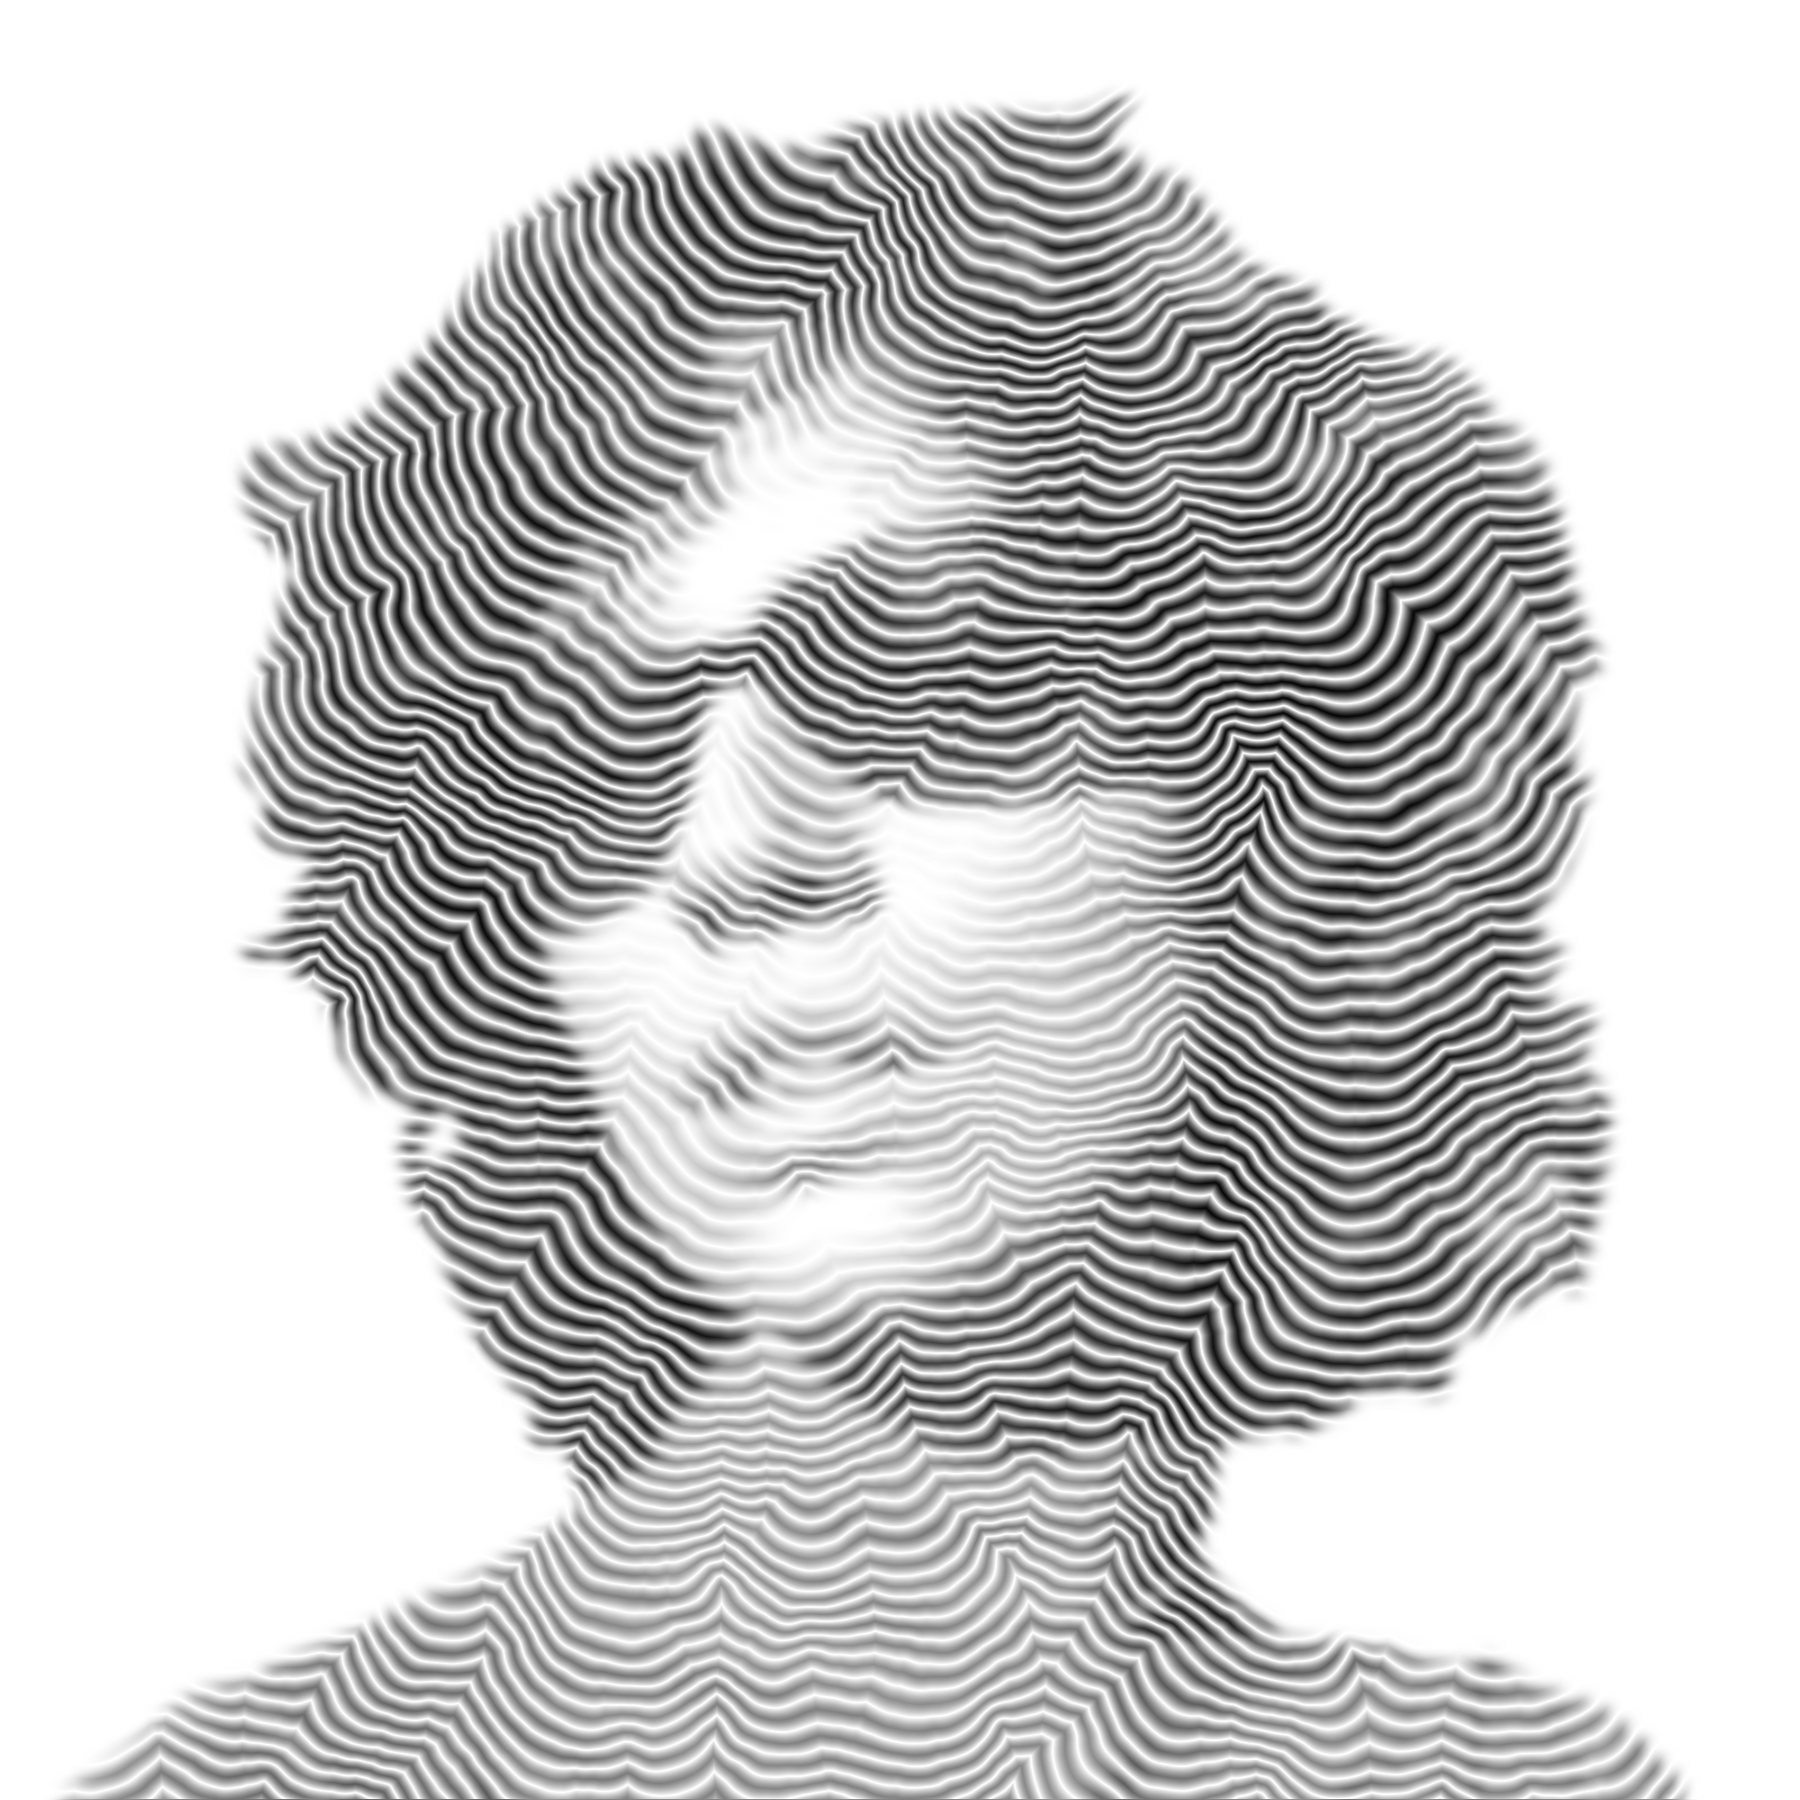
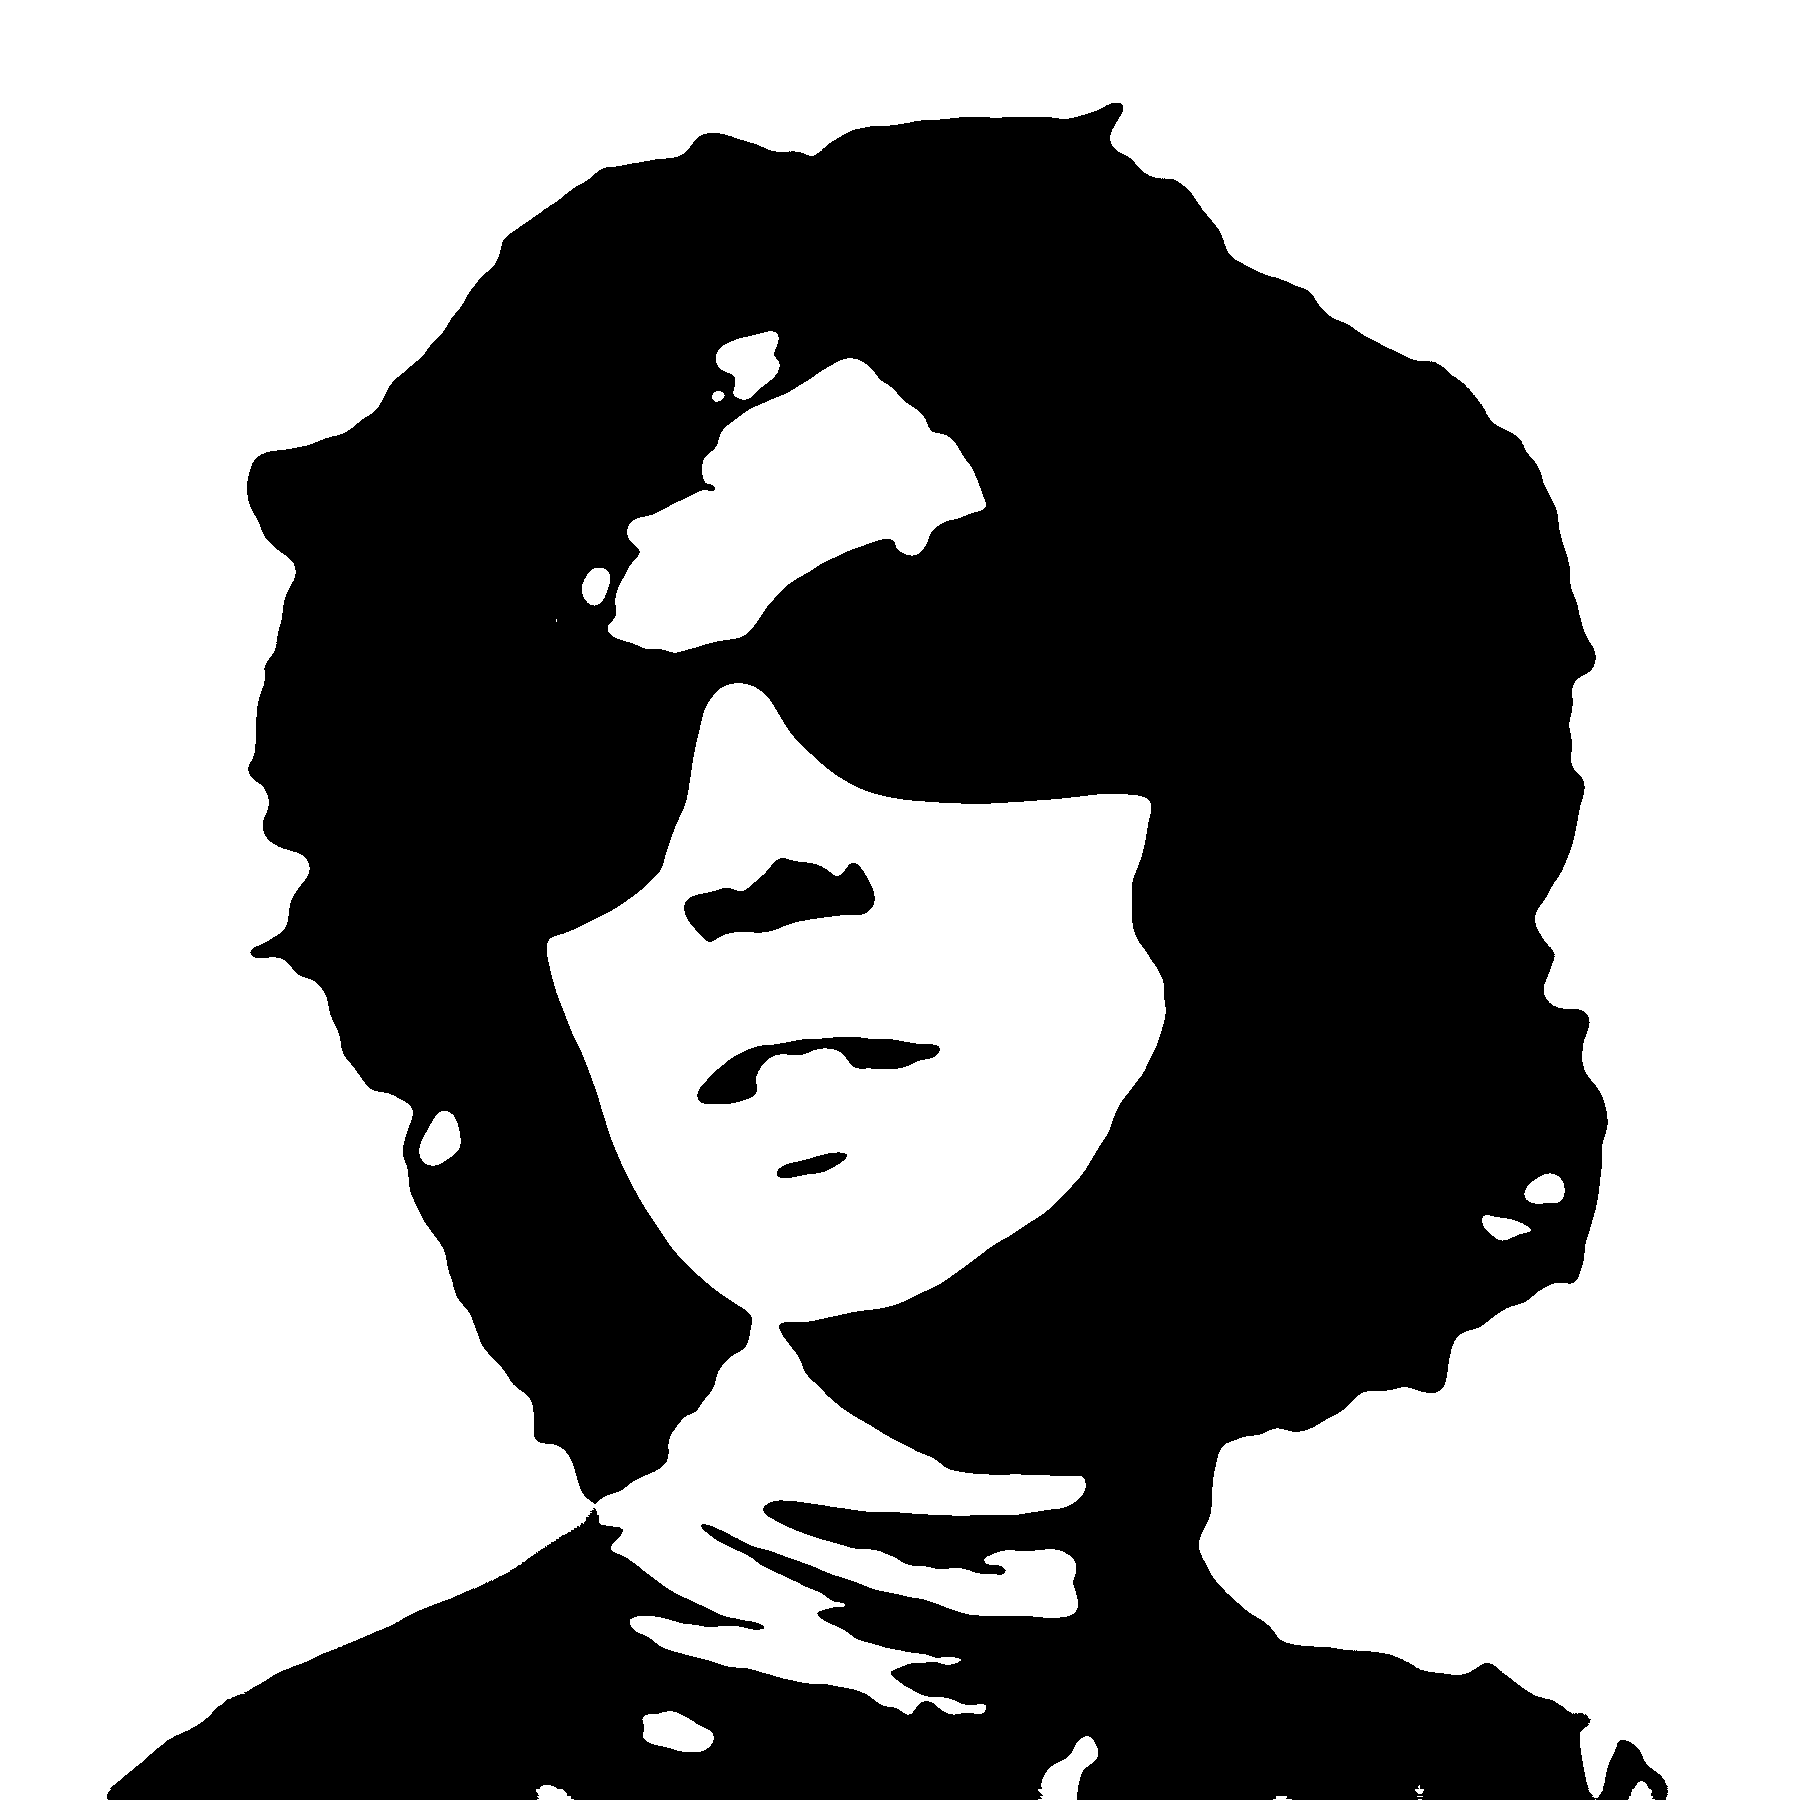
what you’ve essentially done is offset the threshold that is actually applied to each pixel. You can do this literally by sampling the pattern as a separate image — a map of what threshold to apply to each pixel — but this method is equivalent and works in Photoshop as well as in code. Now when you apply the threshold, you get this:
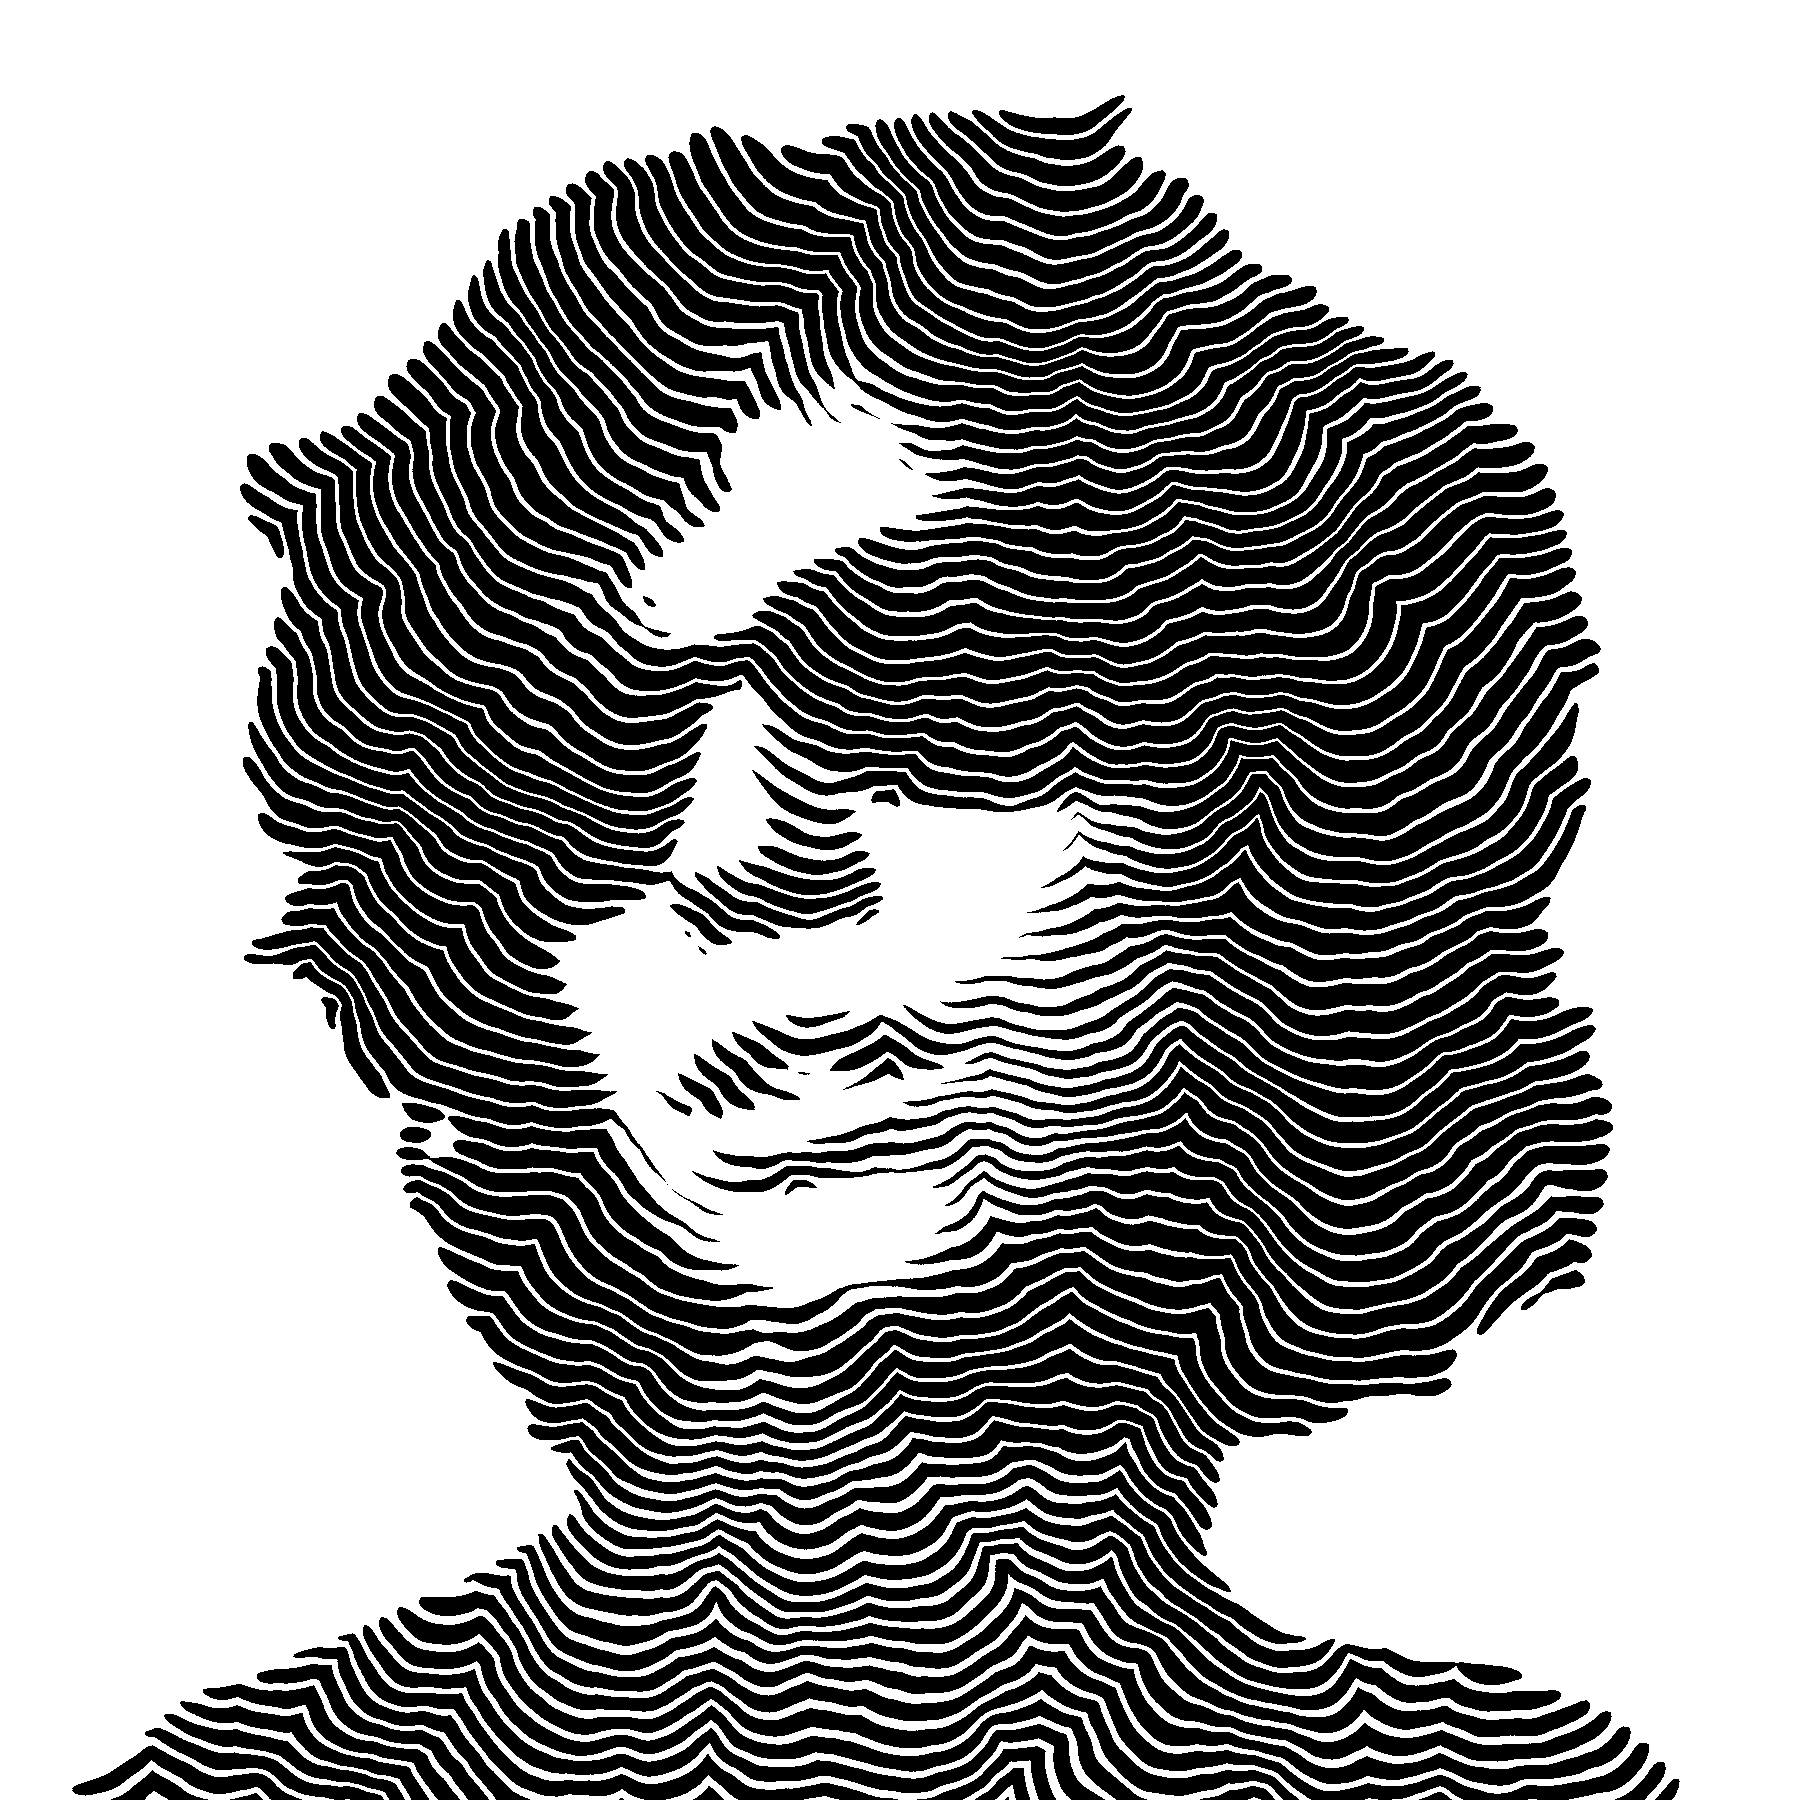
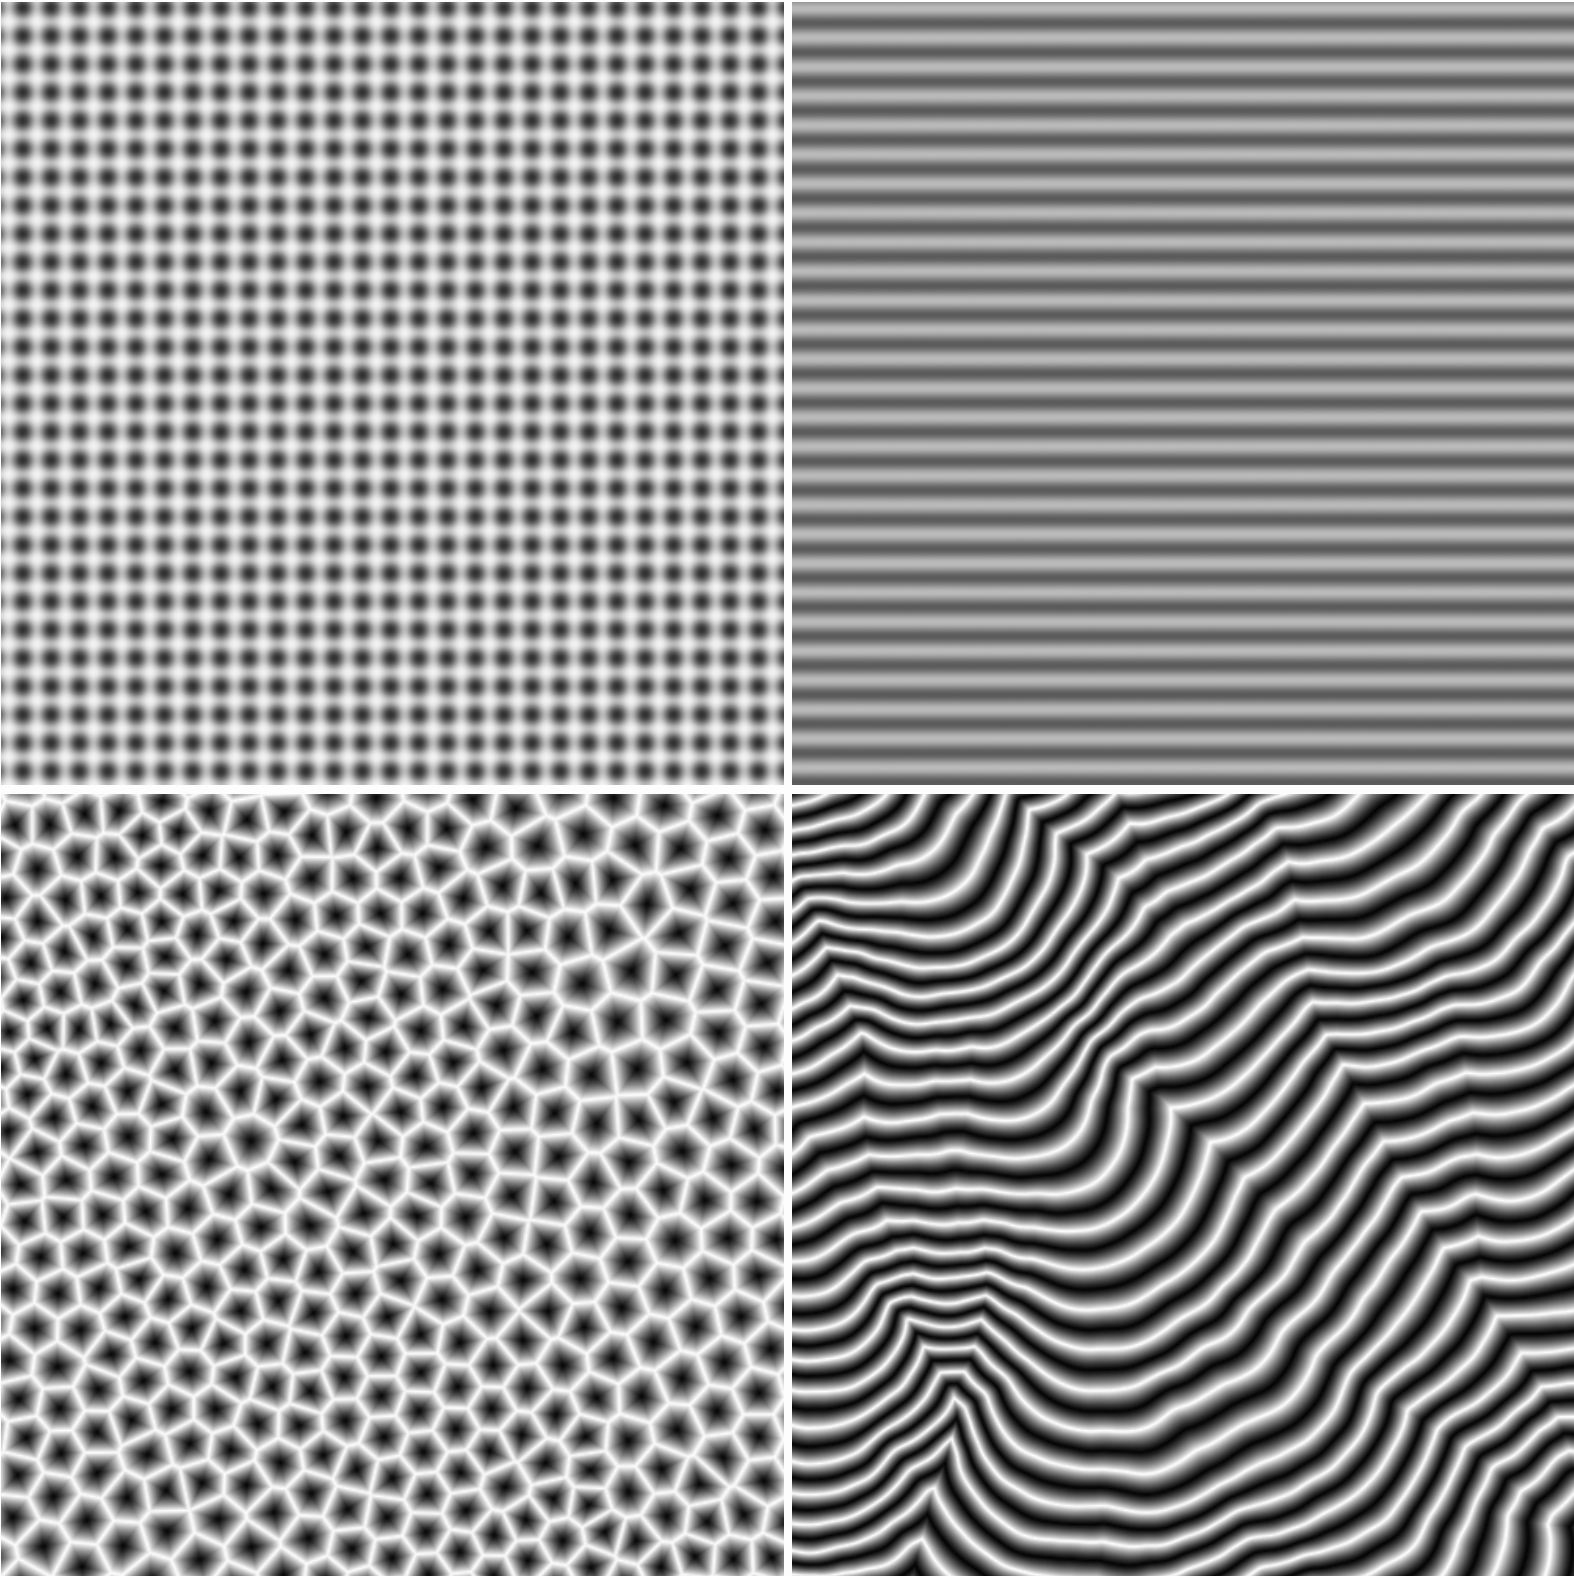
Now we’re cooking. The task has been shifted: instead of painstakingly defining how we want our shapes to behave, we just have to make a grayscale “threshold map” that will generate these shapes. Here are the ones I’ve used so far:
As a bonus, we have a method perfectly suited for real-time processing with GLSL. Once a threshold map is made, it can be used to make a live camera effect for Instagram or TikTok. This means I can actually compose a piece in-camera if I want to.