Embroidery
Getting to work with an embroidery machine is a deep lesson in working within a limited creative space. Its main constraints are color and continuity; changing threads is a pain and not something you want to do often. It can cut threads on its own, but this takes time and leaves loose ends than all need to be trimmed.
These constraints are soft; if you’re willing to dedicate the time, you can make colorful and discontinuous designs. But the challenge of working within them interested me — what’s the best way to render an image using a single continuous thread?
Scan Lines
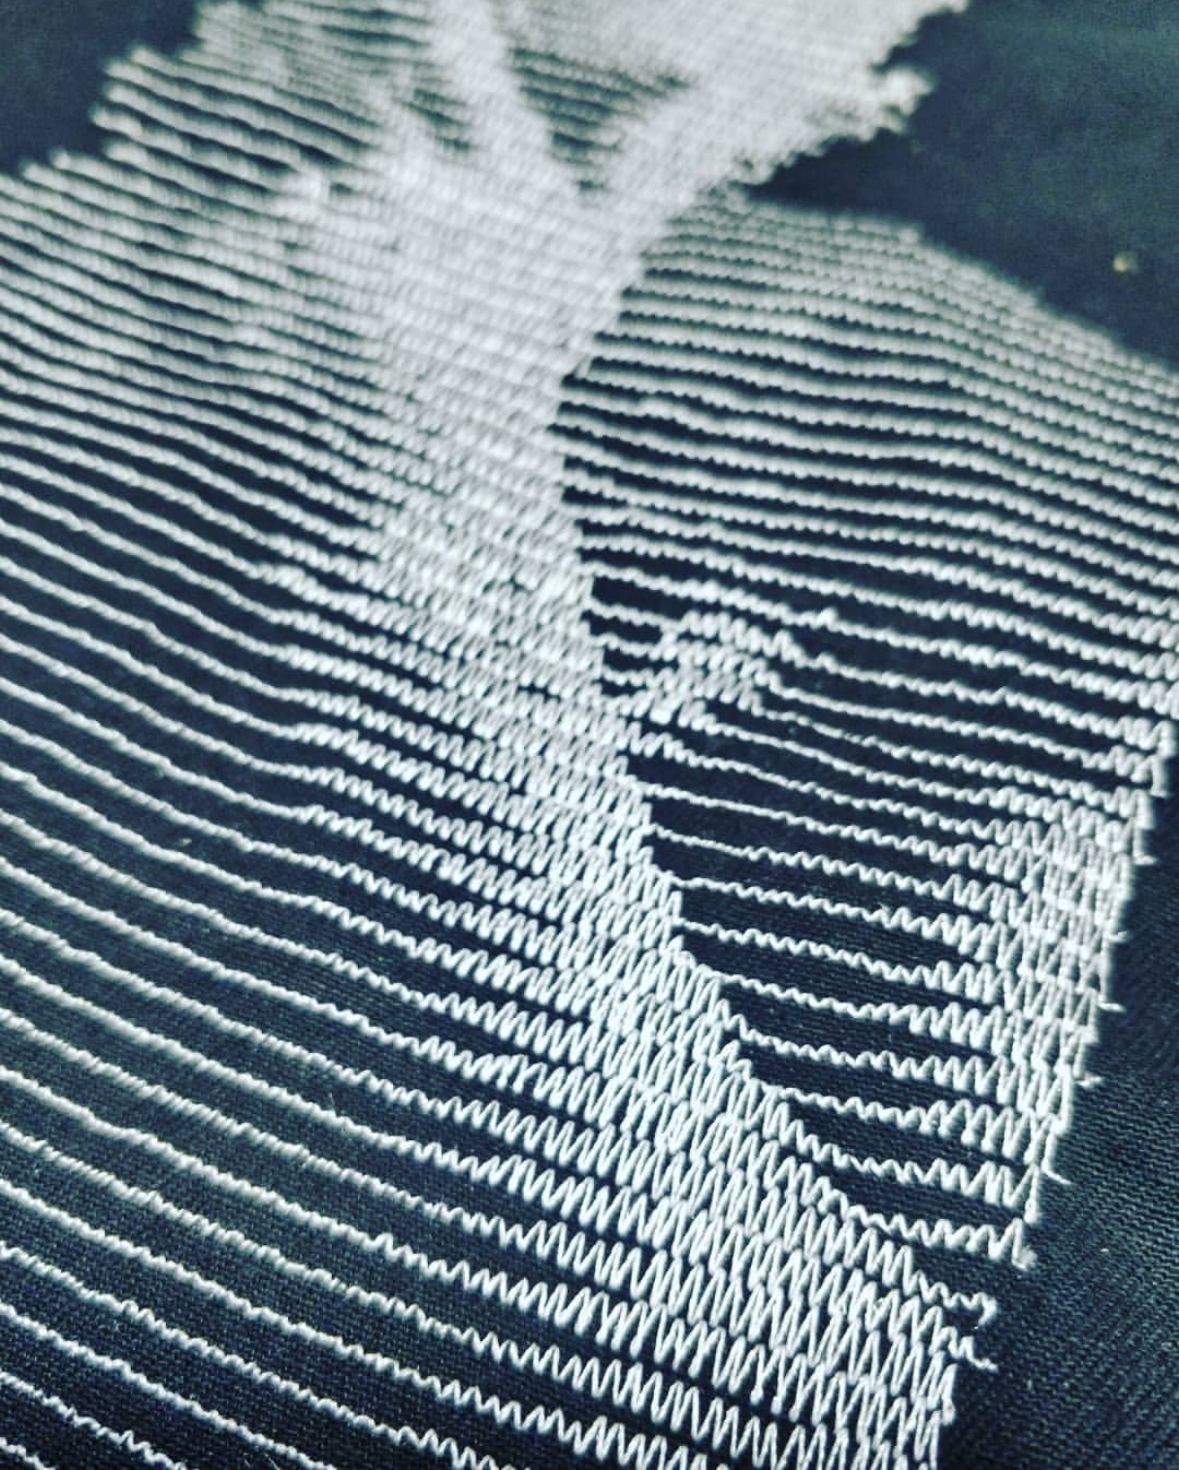
The first approach was pretty simple — a classic scan-line halftone pattern, which creates vertical peaks of varying height and separation. In practice it’s cool to see them squish up against each other:

This was one of my first Processing sketches ever, and it’s a perfect beginner project. I encourage you to try it out, especially if you have access to a digital embroidery machine.
The next thing to try was color; a basic CMYK printing technique wouldn’t take too much time. I did this quite manually, extracting the four layers in Photoshop and rotating them before loading them into the sketch.
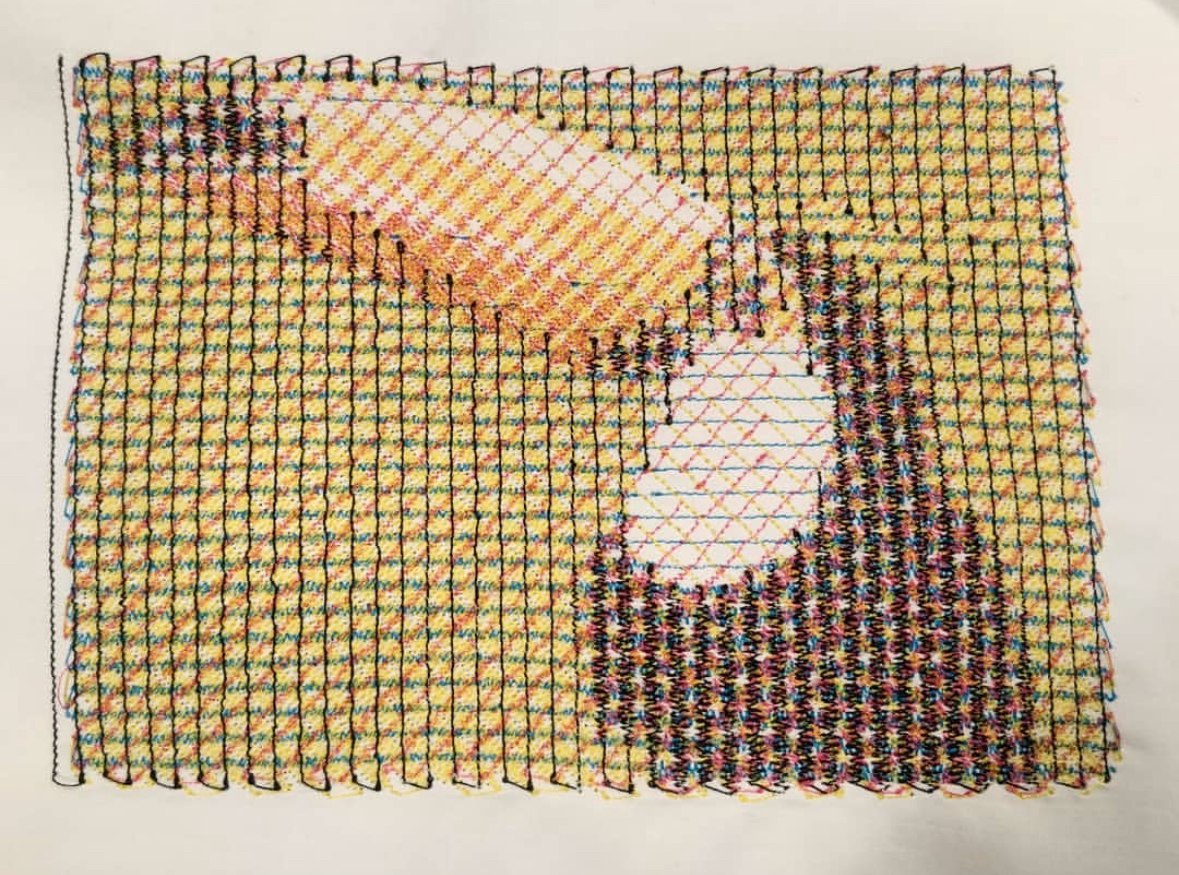
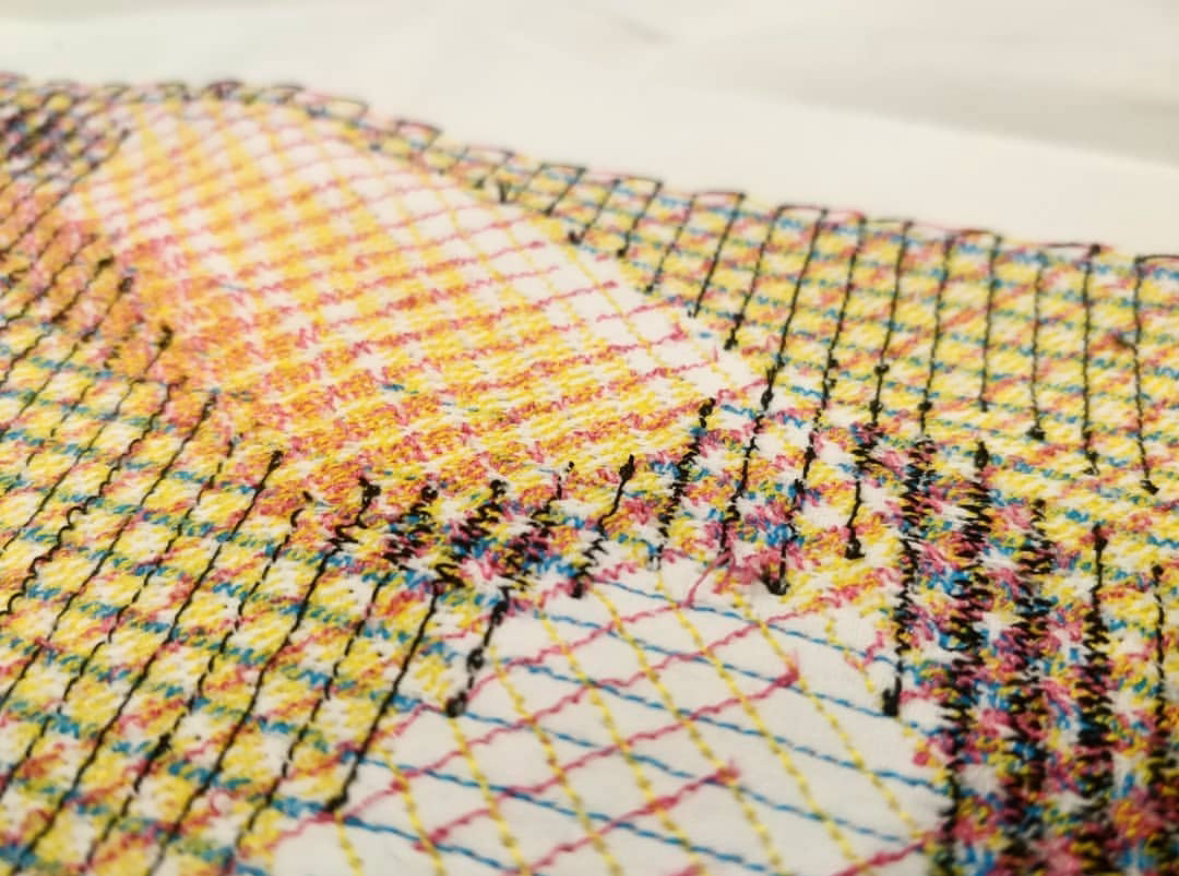
If I’d been happier with the results, I might have fully automated the CMYK split, but the effect doesn’t come through unless you back up and really squint. The lines could be made smaller, but there’s another limit; you don’t want to be making a bunch of stitches right next to each other with sub-millimeter spacing.
The other issue is pulling; too many back-and-forth stitches in the same direction will pull the fabric together along that axis. A design with thread going in all directions would solve this, and perhaps solve the issue of detail.
Scribbling
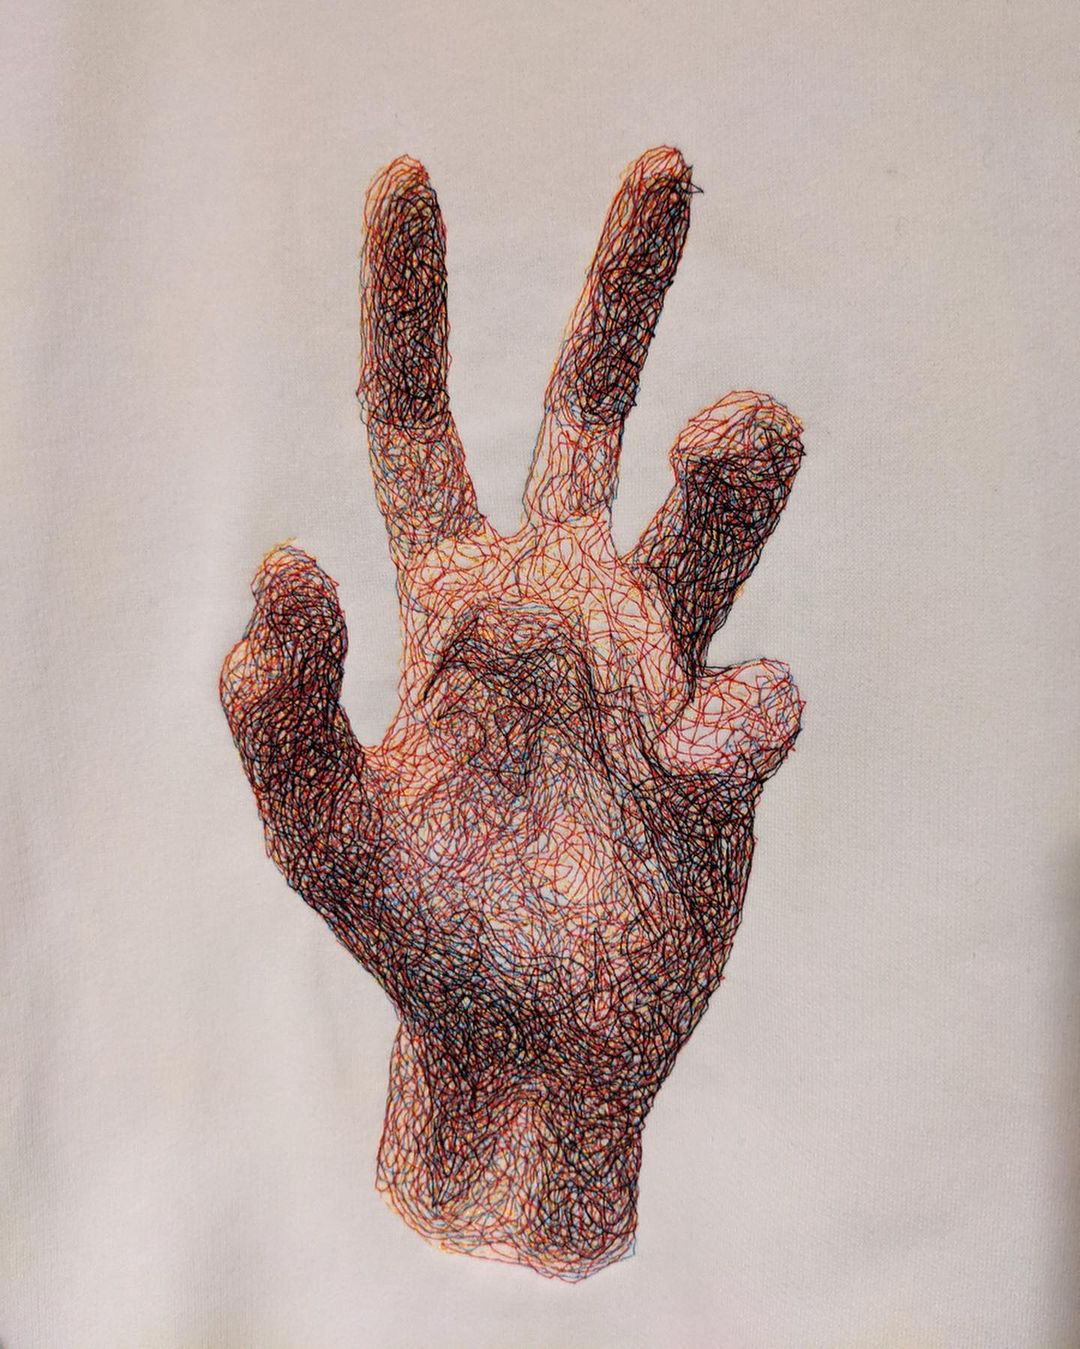
Samer Dabra (@spongenuity) has a procedural, stochastic style originally made for pen plotters. He used it with machine embroidery a few times and it looks fantastic:
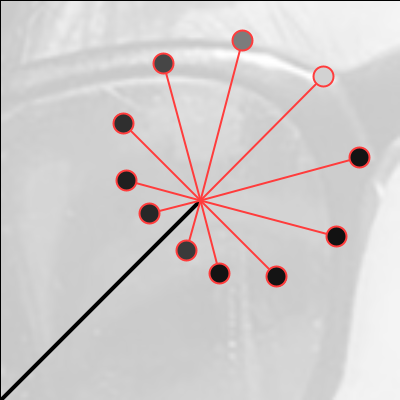
It’s pretty easy to program a simple version of this; just make a turtle that wanders in the direction of darker areas on the image. To keep it from getting stuck, draw a corresponding white line on the image so it can avoid areas it’s already drawn over.
With a chosen step length, a number of sample points are taken at that distance from the head of the line. The one with the darkest value is where the line goes next.

With this simple rule, you can set the turtle loose and watch it go!
After about 20,000 steps you get this:
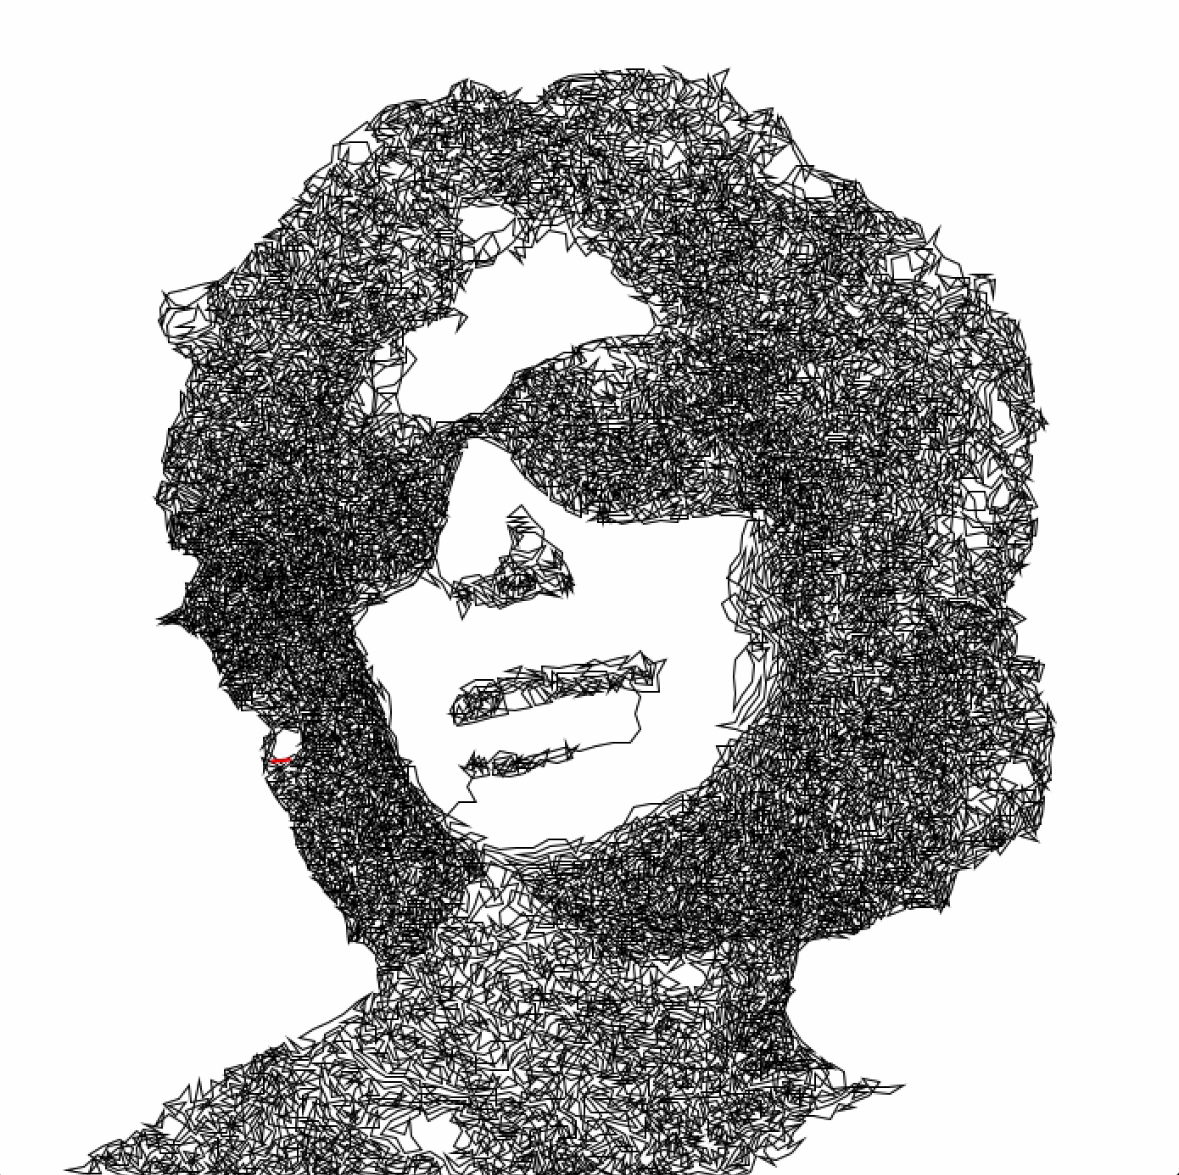
This is really fun to watch, but I think the turtle could be made smarter.
Behavior
I’m first noticing that the turtle will get stuck going over the same area over and over; even as that part of the image gets painted lighter and lighter, it can’t find its way out of the region it’s painting. To keep it moving around the canvas, I added a slight bias in the forward direction. I tried just narrowing the range of possible directions, but found that it would just wander off the page if I did this — sometimes it really needs to turn.
The bias is a value added to the sampled brightness value, causing some samples to be less appealing to the turtle. I used a simple cosine function to have this bias peak when facing backwards and drop to zero at the middle sample facing forward.
Rather than being a constant value, it actually represents a proportion of the difference between the sampled brightness and absolute white.
First we need a normalized cosine wave that peaks at 1 on the first and last sample:
\[b = \frac{1}{2}\cdot\left(\cos\left(2\pi\cdot\frac{\text{current sample}}{\text{total samples}}\right)+1\right)\]This is then multiplied by the difference and a bias parameter $k$ between 0 and 1.
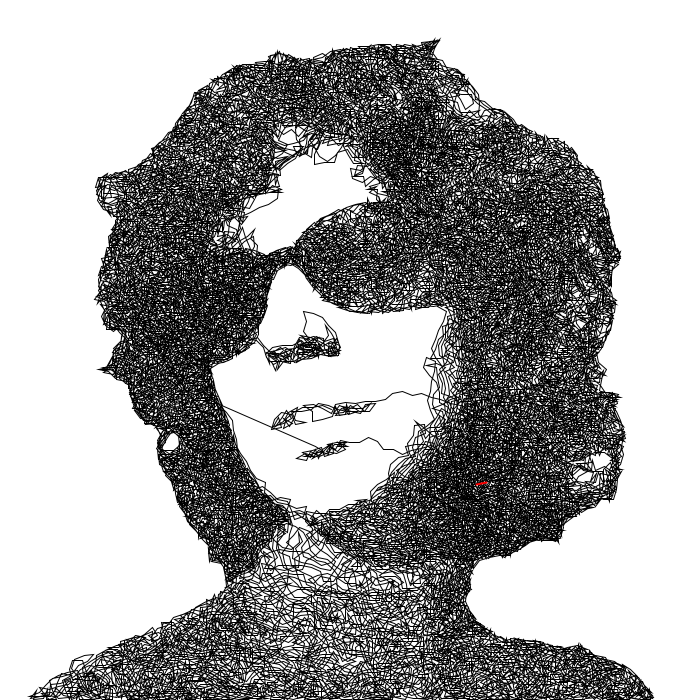
\[\text{new reading} = \text{reading} + \left(b\cdot(255 - \text{reading})\cdot k\right)\]$k$ doesnt have to be that high, as it turns out; $k=0.1$ will cross at most 10% of the gap between the reading and full white, but a strong behavior change can already be seen:
20,000 steps later, we have much better dynamic range and accurate shading:
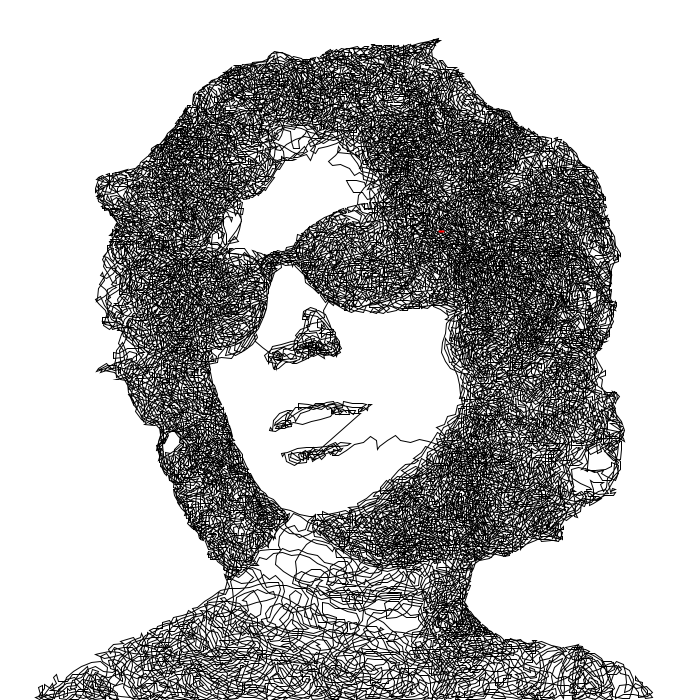
My next idea was to change the step size depending on direction. This simulates deceleration; the turtle has to slow down to make a turn. Hopefully this lets it scribble in detailed areas more finely without slowing it down elsewhere.
This seems to have worked! Now we have good details to go along with our color accuracy. Shorter stitches cover less area though, so it took about 25,000 stitches to get a similar result to before.
Contours
Now I’m wondering if we can make it look not so…tangled. Adding slight biases to the otherwise unpredictable behavior seemed to get results without compromising the stochastic magic that makes this work. So let’s try nudging the turtle to follow contour lines.
We need to make a flow field from the image, and allow it to exert some amount of pull on the turtle.